
Introduction
The AC adapter may need to be replaced if you are experiencing issues with the power connection to your printer. The removable power cord is plugged into the AC adapter.
Tools
-
-
Ensure that the printer is turned off.
-
Locate and remove the black power cord from the back of the printer.
-
-
-
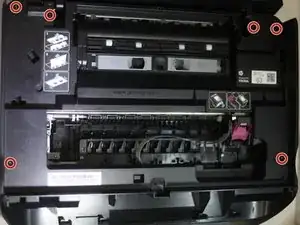
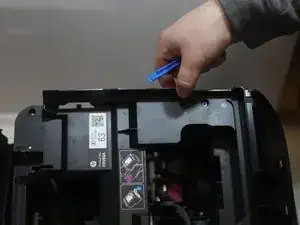
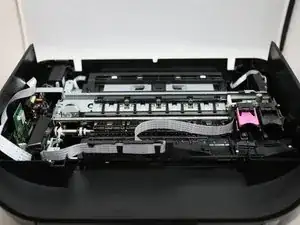
Lift the top of the printer.
-
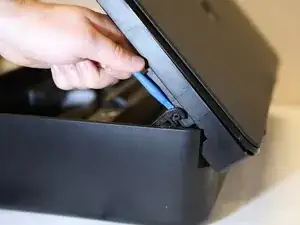
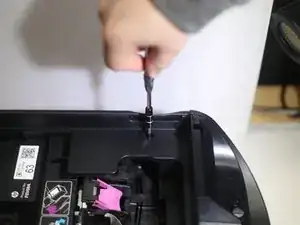
Using the plastic opening tool, remove the clip holding the scanner bed up by prying the clip away from the the side of the scanner bed.
-
-
-
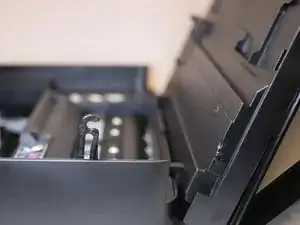
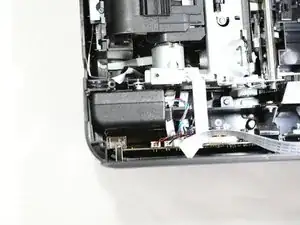
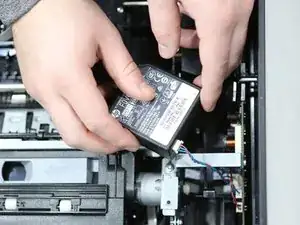
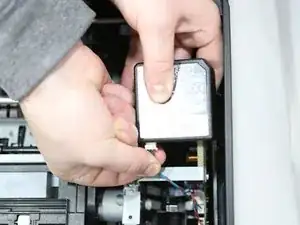
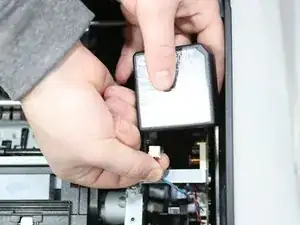
Remove the adapter by pinching the plastic head of the wire connector and pulling it out of the port.
-
To reassemble your device, follow these instructions in reverse order.

2 comments
Forgot a step at the beginning. Have to remove the inside clip connected to the lid. If you only remove the outside clip in step 2 and not the inside clip, it will snap. This clip triggers the cartridges to slide to the left when the lid is open for replacement.
Where is this "Inside Clip" located, and how do you do you remove it?
azbobcat -