Introduction
This guide provides detailed instructions to replace your laptops touchpad. You may want to do this replacement if your touchpad does not respond or malfunctions in some other way.
Tools
-
-
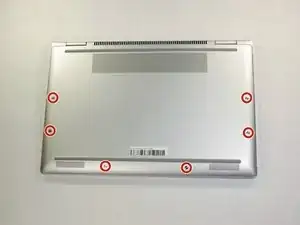
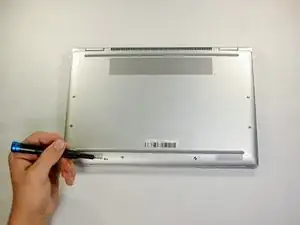
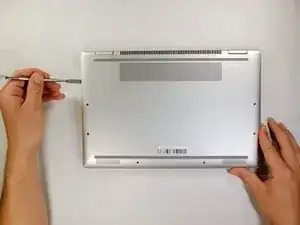
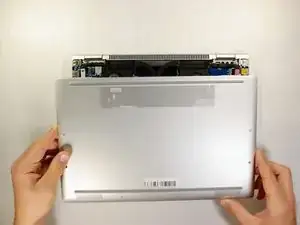
Pry open the lower case from where it meets the laptop base.
-
Remove the lower case from the work area.
-
-
-
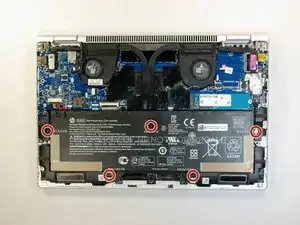
Use the Phillips 1 screwdriver to remove the five 3mm Phillips screws from the battery assembly.
-
-
-
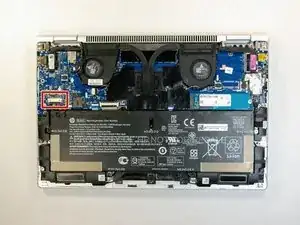
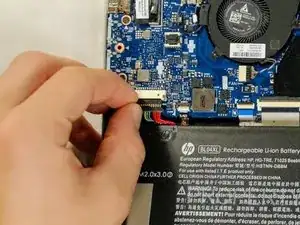
Carefully remove the power supply connector by pulling on both sides of its head.
-
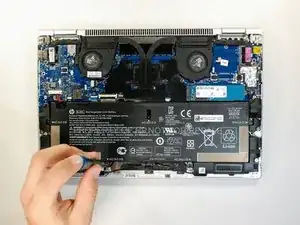
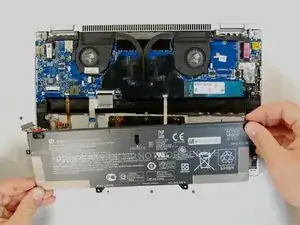
Lift the battery from its position, removing it from the device.
-
-
-
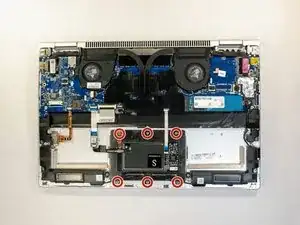
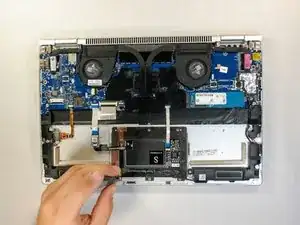
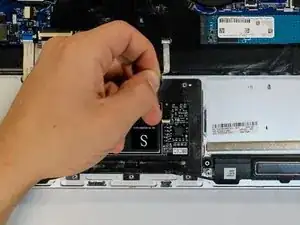
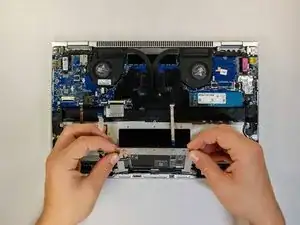
Use the Phillips 0 screwdriver to remove the six 3mm Phillips screws from the touchpad assembly.
-
-
-
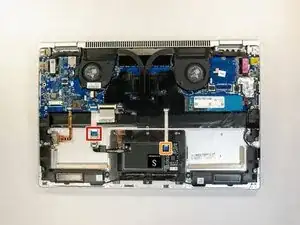
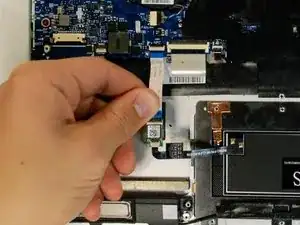
Gently pull on the blue tab to remove the ribbon connecting the touchpad to the motherboard on the left hand side.
-
Gently pull on the blue tab to remove the ribbon connecting the touchpad to the motherboard on the right hand side.
-
To reassemble your device, follow these instructions in reverse order.
