Introduction
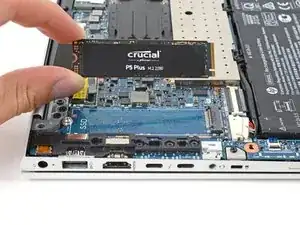
Use this guide to remove and replace the Solid State Drive (SSD) in your HP EliteBook x360 830 G6.
Before you perform this repair, back up your existing SSD if possible. If you’re replacing the SSD where your operating system is installed, familiarize yourself with a disk cloning utility so you’ll be ready to migrate your data to the new SSD.
Tools
Parts
-
-
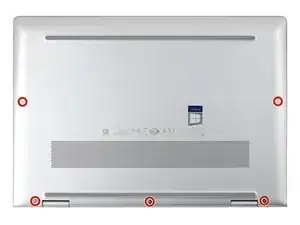
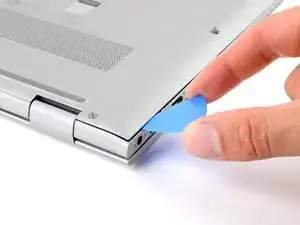
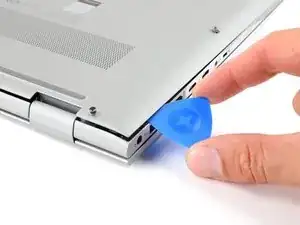
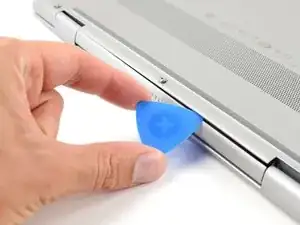
Insert an opening pick between a corner of the back corner and the chassis, near a hinge.
-
Pry upward to release the retaining clips.
-
Repeat this process for the opposite corner.
-
-
-
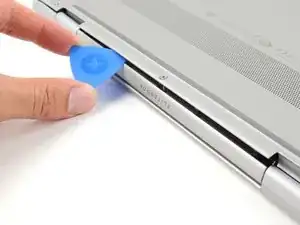
Insert your opening pick between the back cover and chassis, along the edge of the cover between the hinges.
-
Pry up to release the additional retaining clips.
-
-
-
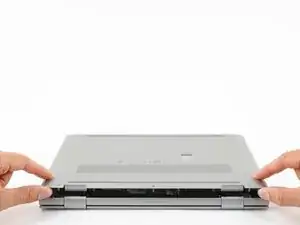
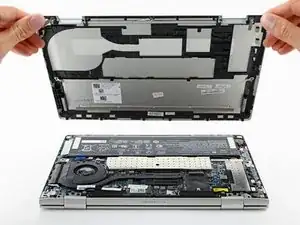
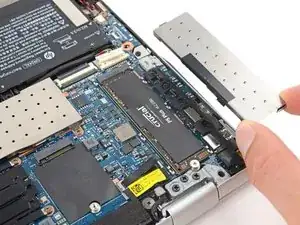
Grab the cover by the corners next to the hinges.
-
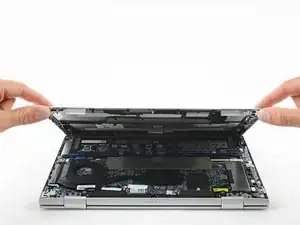
Swing the cover open and away from you.
-
Lift and remove the back cover from the laptop body.
-
-
-
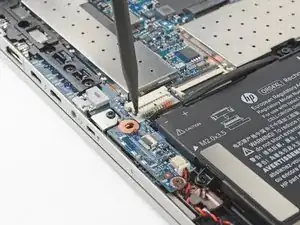
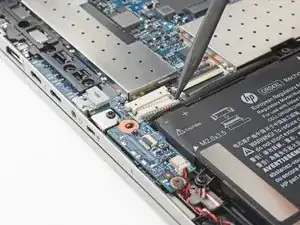
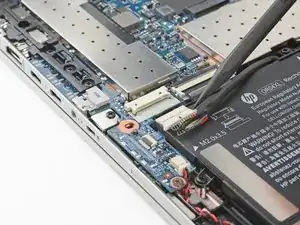
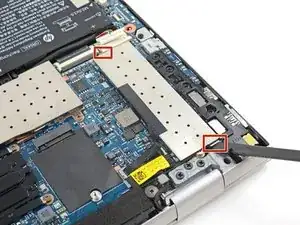
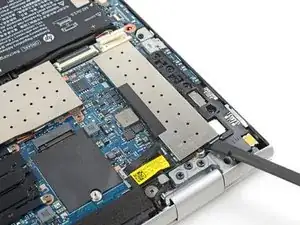
Use the point of a spudger to push the sides of the battery connector out of its socket.
-
Push on alternate sides to "walk" the connector out.
-
-
-
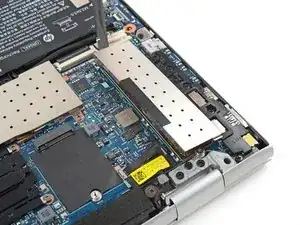
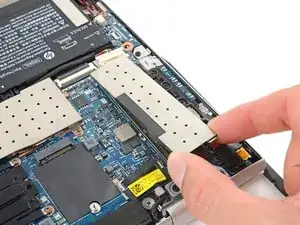
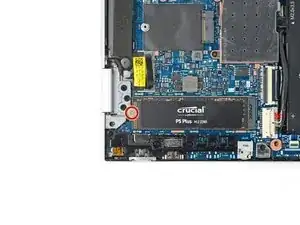
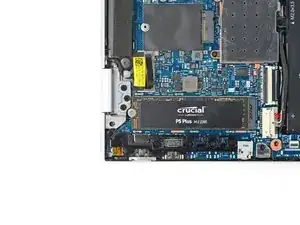
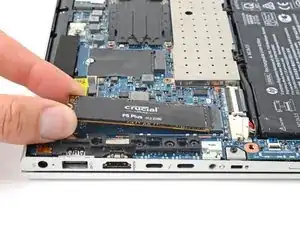
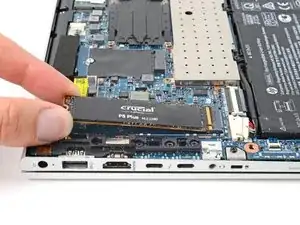
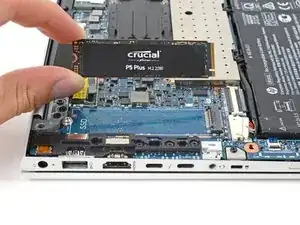
Grip the edges if the SSD near the screw indent.
-
Pull the SSD straight out of its socket and remove it.
-
To reassemble your device, follow these instructions in reverse order.
Take your e-waste to an R2 or e-Stewards certified recycler.
Repair didn’t go as planned? Try some basic troubleshooting, or ask our HP EliteBook community for help.
