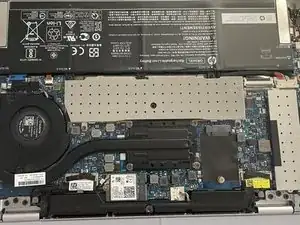
Introduction
Tools
-
-
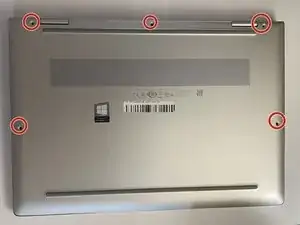
With the T5 screw-bit and screwdriver, loosen the five captive screws on the bottom of the laptop.
-
-
-
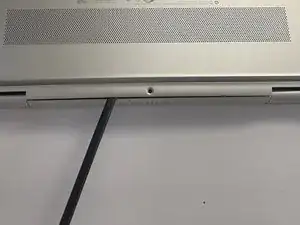
With a spudger or opening tool, pry above the computer's hinges and separate the posterior edge and sides.
-
-
-
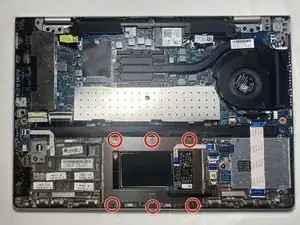
Use a PH000 screw-bit and a screwdriver and remove the six 2 mm screws securing the touch pad bracket.
-
Remove the touch pad.
-
Conclusion
To reassemble your device, follow these instructions in reverse order.
One comment
не подробная инструкция. при снятии на данной модели возникает куча косяков, которые могу привести к порче оборудования
