Introduction
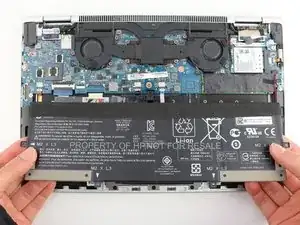
If you are having power issues with this device, replacing the battery may be the solution. This guide will show you how to do so.
However, you should check through the troubleshooting page before proceeding, in case a simpler fix resolves the problem.
For your safety, discharge your battery below 25% before disassembling your device. This reduces the risk of a dangerous thermal event if the battery is accidentally damaged during the repair. If your battery is swollen, take appropriate precautions.
Tools
Parts
-
-
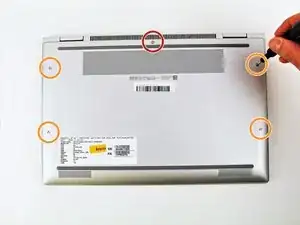
Close the laptop and flip it so that the screen is on the surface of the table and the back plate is facing you.
-
Remove the 3.3 mm screw near the top of the hinge using a T5 Torx screwdriver.
-
Remove the remaining four 7.3 mm screws using the same screwdriver.
-
-
-
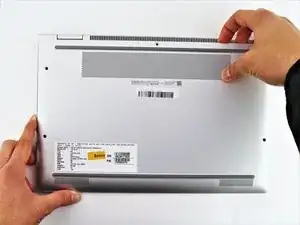
Separate the bottom cover from the laptop, starting from the upper corner and working your way around the edge.
-
-
-
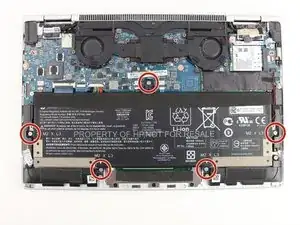
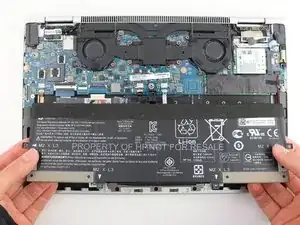
Remove the five 3.7 mm screws that are holding the battery in place using a Phillips #00 screwdriver.
-
-
-
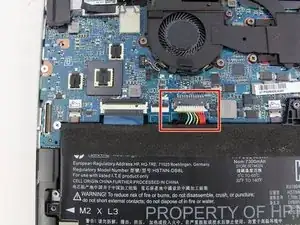
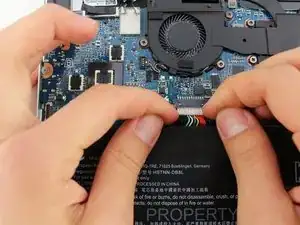
Carefully pull the white plastic battery connector towards you until it is removed from the port.
-
To reassemble your device, follow these instructions in reverse order.
Take your e-waste to an R2 or e-Stewards certified recycler.
Repair didn’t go as planned? Try some basic troubleshooting, or ask our Answers community for help.
4 comments
Thanks, it is very useful.
thats very nice
Looks easy and do you know if the pc can work without battery, only with charger?
Sam Uel -
