Introduction
Tools
Parts
-
-
Power the laptop off before beginning.
-
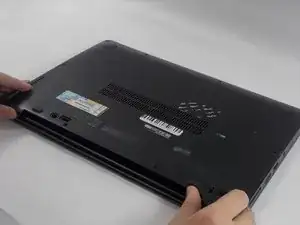
Flip the laptop over so the model sticker faces up.
-
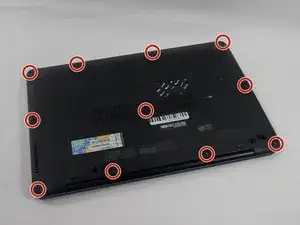
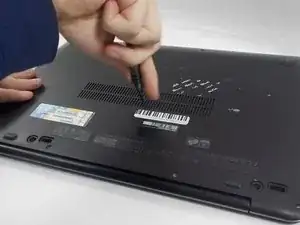
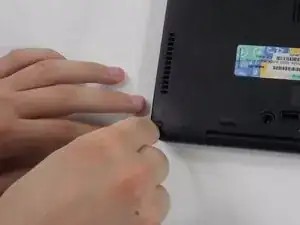
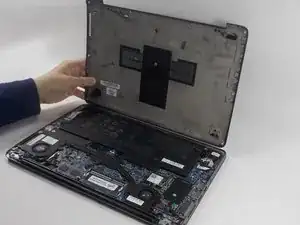
Remove the eleven 4 mm screws from the back cover of the laptop using a Torx TR9 screwdriver.
-
-
-
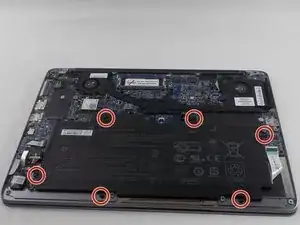
Remove the six 3 mm screws securing the battery to the laptop using a Phillips #0 screwdriver.
-
-
-
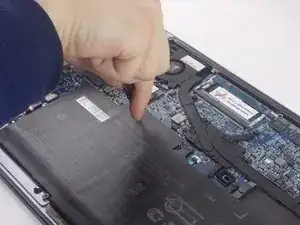
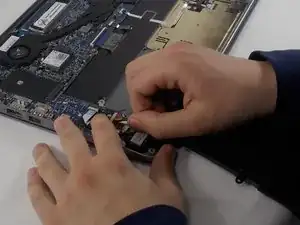
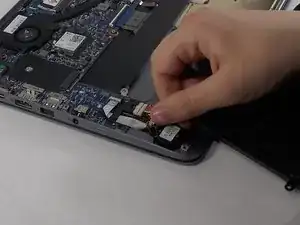
While gently tugging on the battery's connector, disconnect it from its port.
-
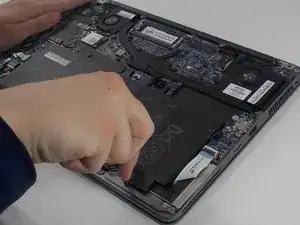
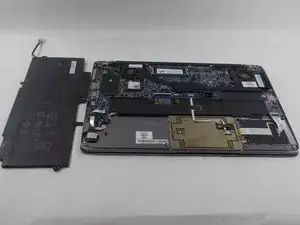
Remove the battery from the device.
-
Conclusion
To reassemble your device, follow these instructions in reverse order.
