Introduction
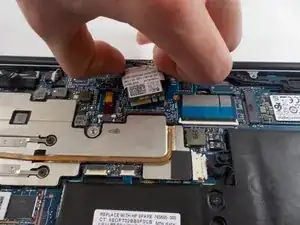
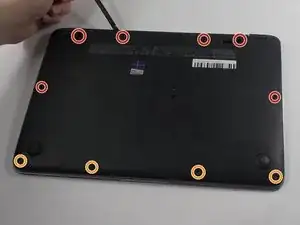
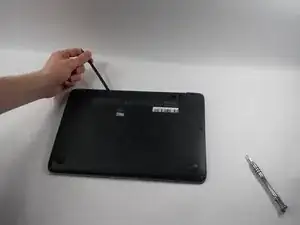
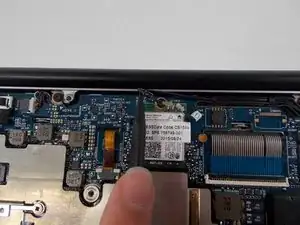
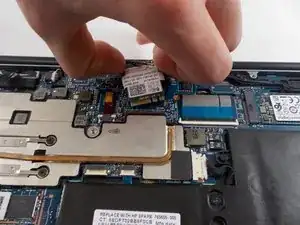
If your computer will not connect with the internet, then you may need to replace the Wi-Fi card in your computer. This is a step-by-step guide on how to replace the Wi-Fi card. In order to replace it, the back cover of the laptop must be removed to expose the screw and cables which secure the Wi-Fi card and the card itself.
Please remember to power down your computer and unplug it to avoid any power surges or shorts. Failing to power down and disconnect the power cable may result in further harm to the laptop or even yourself, so precautions must be taken.
Tools
Parts
-
-
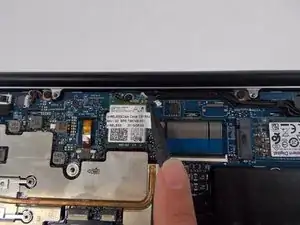
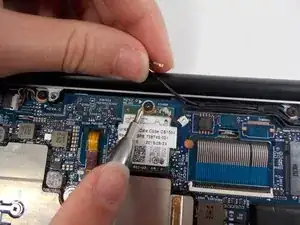
Use a Phillips #1 screwdriver to unscrew and remove the single 1.8 mm screw that secures the card to the board.
-
Conclusion
To reassemble your device, follow these instructions in reverse order.
