Introduction

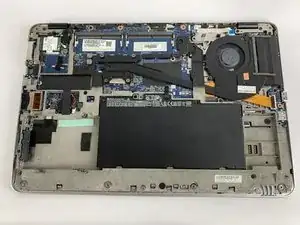
If your HP EliteBook 850 G3 is running slower than normal, use this guide to complete a Motherboard Replacement on your device. The Motherboard itself is a printed circuit board that allows the CPU, RAM, and all other computer hardware components to communicate with each other. When it is faulty it may cause the computer to slow down. A computer can also be slow because of issues like RAM usage limits so be sure to troubleshoot all symptoms before replacing the motherboard. Before beginning, make sure to power off your laptop completely and disconnect from any external power source. Before using this guide, feel free to check out the troubleshooting page to see if any issues can be resolved without a replacement.

  1. OEjhhFBBTomSHhjC
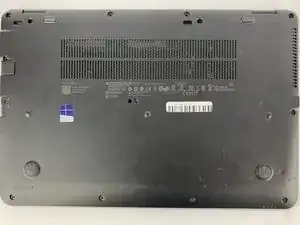
    • Turn off your laptop before starting

    • Flip the laptop over so the model stickers face the ceiling.

  2. T1fMmYE2uiNQeGBA
    T1fMmYE2uiNQeGBA
    dCdM2PwLHbMAeQTU
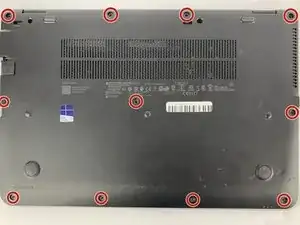
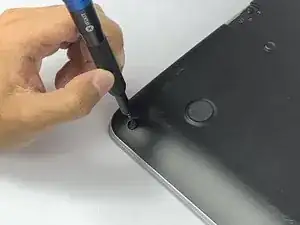
    • Use a Phillips #0 screwdriver to remove eleven 5.7mm screws.

    The screw on the far left middle, under the card cover, is a longer screw.

    martin rodley -

  3. aeZ4QbbENcWQl1an
    aeZ4QbbENcWQl1an
    w1gyGXTLracxUcKt
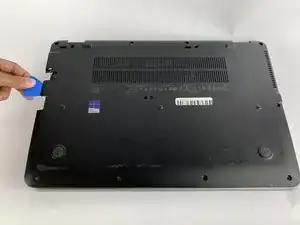
    • Insert the iFixit opening pick underneath the plastic back of the laptop. Use force to pry back off.

  4. PaSNpZW2isgVaMAT
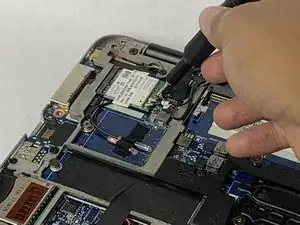
    • Use the Phillips #0 screwdriver to remove the 3.3mm screw on the WiFi card.

  5. cmxcqQG6oyRdSOP4
    cmxcqQG6oyRdSOP4
    eD6def322dT4SWfv
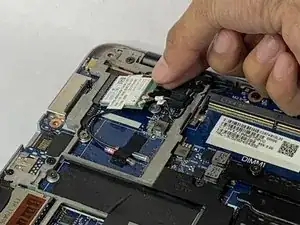
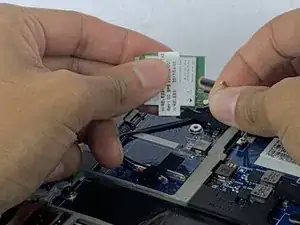
    • Slide out the WiFi card.

  6. woNBoyALhmoWKHD3
    woNBoyALhmoWKHD3
    D2aOCMruioXLaMDB
    H5NZZedLFnLjRrR3
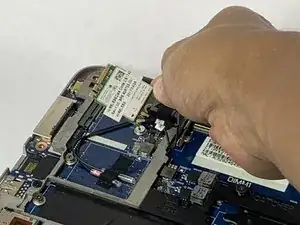
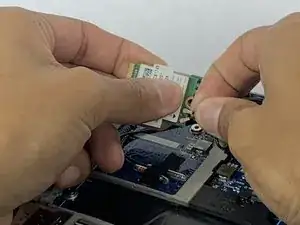
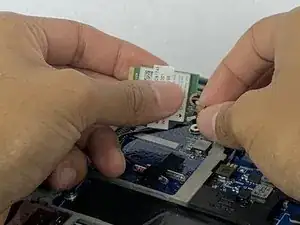
    • Disconnect the coaxial cables wires from the WiFi card.

  7. iPkWIsLiQkxAvJnW
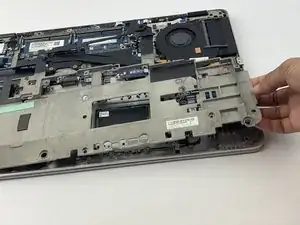
    • Gently unclip the plastic frame.

  8. GC6JYaZEWqi2Q6e2
    GC6JYaZEWqi2Q6e2
    DqhOTpsP6SudQG5a
    KQVhI2iVpJR5ItHv
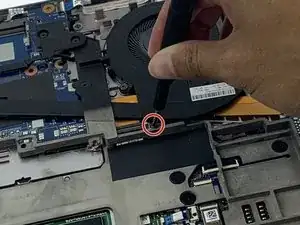
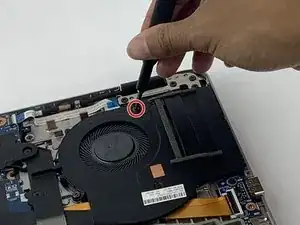
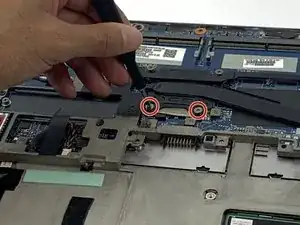
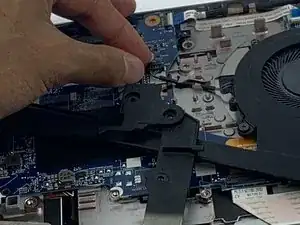
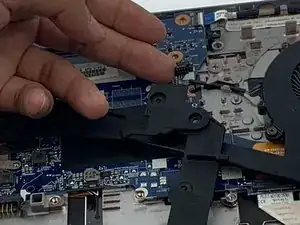
    • Use a Phillips #0 screwdriver to unscrew the four captive screws located near the fan and heatsink assembly.

  9. hBBYh6hQxK6wPofk
    hBBYh6hQxK6wPofk
    dSts3ojbsMVreq5C
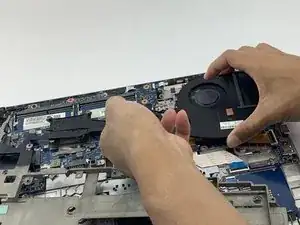
    • Carefully remove the connector for the fan.

  10. bNSx5cGhkukNp3vH
    bNSx5cGhkukNp3vH
    EpNCYoXR1UigES1V
    JNtRXNxw1DKBHydJ
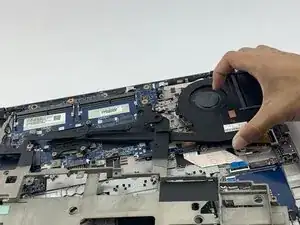
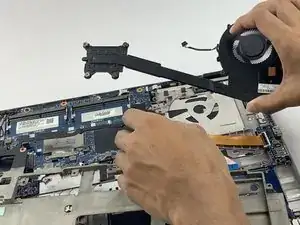
    • Carefully remove the fan and heatsink assembly from the laptop.

    • Slide out RAM (not pictured).

  11. RrOd4ckTgX6JNoZ1
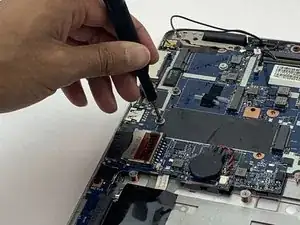
    • Use a #00 Phillips screwdriver to remove twelve 5.7 mm screws from the motherboard.

  12. HK3YAMiUlrJIhrQb
    HK3YAMiUlrJIhrQb
    OchObj3upjy3Dfpb
    CdPguf2L5MGPQiTx
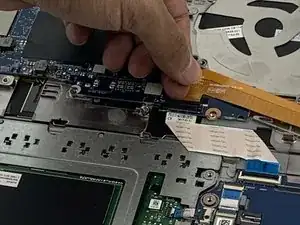
    • Remove the wire connectors.

  13. t1UhDNhPlB3ePPvt
    t1UhDNhPlB3ePPvt
    vb3nVRjl4PRNVC2t
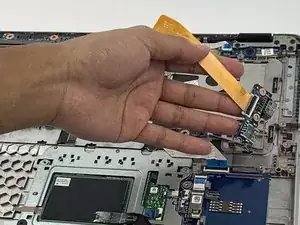
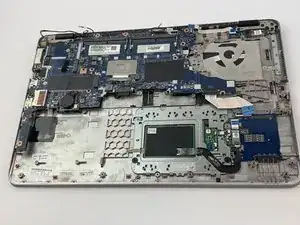
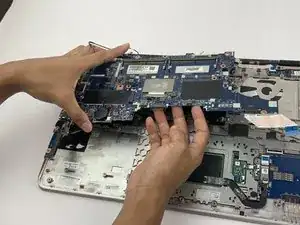
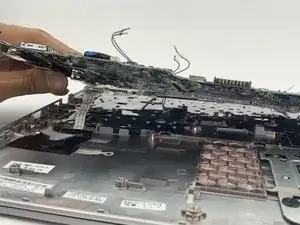
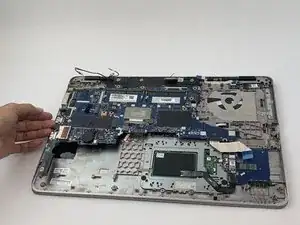
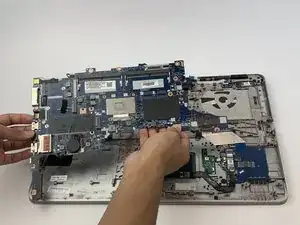
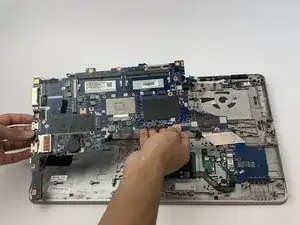
    • Jiggle the motherboard until the ports (ie. headphone jack) come out from the sides and you can lift it up.

  14. aQXnKOwyU3RbhGyW
    aQXnKOwyU3RbhGyW
    6CyYxkLcsoAAbPiu
    OcsNWqyAaSO5sto4
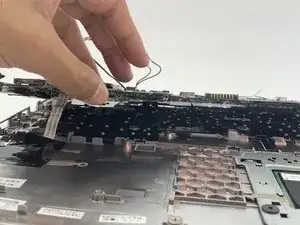
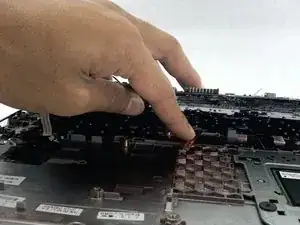
    • Disconnect the wires underneath.

  15. gqJgaJEbn4ZhPRJb
    gqJgaJEbn4ZhPRJb
    YBeVdKWYaUZfSYsP
    dproJMUZxxL1F2Zf
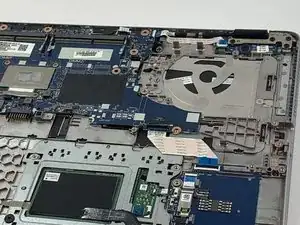
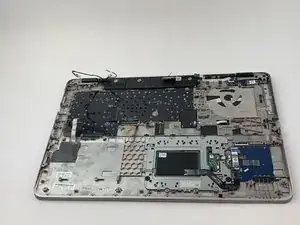
    • Take out the motherboard.

Conclusion

To reassemble your device, follow these instructions in reverse order.
Annabeth Grover

Member since: 10/10/19

922 Reputation

0 comments