Introduction

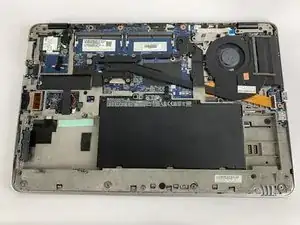
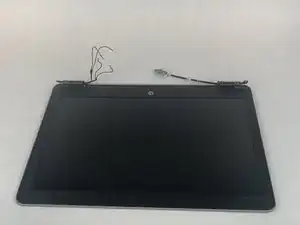
If your HP EliteBook 850 G3 display assembly is malfunctioning use this guide to replace it. The display screen on your computer is the panel that is inside the device, which displays the image. If you are experiencing a blank screen on a powered computer or a gray flickering screen, be sure to first rule out troubleshooting options. Then Use this display assembly guide to repair a broken screen display. Before beginning, make sure to power off your laptop completely and disconnect from any external power source. Before using this guide, feel free to check out the troubleshooting page to see if any issues can be resolved without a replacement.

  1. GRAIm16tKS6UEZcs
    • Turn off your laptop before starting.

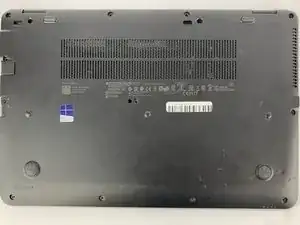
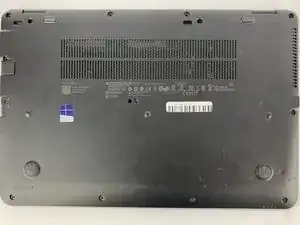
    • Flip the laptop over so the model stickers face up.

  2. Sa6vuIpFkErHyAxt
    Sa6vuIpFkErHyAxt
    L2PqeB2JaflhX4P5
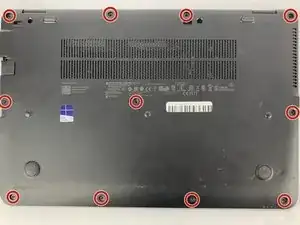
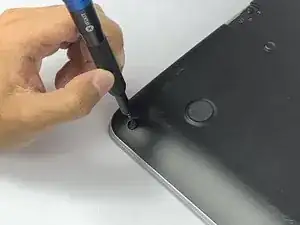
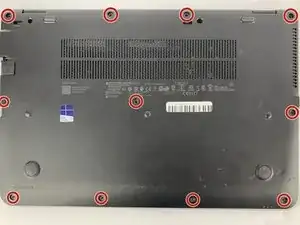
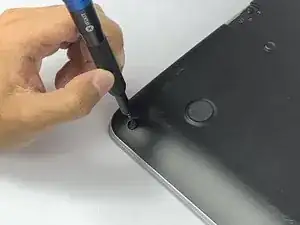
    • Use a Phillips #0 screwdriver to remove eleven 5.7mm screws.

  3. apJSiTyhTUd4BZoo
    apJSiTyhTUd4BZoo
    WgDFodIZbCN4gXUL
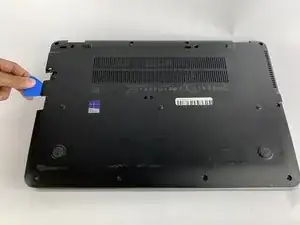
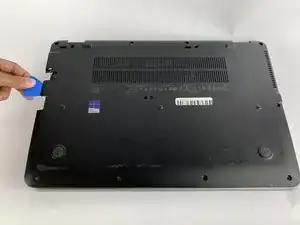
    • Insert the iFixit opening pick underneath the plastic back of the laptop. Use force to pry the back off.

  4. nOidlUMYUlBBQawf
    nOidlUMYUlBBQawf
    1oiV4xR4eNPLfJU1
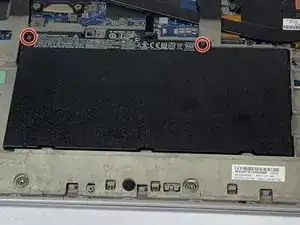
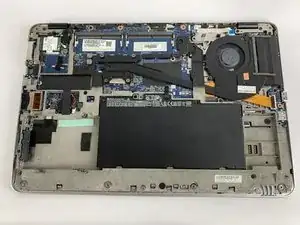
    • Use the Phillips #0 screwdriver to remove the two battery screws.

    • The two battery screws are captured screws and do not come out.

  5. dF2KpeWFwXt56OUL
    dF2KpeWFwXt56OUL
    IcNRkJSBTXZvmntj
    eEJaXPwgK6qsxUXc
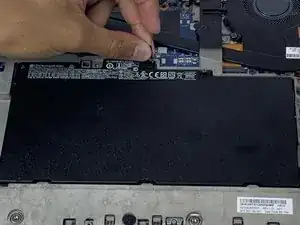
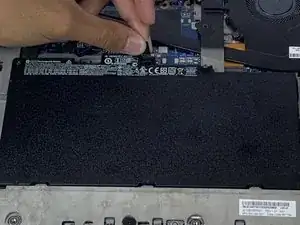
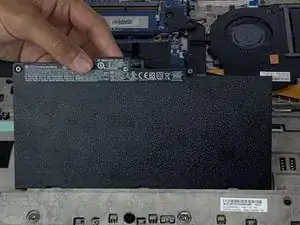
    • Lift and pull the flap located at the top of the battery to remove it.

  6. OEjhhFBBTomSHhjC
    • Turn off your laptop before starting

    • Flip the laptop over so the model stickers face the ceiling.

  7. T1fMmYE2uiNQeGBA
    T1fMmYE2uiNQeGBA
    dCdM2PwLHbMAeQTU
    • Use a Phillips #0 screwdriver to remove eleven 5.7mm screws.

    The screw on the far left middle, under the card cover, is a longer screw.

    martin rodley -

  8. aeZ4QbbENcWQl1an
    aeZ4QbbENcWQl1an
    w1gyGXTLracxUcKt
    • Insert the iFixit opening pick underneath the plastic back of the laptop. Use force to pry back off.

  9. PaSNpZW2isgVaMAT
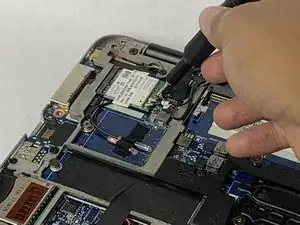
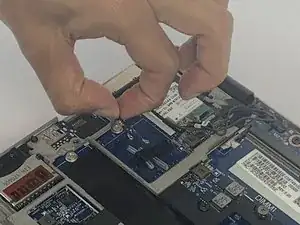
    • Use the Phillips #0 screwdriver to remove the 3.3mm screw on the WiFi card.

  10. cmxcqQG6oyRdSOP4
    cmxcqQG6oyRdSOP4
    eD6def322dT4SWfv
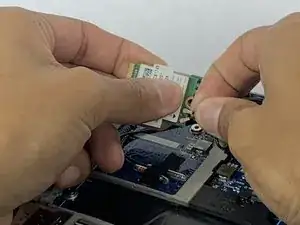
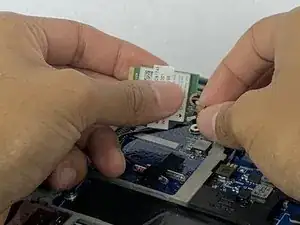
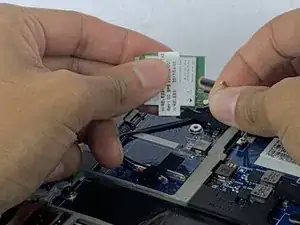
    • Slide out the WiFi card.

  11. woNBoyALhmoWKHD3
    woNBoyALhmoWKHD3
    D2aOCMruioXLaMDB
    H5NZZedLFnLjRrR3
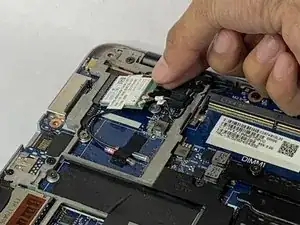
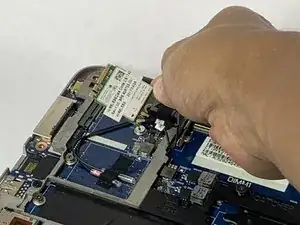
    • Disconnect the coaxial cables wires from the WiFi card.

  12. iPkWIsLiQkxAvJnW
    • Gently unclip the plastic frame.

  13. GC6JYaZEWqi2Q6e2
    GC6JYaZEWqi2Q6e2
    DqhOTpsP6SudQG5a
    KQVhI2iVpJR5ItHv
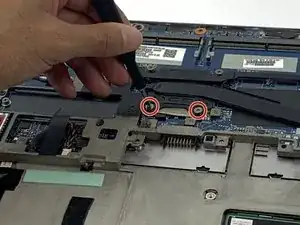
    • Use a Phillips #0 screwdriver to unscrew the four captive screws located near the fan and heatsink assembly.

  14. hBBYh6hQxK6wPofk
    hBBYh6hQxK6wPofk
    dSts3ojbsMVreq5C
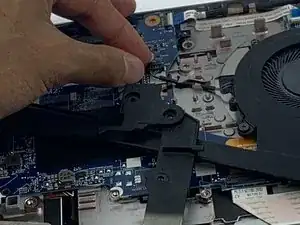
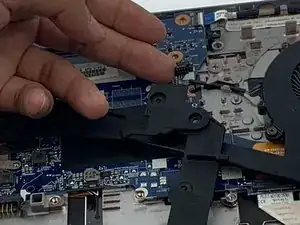
    • Carefully remove the connector for the fan.

  15. bNSx5cGhkukNp3vH
    bNSx5cGhkukNp3vH
    EpNCYoXR1UigES1V
    JNtRXNxw1DKBHydJ
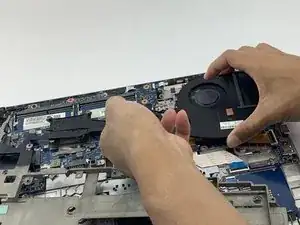
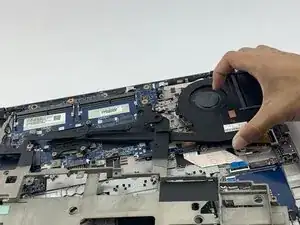
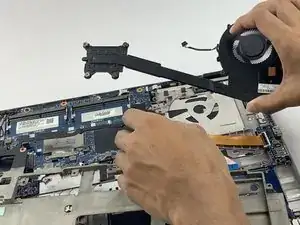
    • Carefully remove the fan and heatsink assembly from the laptop.

  16. dNQLo5vrivLNJ1t5
    dNQLo5vrivLNJ1t5
    RdFNsdjX1AX3xkHS
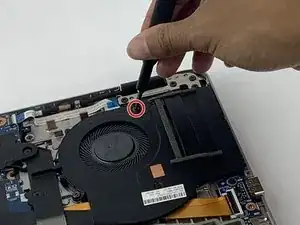
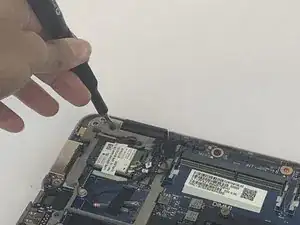
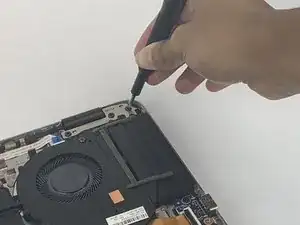
    • Use the Phillips #0 screwdriver to remove the 7.7mm screw and six 5.8 mm screws from the corners inside the laptop.

  17. LPCQQGpRASGWPbpC
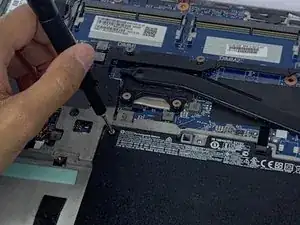
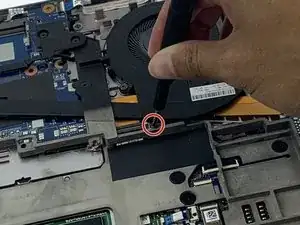
    • Use the Phillips #0 screwdriver to remove the 5.7 mm screw under the plastic frame.

  18. i3yNAKRr1oxHBOof
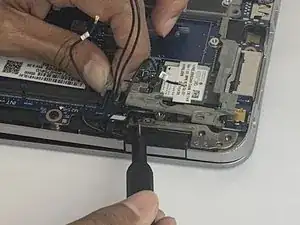
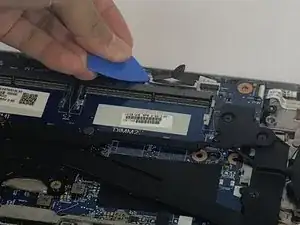
    • Use the opening pick to unplug the cable with the black tab on top.

  19. KNdpNXrv5PqiDZDy
    KNdpNXrv5PqiDZDy
    wLAFSK4YvNgWXMuD
    aslkJRELUAXWV5ce
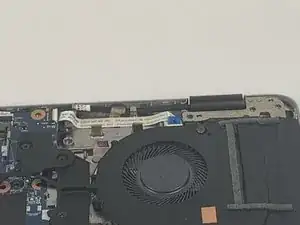
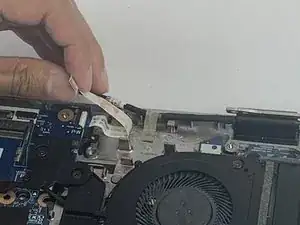
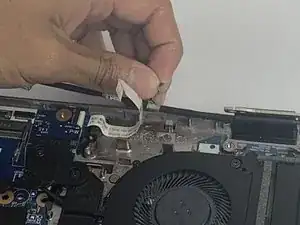
    • Disconnect wire over gold tape and remove tape. You will have to peel the wire up to get to the tape.

    • The tape is not reusable.

  20. CdMZpT33Y4stFS4m
    CdMZpT33Y4stFS4m
    q324AOxWmWLqayZH
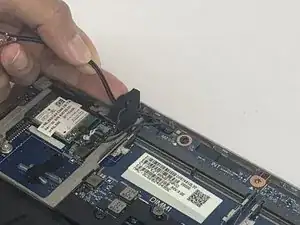
    • Remove the coaxial cables from the wifi card and from clear plastic holds. Remove the black tape and slip out from black clip.

    • This tape is not reusable.

  21. CMYftVyVRbtvPWEw
    CMYftVyVRbtvPWEw
    LXqeCpQ3G6LTGTtL
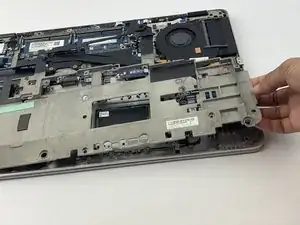
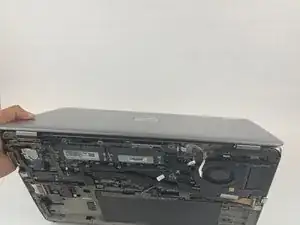
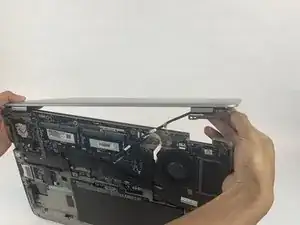
    • Open the top of the laptop and bend the hinges so that the metal bits in the corners will come up.

  22. IyModQSKqfhgD1Us
    IyModQSKqfhgD1Us
    pHijbyxrsVfVxexY
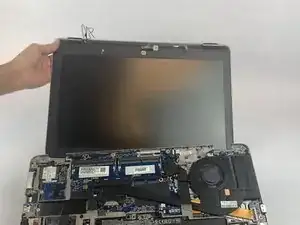
    • Take the display assembly off.

Conclusion

To reassemble your device, follow these instructions in reverse order.

Annabeth Grover

Member since: 10/10/19

922 Reputation

3 comments

looks like there are duplicate steps for cover removal.

Cody White -

do tou have tuchscreen assenbly for same nmodel ??

shiva netra -

do upu have couch scfeen assembly for this model ; hp elitebook 450g3
shiva netra -