Introduction
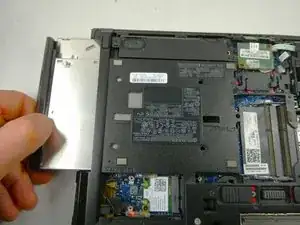
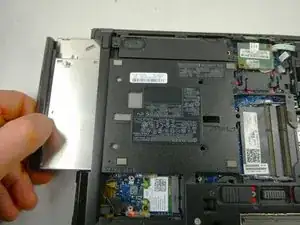
The optical drive is responsible for reading optical disks such as CD’s or Blu-Ray disks. It is located on the side of the computer and pops out by a button that is also on the side of the computer
Optical drives could stop working for several reasons. Assuming your disk is not scratched, the problems could be narrowed down to corrupt driver, out of date firmware, or a factory defect. This guide will help you in the removal process of the drive to further diagnose the problem at hand.
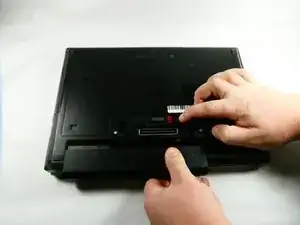
Before starting, you will need to remove the battery, service cover, and the smart card reader.
Tools
-
-
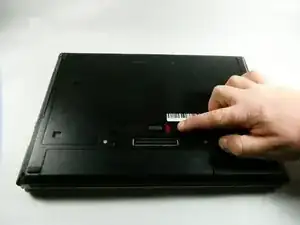
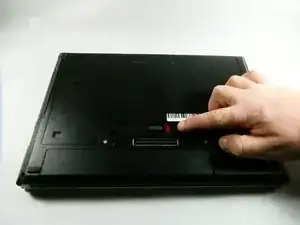
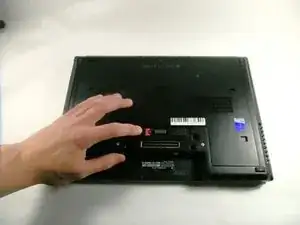
Position the computer upside down with the opening latch facing away from you and the battery facing towards you.
-
-
-
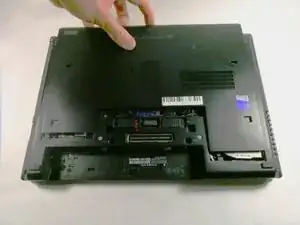
Slide the door away from you, toward the opening latch.
-
Lift the door upwards away from the computer.
-
-
-
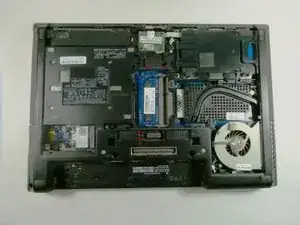
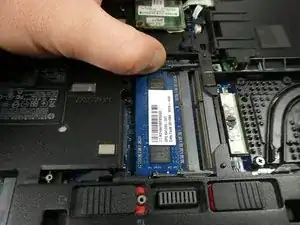
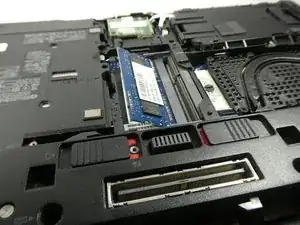
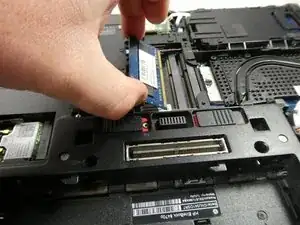
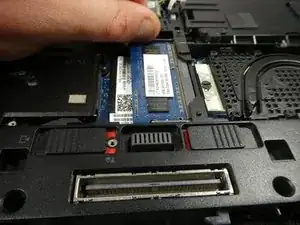
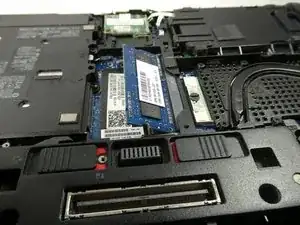
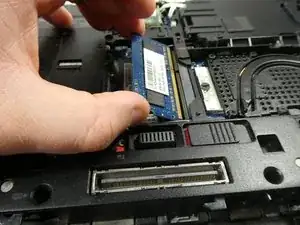
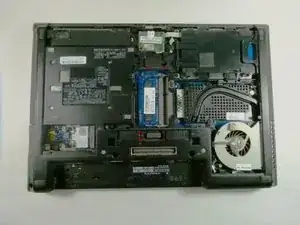
Note that the device does have two memory slots. The top slot houses the the expansion memory and the bottom slot houses the primary memory.
-
Repeat the previous steps if there is an expansion memory card
-
-
-
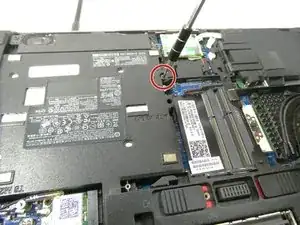
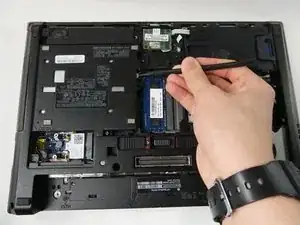
Loosen the one captive Phillips #00 screw securing the optical drive with a Phillips #00 screwdriver.
-
The screw is just above the optical drive.
-
To reassemble your device, follow these instructions in reverse order.
