Introduction

A keyboard is necessary for any computer, laptop, or even typewriter in order to operate them. It is key that the keyboard is working at the highest standard so that the HP EliteBook 8470p can be used properly. If there is an issue with the keyboard, it needs to be repaired or replaced.

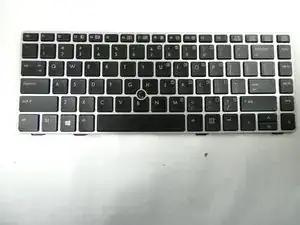
This 75% form keyboard uses a QWERTY layout and has a pointing stick.

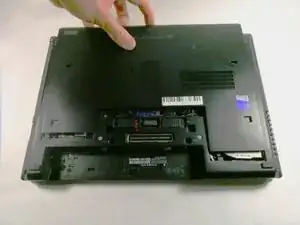
This guide requires the battery and service cover to be removed before starting.

  1. AGJegcLp3GVOnnqf
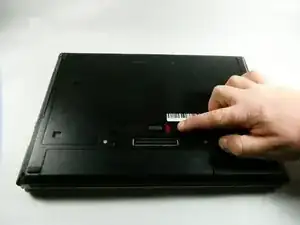
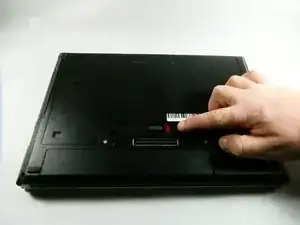
    • Position the computer upside down with the opening latch facing away from you and the battery facing towards you.

    • If the battery is “swollen” or the shape is irregular, stop whatever you are doing and allow the battery to slowly discharge itself before removing it from the laptop casing. Click the link to learn how to replace and dispose of a “swollen” battery, What to do with a swollen battery.

  2. VoctAyKqe2QQMrsG
    • Slide the battery latch positioned to the right over to the right side. Hold it there.

  3. v3VAAsjodgt1kulF
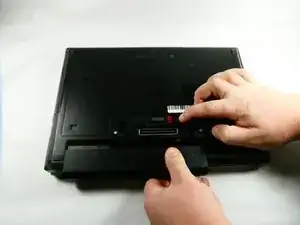
    • With the latch opened, pull the battery out of its socket firmly.

    • There will likely be some resistance. However, if you find it to be excessive, the latch may not be properly opened.

  4. CsOfC3AoPtHgGWPg
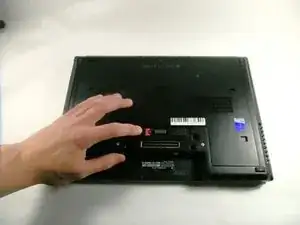
    • With the laptop latch still facing away from you, slide the left release latch to the left.

    • Some models may have a screw installed on this latch, if so, be sure to remove it first to avoid damaging the latch.

  5. QQMlfccEUgCFUlBB
    QQMlfccEUgCFUlBB
    vtoJJbxw6Laueq6Q
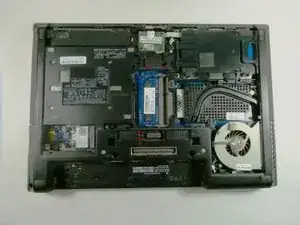
    • Slide the door away from you, toward the opening latch.

    • Lift the door upwards away from the computer.

  6. YEFCmvOXBYUgDjYV
    YEFCmvOXBYUgDjYV
    I4xsUqN1yXS3QITU
    A2LMPYymPQ6jlCOR
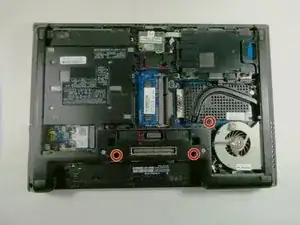
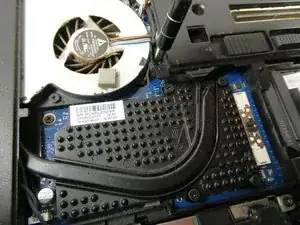
    • Loosen the three captive Phillips screws securing the keyboard to the computer with a Phillips #00 screwdriver.

    • These are all positioned just above the middle of the laptop.

  7. tCIYOyZA3cl6l6dH
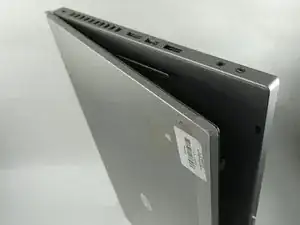
    • Rest the computer on its right edge carefully so that you can open the laptop.

    • Open the laptop.

  8. eLJwZ16qnyRYgawa
    eLJwZ16qnyRYgawa
    DDwRxbkSDqI1Uw2L
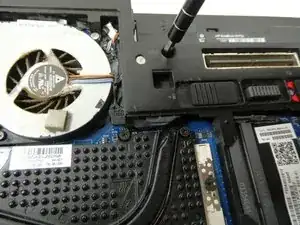
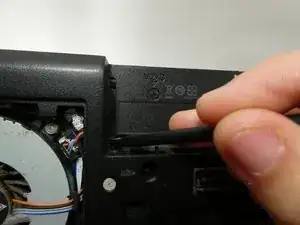
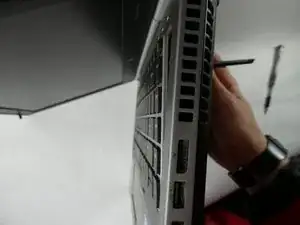
    • Insert a spudger or another small tool into the slot in the battery bay to release the keyboard.

    • Push firmly to disengage.

  9. cTp5OKHMO2gmZLQB
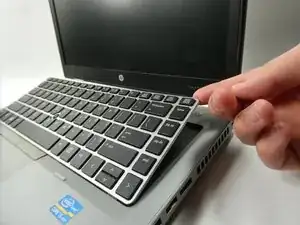
    • Open the computer towards you as if you were going to use it.

  10. kLuaZp1Sdx2GL2ZQ
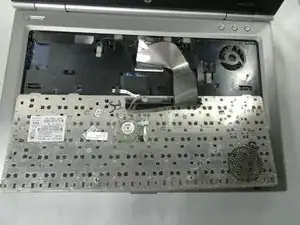
    • Lift the rear edge of the laptop.

    • Flip the far edge over and position the keyboard upside down on top of the touchpad.

  11. CkV6srr1xZOIH6hR
    CkV6srr1xZOIH6hR
    BXA1fJEZ4BWlkPcI
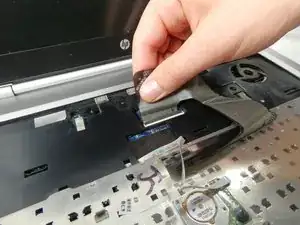
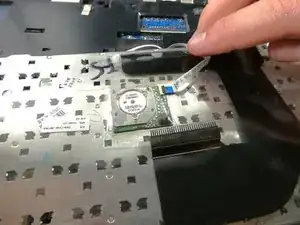
    • Release the connector in the middle of the back of the keyboard.

    • Disconnect the pointing stick.

  12. doWWGkhDau46xYOw
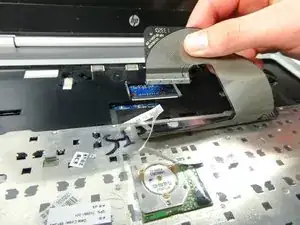
    • Release the connector for the keyboard cable.

    • Remove the cable from the system.

  13. vapONHXqK1dJklSg
    • Remove the keyboard.

Conclusion

To reassemble your device, follow these instructions in reverse order.
Owen Bangs

Member since: 25/10/22

629 Reputation

0 comments