Introduction

A hard drive is a storage unit for computers, and there are two different types of hard drives HDD and SSD. HDDs are traditional storage devices with spinning platters that read and write data, and SSDs are newer technology that stores data on instantly accessible memory chips.

The HP EliteBook 8470p has a few different options for hard drive: 320/500/750GB 7200 rpm SMART SATA II or 500GB 7200 rpm SMART SATA II self encrypting drive. The EliteBook 8470p does have other storage options like a HP 3D DriveGuard (windows only), which the hard drive is mounted directly to the notebook frame, or a Solid State Drive, which can come as a; SATA 6Gb/s 128GB Solid State, or SATA 6 Gb/s 256 GB SED Solid State.

The HP EliteBook 8470p is roughly a decade old laptop, in order to keep up with the increasing programs and storage required to run these programs, the hard drive will need to be upgraded. This guide will help show how to replace the current hard drive.

  1. AGJegcLp3GVOnnqf
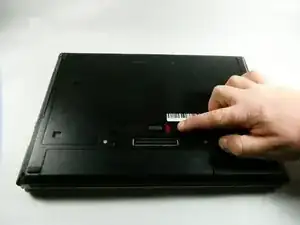
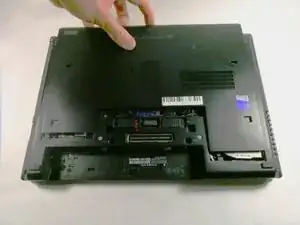
    • Position the computer upside down with the opening latch facing away from you and the battery facing towards you.

    • If the battery is “swollen” or the shape is irregular, stop whatever you are doing and allow the battery to slowly discharge itself before removing it from the laptop casing. Click the link to learn how to replace and dispose of a “swollen” battery, What to do with a swollen battery.

  2. VoctAyKqe2QQMrsG
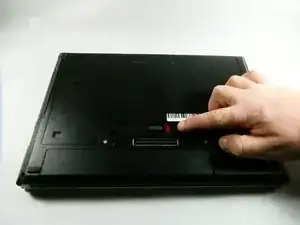
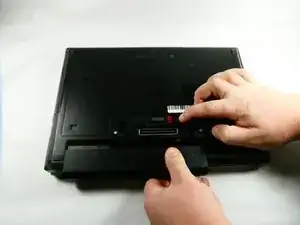
    • Slide the battery latch positioned to the right over to the right side. Hold it there.

  3. v3VAAsjodgt1kulF
    • With the latch opened, pull the battery out of its socket firmly.

    • There will likely be some resistance. However, if you find it to be excessive, the latch may not be properly opened.

  4. CsOfC3AoPtHgGWPg
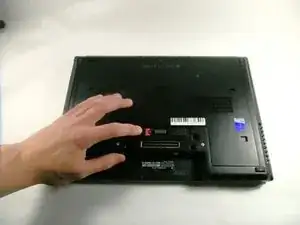
    • With the laptop latch still facing away from you, slide the left release latch to the left.

    • Some models may have a screw installed on this latch, if so, be sure to remove it first to avoid damaging the latch.

  5. QQMlfccEUgCFUlBB
    QQMlfccEUgCFUlBB
    vtoJJbxw6Laueq6Q
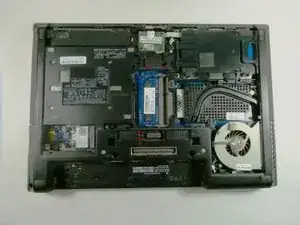
    • Slide the door away from you, toward the opening latch.

    • Lift the door upwards away from the computer.

  6. CELhRnirPZwmZqUX
    CELhRnirPZwmZqUX
    kfmUiveeQrOLAJw2
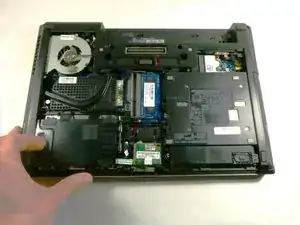
    • Pull tab to the right and lift up to open case.

  7. RQhAol3NExvyHKOy
    RQhAol3NExvyHKOy
    abLZjVqLM5M2DfxQ
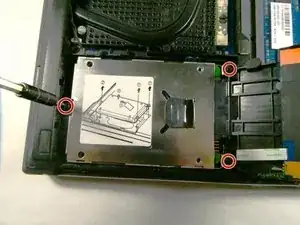
    • Loosen the three captive screws securing the hard drive to the motherboard with a Phillips #00 screwdriver.

  8. tPHD6BCYXUrYYUNe
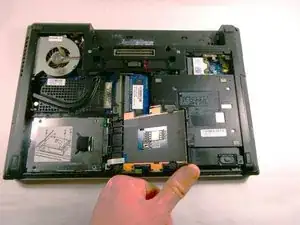
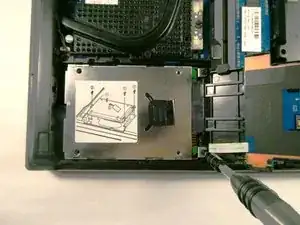
    • Pull the tab on the hard drive towards the near side of the case.

    • Be sure the hard drive unplugs from the motherboard in this step.

  9. qUhVOdSBQJxiUEeZ
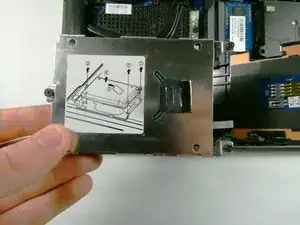
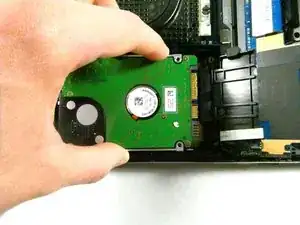
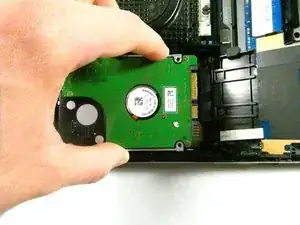
    • Pull up and remove the hard drive.

Conclusion

To reassemble your device, follow these instructions in reverse order.
Owen Bangs

Member since: 25/10/22

629 Reputation

0 comments