Introduction

The fan in this laptop ensures that all the components are at a temperature where they can perform to the user’s standards. It is located inside the laptop in the upper left corner.

A fan that is damaged or broken could lead to overheating and a loss of performance in the laptop. Things to look for are your keyboard feeling warm, the laptop freezing for no apparent reason, and a lack of air dispersed from the laptop's exhaust ports.

This step should be completed after removing the battery and service cover from the underside of the computer.

  1. AGJegcLp3GVOnnqf
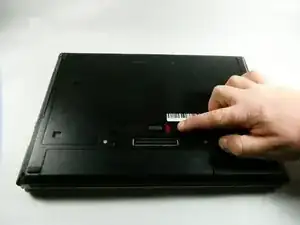
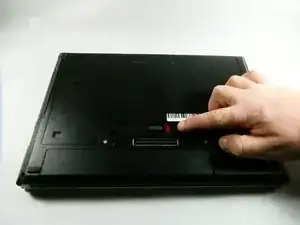
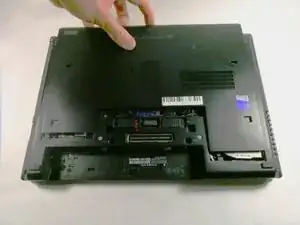
    • Position the computer upside down with the opening latch facing away from you and the battery facing towards you.

    • If the battery is “swollen” or the shape is irregular, stop whatever you are doing and allow the battery to slowly discharge itself before removing it from the laptop casing. Click the link to learn how to replace and dispose of a “swollen” battery, What to do with a swollen battery.

  2. VoctAyKqe2QQMrsG
    • Slide the battery latch positioned to the right over to the right side. Hold it there.

  3. v3VAAsjodgt1kulF
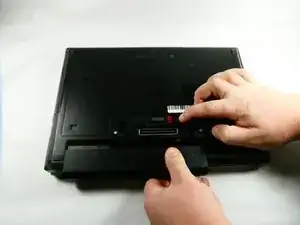
    • With the latch opened, pull the battery out of its socket firmly.

    • There will likely be some resistance. However, if you find it to be excessive, the latch may not be properly opened.

  4. CsOfC3AoPtHgGWPg
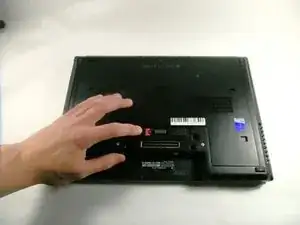
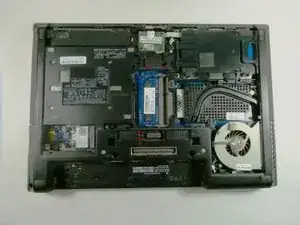
    • With the laptop latch still facing away from you, slide the left release latch to the left.

    • Some models may have a screw installed on this latch, if so, be sure to remove it first to avoid damaging the latch.

  5. QQMlfccEUgCFUlBB
    QQMlfccEUgCFUlBB
    vtoJJbxw6Laueq6Q
    • Slide the door away from you, toward the opening latch.

    • Lift the door upwards away from the computer.

  6. KMWmjDLRPvnnmRSj
    KMWmjDLRPvnnmRSj
    qtyF6K1nWWjxDgxC
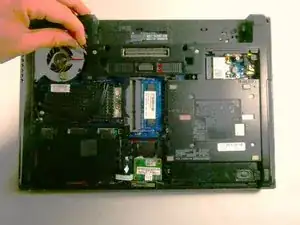
    • Disconnect the fan cable located directly to the right of the fan.

    • Hold the cable by the head of it and pull firmly, do not pull by the wires, as you may damage the cable.

  7. TGqDFE3sbKUMJ3Nc
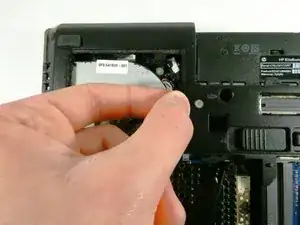
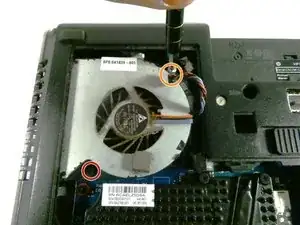
    • Remove the 5 mm Phillips #00screws to the bottom-left of the fan.

    • Remove the captive screw positioned to the top-right of the fan with a Phillips #00 screwdriver.

  8. cvGLsWHRNMLgFaSx
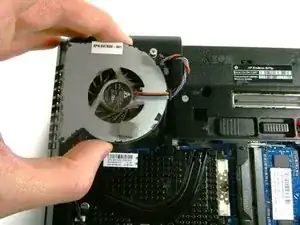
    • Lift the right side of the fan and slide it out from below the edge of the case.

    • Lift up on the fan and remove.

Conclusion

To reassemble your device, follow these instructions in reverse order.
Owen Bangs

Member since: 25/10/22

629 Reputation

0 comments