Introduction

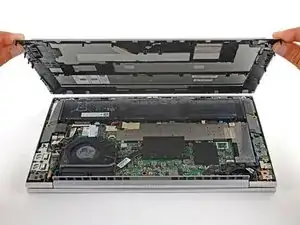
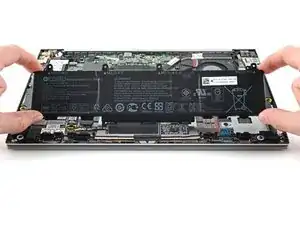
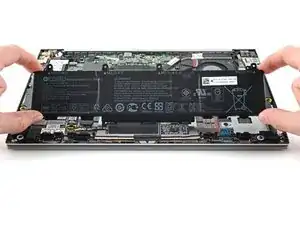
Use this guide to replace the battery in your HP EliteBook 835 G7 Laptop.

For your safety, discharge the battery below 25% before disassembling your device. This reduces the risk of fire if the battery is accidentally damaged during the repair. If your battery is swollen, take appropriate precautions.

  1. Za1p2bwEcvjMAEGC
    Za1p2bwEcvjMAEGC
    dil3KCVvVvVjqMAV
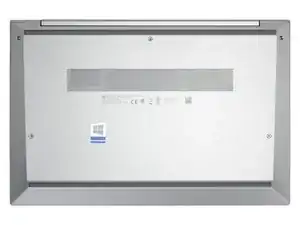
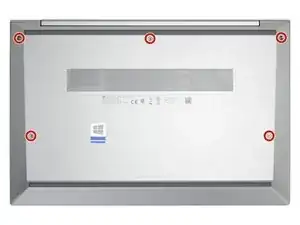
    • Completely power off and unplug your EliteBook before you start. Close the display and flip the entire laptop upside-down.

    • Use a Phillips screwdriver to loosen the five captive screws from the lower case.

  2. MxNeeZpjuZSkuiPa
    MxNeeZpjuZSkuiPa
    CO1baSu2WBhGQFke
    hUDmtX6xUX4cbdsp
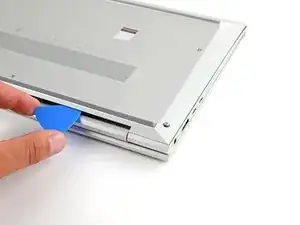
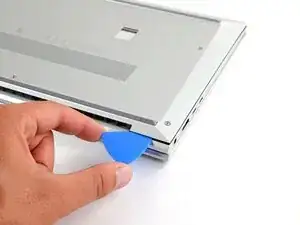
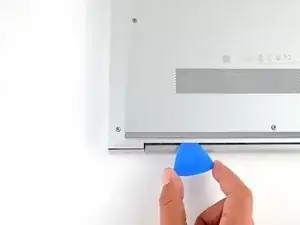
    • Insert an opening pick between the lower case and the chassis along the hinge edge.

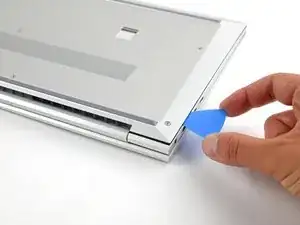
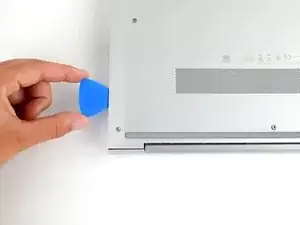
    • Slide the opening pick around the right corner and halfway up the side of the EliteBook to release the clips securing the lower case.

  3. Eix6cl4gGQRBVKaI
    Eix6cl4gGQRBVKaI
    LhO2ovMrMDqoGQmv
    oyJgkpLcKpveRPqY
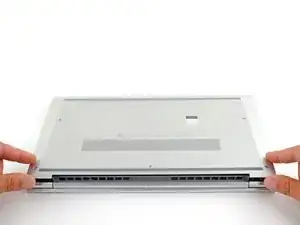
    • Repeat the previous step on the left side of the case to release the clips.

  4. HsJKyoOhUZBlAKnj
    HsJKyoOhUZBlAKnj
    ntdvlGFVOWVvZ3mL
    EQuQDwNPR2FYEGhB
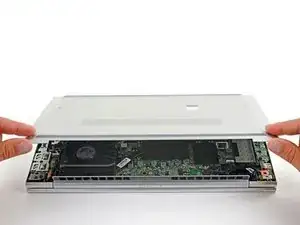
    • Lift the lower case up and away from the EliteBook and remove it.

  5. WR11UcMkAJXTDgoE
    WR11UcMkAJXTDgoE
    LPF6viYnQHrX1tdv
    OVtksYX3UZym5lwF
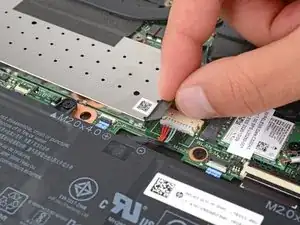
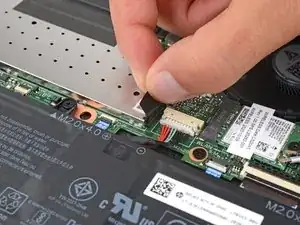
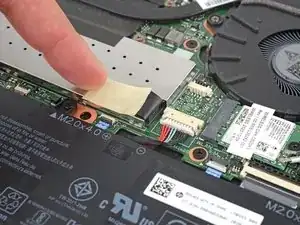
    • Move the pull tab that covers the battery connector out of the way.

    • You can use a piece of tape to hold the pull tab out of the way.

  6. Ydcer3mn5W4Dvbfv
    Ydcer3mn5W4Dvbfv
    Q3TOtnZiOQS5VARP
    KbG2WXI2cuD2aaT3
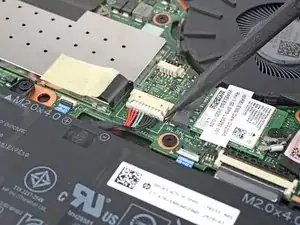
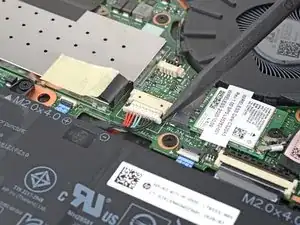
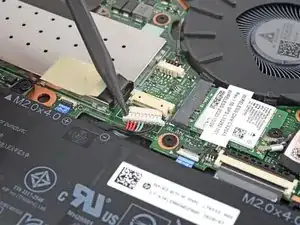
    • Use the pointed end of a spudger to push each side of the battery connector until it comes out of the socket.

  7. UNcGUExa1HMHhWme
    UNcGUExa1HMHhWme
    D4GAaj2tSxQPAZqk
    Es11qPORNFFFcBEW
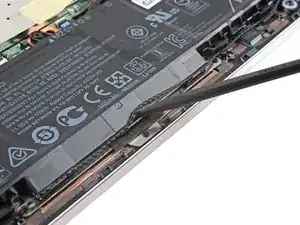
    • Use a spudger, or your fingers, to separate the speaker cable from its plastic recess.

    • Repeat for the two other plastic recesses.

  8. 4OxQSf1qiDLtSIcW
    4OxQSf1qiDLtSIcW
    MVuPAk1ZkoH6JKxN
    • Use a Phillips screwdriver to remove the four 4.5 mm-long screws securing the battery.

  9. wkCu6jmHsv3NYrgH
    wkCu6jmHsv3NYrgH
    MmpcVxoXEfL1UKZH
    oQbBZj1QaOxE1X3R
    • Tilt the top of the battery upward to release its plastic clips.

    • Remove the battery.

Conclusion

To reassemble your device, follow these instructions in reverse order.

For optimal performance, calibrate your newly installed battery after completing this guide.

Take your e-waste to an R2 or e-Stewards certified recycler.

Repair didn’t go as planned? Try some basic troubleshooting, or ask our Answers community for help.
Alex Diaz-Kokaisl

Member since: 16/01/22

117875 Reputation

0 comments