Introduction
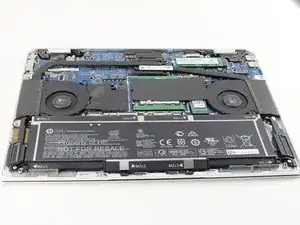
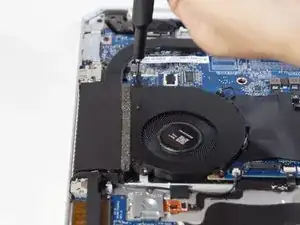
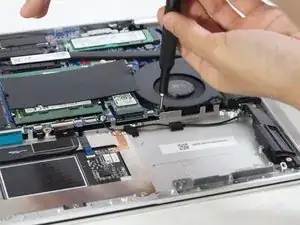
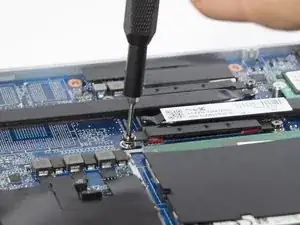
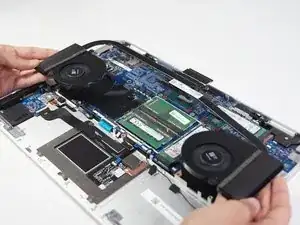
This guide is for a fan replacement in your HP EliteBook 1050 G1. The fan is typically the loudest running component of the laptop. If you notice a sudden increase or decrease in noise and the computer seems to be overheating then there could be an issue with your fan. This guide will assist you with replacing the fan to get your laptop back in well working condition.
For this replacement, you will need a Phillips #00 Screwdriver, a spudger, iFixit opening tool, and the TR9 Torx Security Screwdriver.
Tools
-
-
Close your laptop and turn it over so that the side without the HP logo is facing you.
-
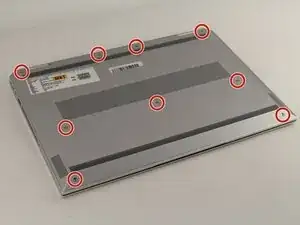
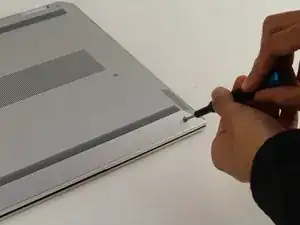
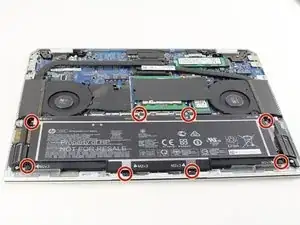
Using the TR9 screwdriver, loosen the nine screws from the base of the device.
-
-
-
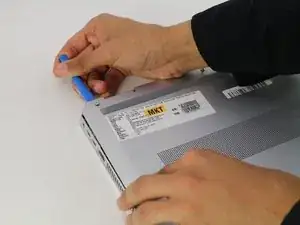
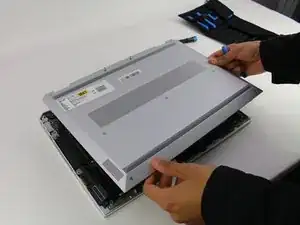
Remove the base by inserting the plastic opening tool into the slit between the two portions of the case and gently prying the metal cover away from the body of the device.
-
Slowly work your way around the edge of the base.
-
Lift the cover of the laptop off of the body of the device.
-
-
-
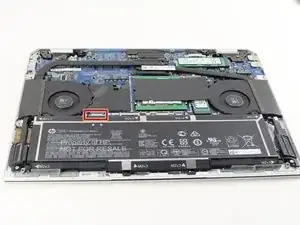
Find the connector between the battery and the device. It is on the left-hand side above the battery.
-
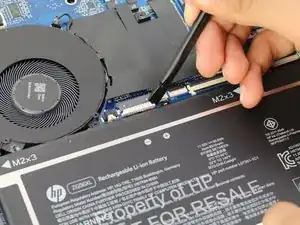
Use the spudger to gently pull the corners of the connector away from the black housing.
-
-
-
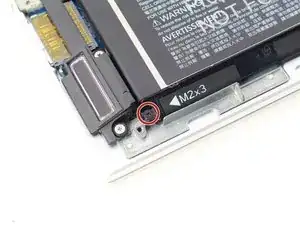
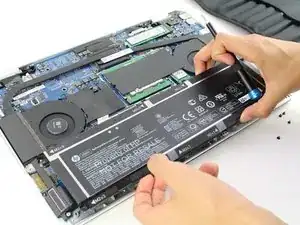
Remove the seven black 3mm Phillips #00 screws next to the M2x3 label along the edge of the battery using the Phillips #00 screwdriver.
-
-
-
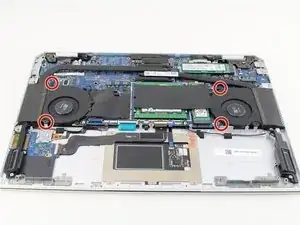
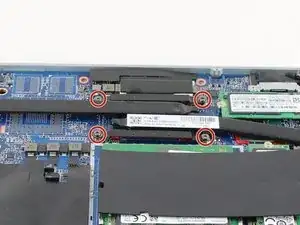
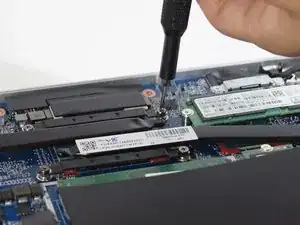
Remove the four black 5mm screws directly around the fans using the Phillips #00 screwdriver.
-
-
-
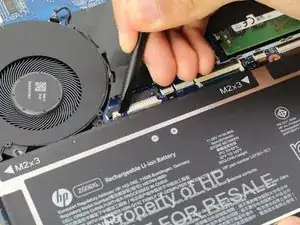
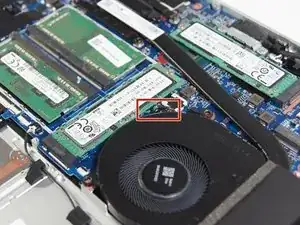
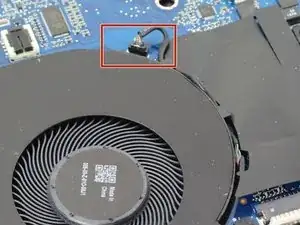
Find the connector between the right fan and the device. It is located near the top 5mm black screw that kept the fan in place.
-
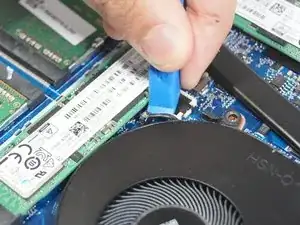
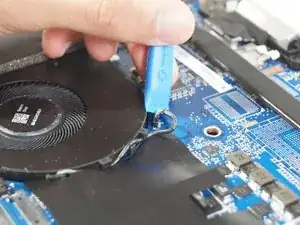
Use the iFixit opening tool to pull the connector out of the black housing.
-
-
-
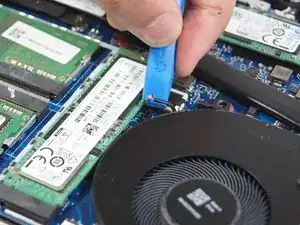
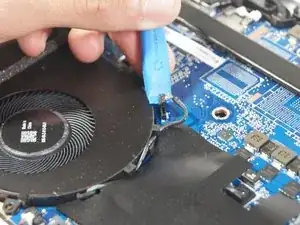
Repeat the same procedure as previous step with the connector between the left fan and the device.
-
Use the iFixit opening tool to pull the connector out of the black housing.
-
To reassemble your device, follow these instructions in reverse order.
