Introduction
The SSD can become worn out due to the constant reading and writing of data. As a result, it's important to know how to upgrade or replace it. This guide will explain how to replace the SSD card for the HP Elite x2 1012 G2.
-
-
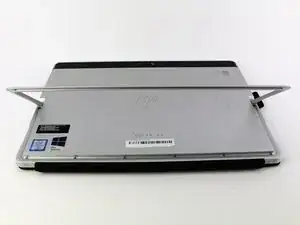
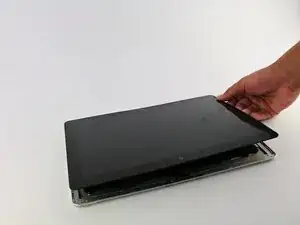
Turn the device over so the screen is facing you.
-
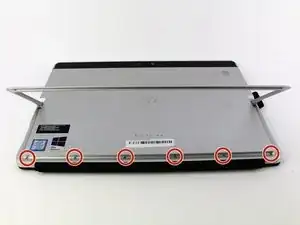
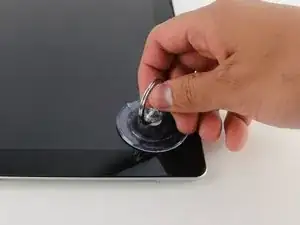
Place a suction cup firmly onto a corner of the screen.
-
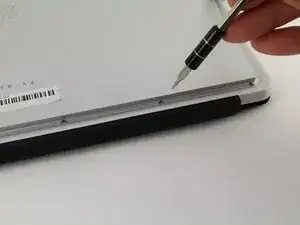
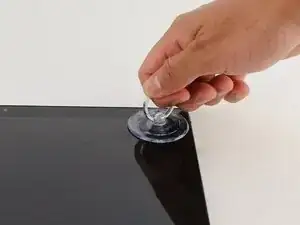
Lift up gently until you see the screen separate from the casing.
-
Repeat this process for all four corners.
-
-
-
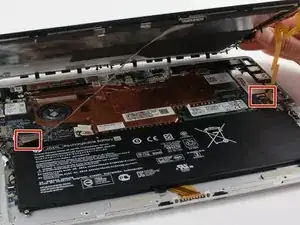
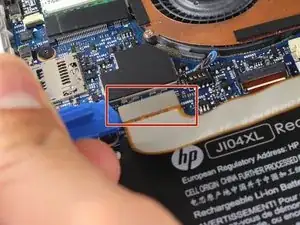
Remove the two connectors on the back of the screen by lifting the connector tabs on the motherboard with a plastic opening tool and pulling gently.
-
-
-
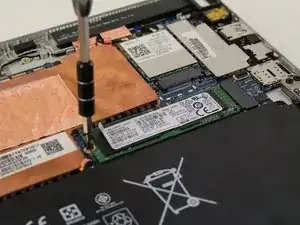
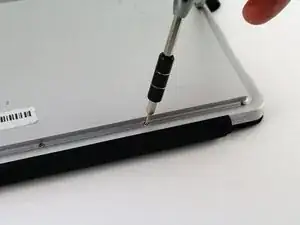
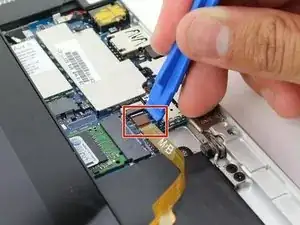
Remove the single Phillips M2.0x2.0 screw on the SSD using a Phillips screwdriver. Turn the screwdriver counterclockwise to remove the screw.
-


To reassemble your device, follow these instructions in reverse order.
2 comments
Vielen Dank für die sehr gute Anleitung. Es hat alles perfekt geklappt.
Das Display selber sitzt zum Teil aber sehr fest im Gehäuse und man muss sich überwinden etwas Kraft anzuwenden.
Sollte man zu fest ziehen (und einem das Display entgegenspringt) besteht ja die Gefahr die filigranen Kabel abzureißen.
Mein Lüfter läuft ständig. Sollte die Wärmeleitpaste eingetrocknet sein?