Introduction
To resolve issues with the keyboard of your HP Chromebook 11-ae010nr not responding you should use this guide to replace your keyboard. Before beginning you should check the other options listed in the troubleshooting guide to ensure that it is a hardware issue. This is also a necessary step to replacing any other component of the device as accesss to the internal components is through the keyboard. This guide will show you how to remove the keyboard assembly to replace it.
-
-
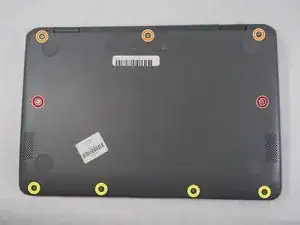
Flip the device upside down so that the screws are visible.
-
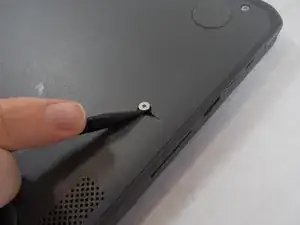
Loosen two captive Phillips #1 screws from the center of the device.
-
Remove three 9.3 mm Phillips #1 screws from the joint side of the device.
-
Remove four 6.1 mm Phillips #1 screws from the opening side of the device.
-
-
-
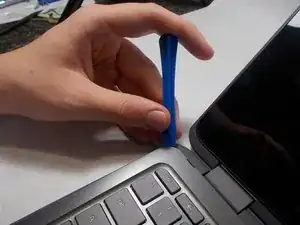
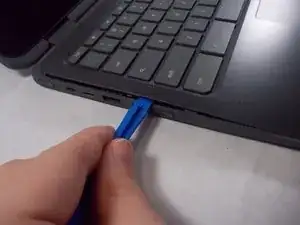
Insert an iFixit opening tool between the edge of the keyboard assembly and the base of the device.
-
Push down on the handle of the opening tool to create an opening between the keyboard assembly and the base of the device.
-
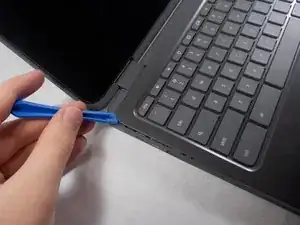
Move the opening tool around the device, popping open the clips with force when necessary, until the keyboard assembly is fully lifted from the base of the device.
-
-
-
Separate the keyboard assembly and the case.
-
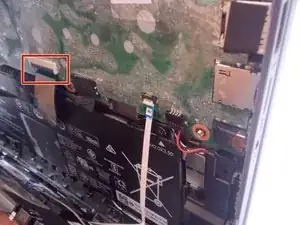
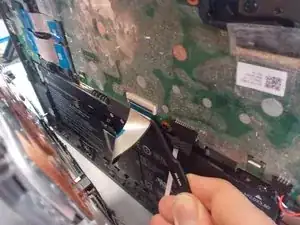
Flip the black plastic tab where the wider cable meets the main board using the tip of a spudger or a fingernail.
-
Remove the cable with curved needle nose pliers or your fingers.
-
-
-
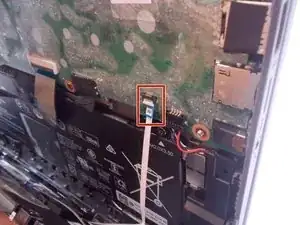
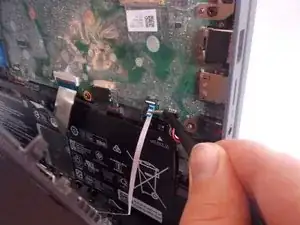
Flip the white plastic tab where the thinner cable meets the main board using the tip of a spudger or a fingernail.
-
Remove the cable with curved needle nose pliers or your fingers.
-
Separate the keyboard from the laptop.
-
To reassemble your device, follow these instructions in reverse order.