Introduction
If the display on your HP Chromebook x360 11-ae010nr is broken or damaged and you wish to replace it then this guides for you. The guide will show a step-by-step process on how to disconnect the display from the rest of your device.
-
-
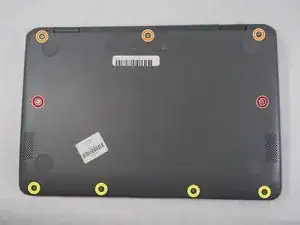
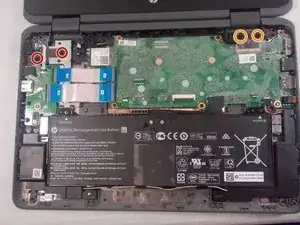
Flip the device upside down so that the screws are visible.
-
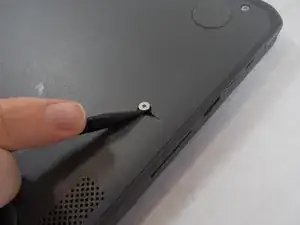
Loosen two captive Phillips #1 screws from the center of the device.
-
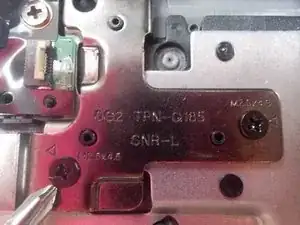
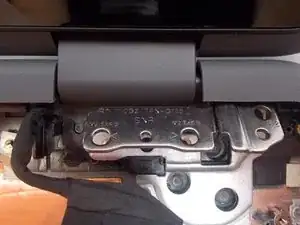
Remove three 9.3 mm Phillips #1 screws from the joint side of the device.
-
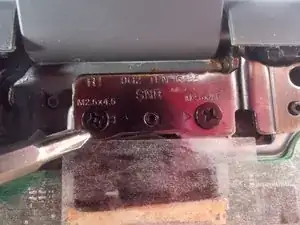
Remove four 6.1 mm Phillips #1 screws from the opening side of the device.
-
-
-
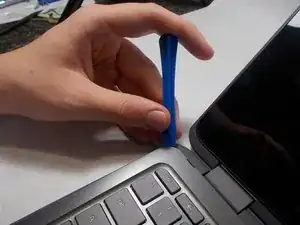
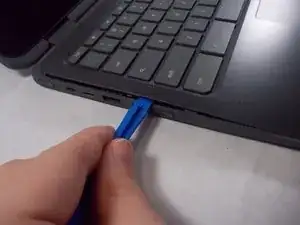
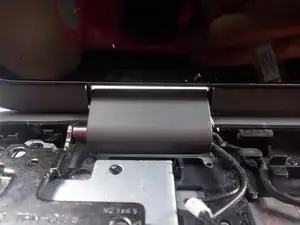
Insert an iFixit opening tool between the edge of the keyboard assembly and the base of the device.
-
Push down on the handle of the opening tool to create an opening between the keyboard assembly and the base of the device.
-
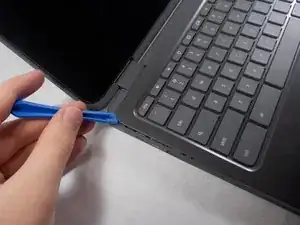
Move the opening tool around the device, popping open the clips with force when necessary, until the keyboard assembly is fully lifted from the base of the device.
-
-
-
Separate the keyboard assembly and the case.
-
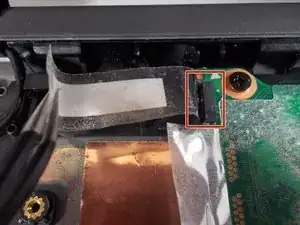
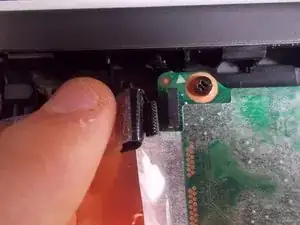
Flip the black plastic tab where the wider cable meets the main board using the tip of a spudger or a fingernail.
-
Remove the cable with curved needle nose pliers or your fingers.
-
-
-
Flip the white plastic tab where the thinner cable meets the main board using the tip of a spudger or a fingernail.
-
Remove the cable with curved needle nose pliers or your fingers.
-
Separate the keyboard from the laptop.
-
-
-
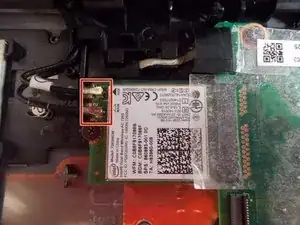
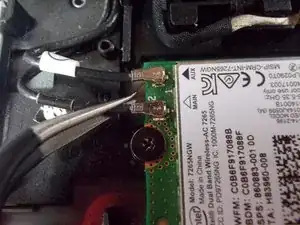
Use a pair of tweezers to gently but firmly pull each of the black cables out from their sockets.
-
-
-
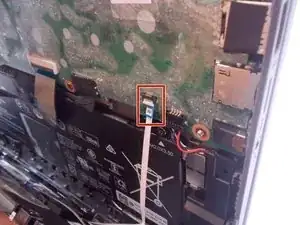
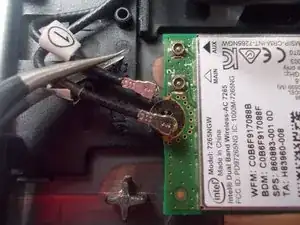
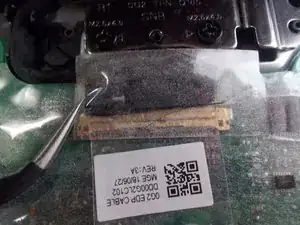
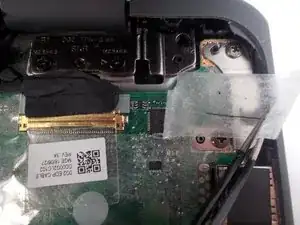
Use a pair of tweezers to partially peel and hold both plastic strips away from the golden connector cable.
-
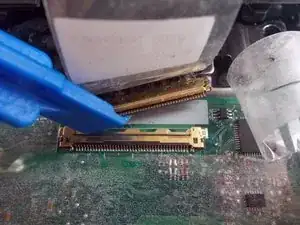
Use an opening tool to pull the golden cable out from its socket.
-
-
-
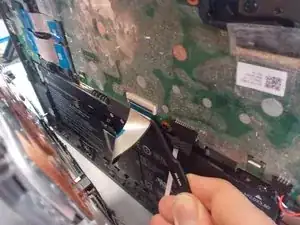
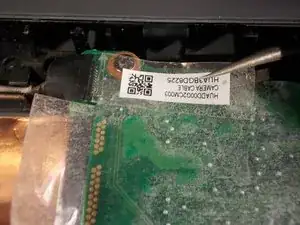
Use a pair of tweezers to gently pull back and hold the plastic strip.
-
Pull the black cable out from its socket.
-
-
-
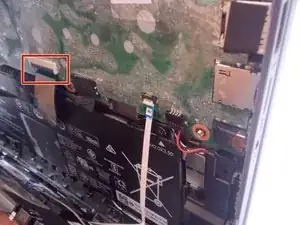
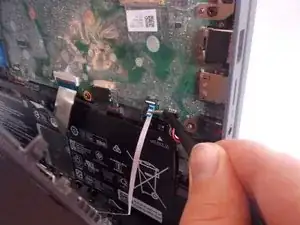
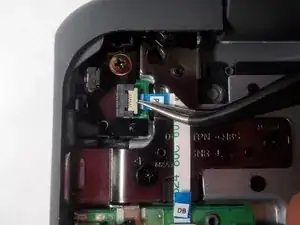
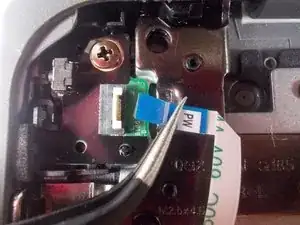
Use a pair of tweezers to flip up the white clip.
-
Gently remove the white and blue ribbon cable from its socket.
-
-
-
Remove the two 6 mm Phillips #0 screws from the metal bracket on the left side of the device.
-
Remove the two 6 mm Phillips #0 screws from the metal bracket on the right side of the device.
-
-
-
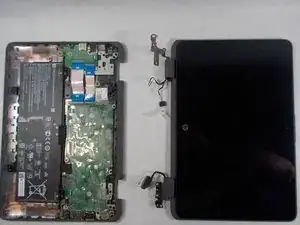
Carefully pull the display towards you while keeping the both brackets parallel to the body of the device.
-

To reassemble your device, follow these instructions in reverse order.