Introduction
We are going to help you remove and replace a component of your HP Chromebook CB2L. The component that this guide helps you with is the Audio Port of the HP Chromebook CB2L. Please take a look at this troubleshooting page to confirm that this component needs replacement.
-
-
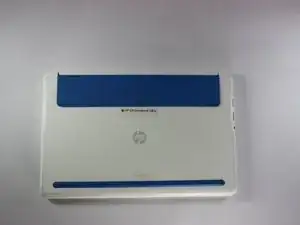
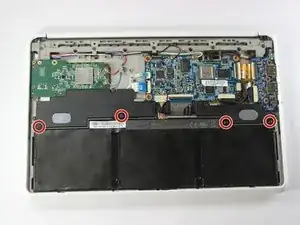
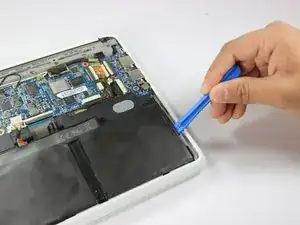
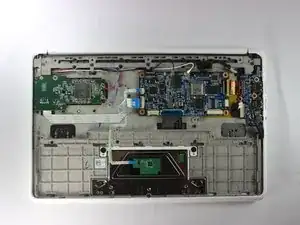
First flip your HP Chromebook CB2L over such that the bottom is facing upwards.
-
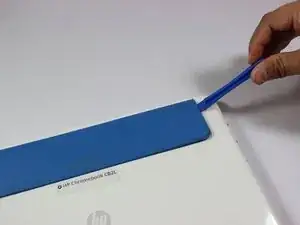
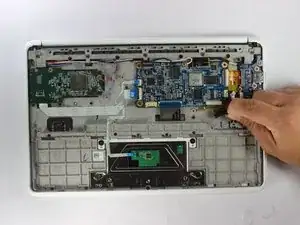
Next, using the plastic opening tool remove the blue panel.
-
-
-
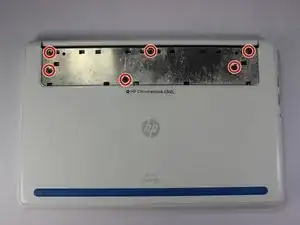
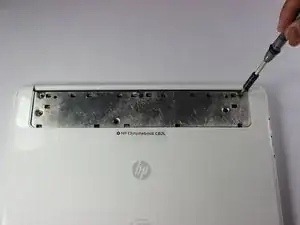
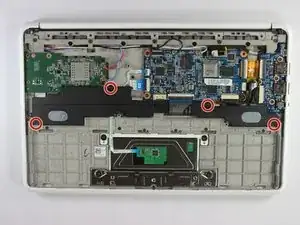
Using the Phillips #1 screwdriver, remove the six 1.2mm screws.
-
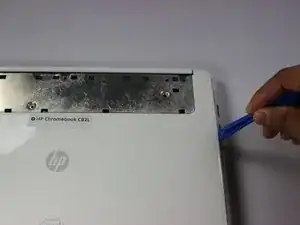
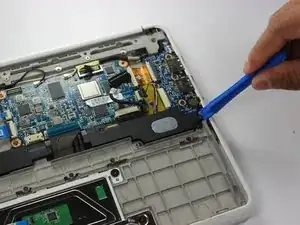
Gently pry off the white back panel using the plastic opening tool.
-
-
-
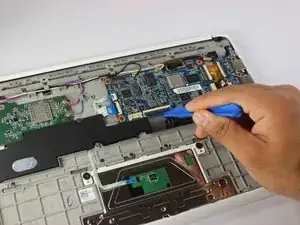
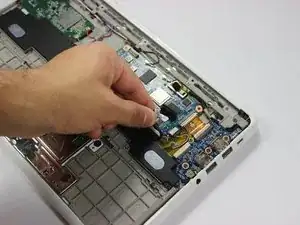
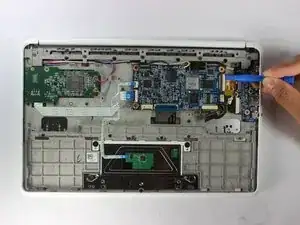
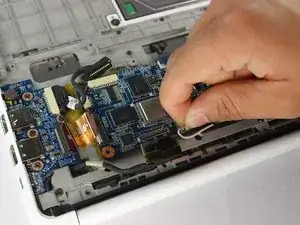
Using the plastic opening tool lift the black tab.
-
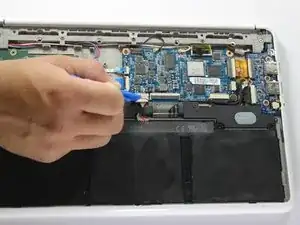
Disconnect the blue and black strip from the motherboard.
-
-
-
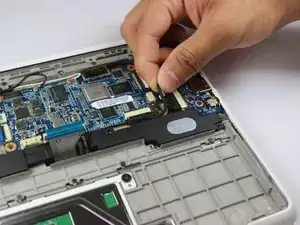
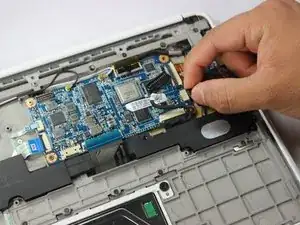
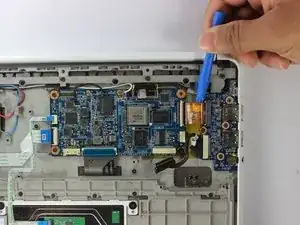
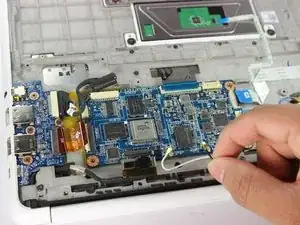
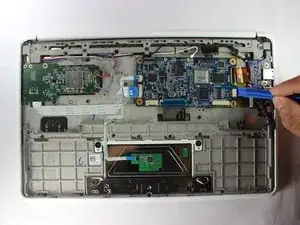
Gently pull the black wire to disconnect the audio port from the motherboard.
-
Disconnect the black wire connecting the speaker to the motherboard with caution.
-
-
-
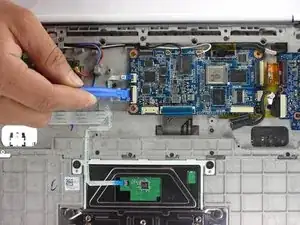
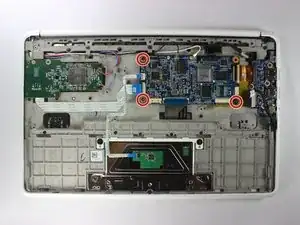
Disconnect the black wire which connects the audio port to the motherboard.
-
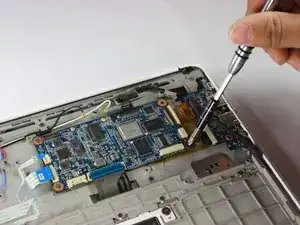
Use the plastic opening tool to lift the white tab.
-
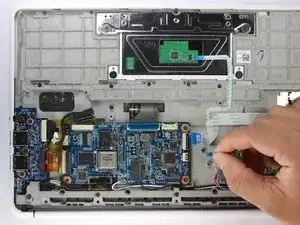
Use the plastic opening tool to disconnect the gold strip which connects the audio port to the motherboard.
-
-
-
Lift the black tab using the plastic opening tool.
-
Remove the two white strips from the motherboard.
-
-
-
Lift the black and silver connector using plastic opening tool as shown.
-
Remove the white and black wires by rotating them counterclockwise and gently lifting them.
-
To reassemble your device, follow these instructions in reverse order.