Introduction
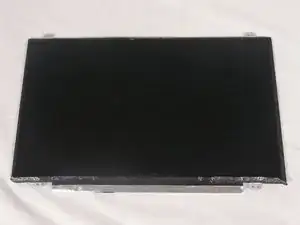
This guide will assist you in successfully replacing the HP Chromebook 14-x013dx Screen. This requires the removal of the bezel around the screen, as well as 4 screws and the connection to the motherboard. Some of the removed parts have adhesive on them which may need to be reapplied.
Note: The replacement of the screen does not require any prior disassembly of the laptop.
-
-
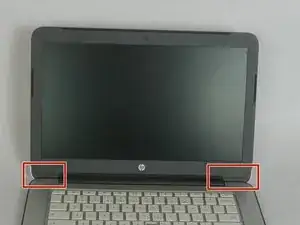
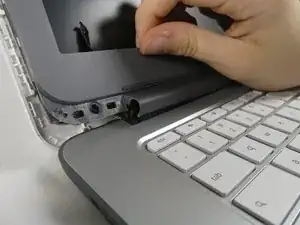
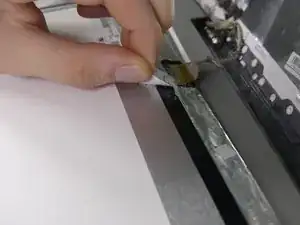
Remove lower left and right nylon flaps on the screen to remove the screws located underneath them.
-
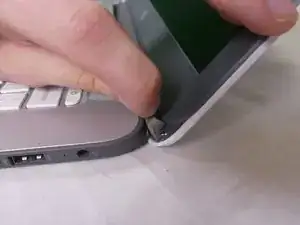
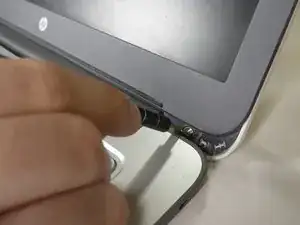
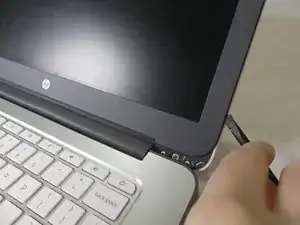
Remove the two 2mm screws holding the bezel to the laptop case.
-
-
-
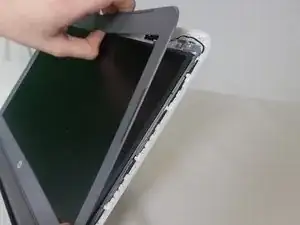
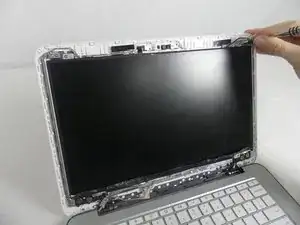
Gently pry around the edges of the display using a spudger to remove the bezel that borders the screen.
-
-
-
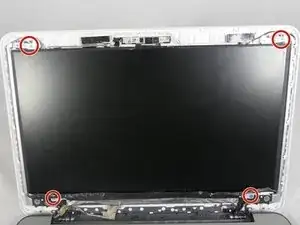
Once the bezel has been removed, remove the four 5mm screws at the corners of the screen using a PH00 screwdriver.
-
-
-
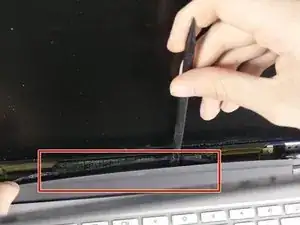
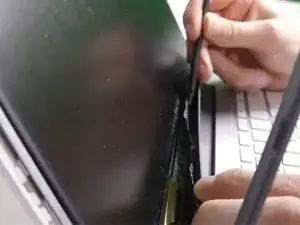
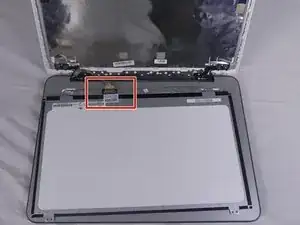
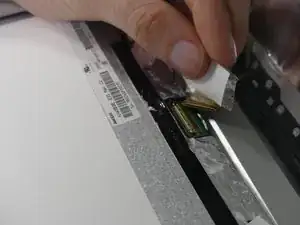
Before completely removing the screen, detach the connected located at the bottom of the screen.
-
To reassemble your device, follow these instructions in reverse order.