Introduction
This guide will assist you with opening the Chromebook 14-x013dx and replacing the keyboard to restore typing functions. This will involve removing 13 6mm screws and opening the front plate of the laptop to expose the insides. Note: The keyboard and trackpad are all one piece, meaning that you will be replacing both components.
-
-
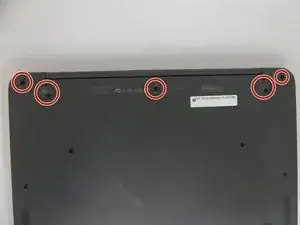
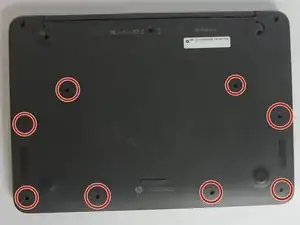
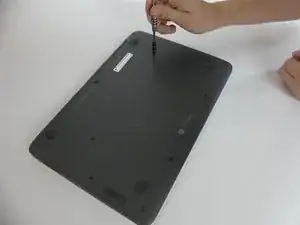
With the Phillips #00 screwdriver, remove the remaining eight 6mm screws. You will now have thirteen 6mm screws removed from the case.
-
-
-
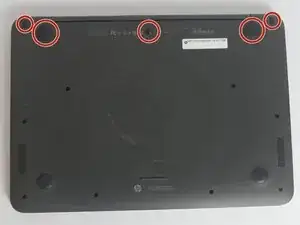
To continue removing the back cover, turn the laptop over as displayed.
-
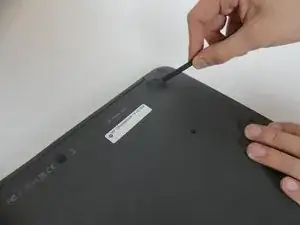
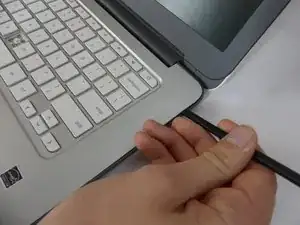
Use the plastic spudger to gently pry around the base of the laptop from the back cover. Continue prying around the entire base of the laptop.
-
-
-
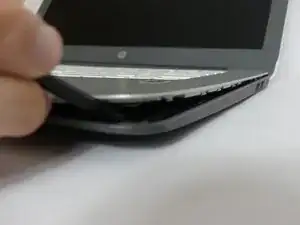
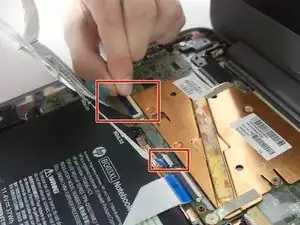
Gently lift the silver base of the laptop from the bottom, but do not remove it.
-
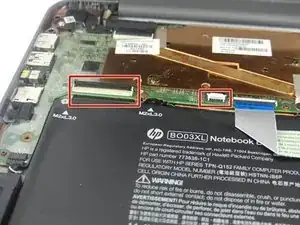
To remove the ribbon cables, lift the latch holding the ribbon cables in place and then pull them free.
-
Remove the keyboard panel from the laptop.
-

To reassemble your device, follow these instructions in reverse order.