Introduction

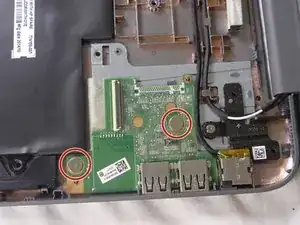
This guide demonstrates the replacement of the I/O board which holds the USB ports. This will require opening the laptop and then removing 15 screws.

  1. 2MpsVZhHVFoFkqZ5
    2MpsVZhHVFoFkqZ5
    aLZHYvlpOJTPmDjm
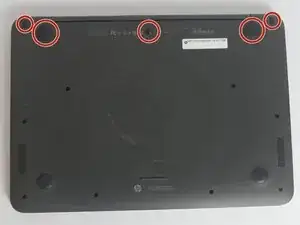
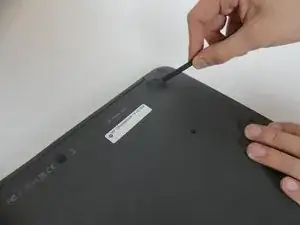
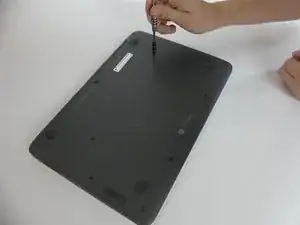
    • Using the plastic spudger, gently lift the 5 rubber pads away from their seating.

  2. ylwGyDFtZYBNDmiT
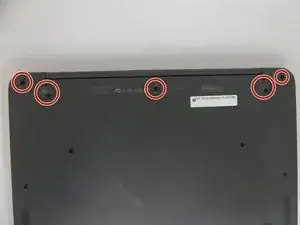
    • Remove the five 6mm screws located under the removed pads using Phillips #00 screwdriver.

  3. dCeynpSZrYFxGfwW
    dCeynpSZrYFxGfwW
    5jmKE4BApFdVRsEL
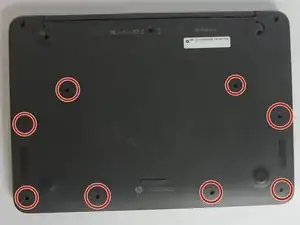
    • With the Phillips #00 screwdriver, remove the remaining eight 6mm screws. You will now have thirteen 6mm screws removed from the case.

  4. QMZRx1BJV6igb6NH
    QMZRx1BJV6igb6NH
    xC5mKDMDYq6FMkOT
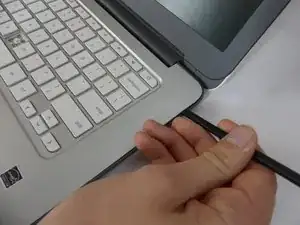
    • To continue removing the back cover, turn the laptop over as displayed.

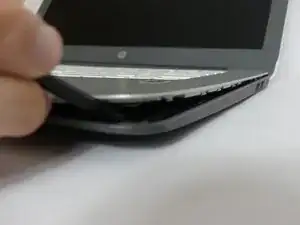
    • Use the plastic spudger to gently pry around the base of the laptop from the back cover. Continue prying around the entire base of the laptop.

  5. LeqIb1ePZMUFxhyT
    LeqIb1ePZMUFxhyT
    4wQuchBXgn5GoYxT
    sqJmyfbfWKKN5r1E
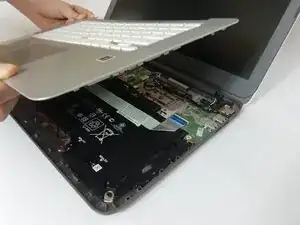
    • Gently lift the silver base of the laptop from the bottom, but do not remove it.

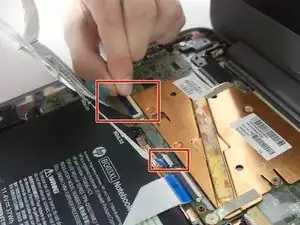
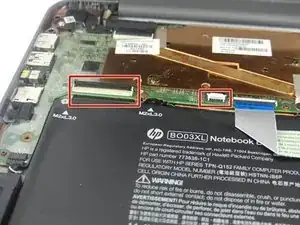
    • To remove the ribbon cables, lift the latch holding the ribbon cables in place and then pull them free.

    • Remove the keyboard panel from the laptop.

  6. fAGGgTI1SDwyfKPc
    fAGGgTI1SDwyfKPc
    gVLpRVllbwvSLtRa
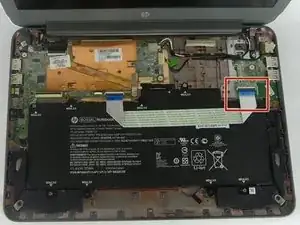
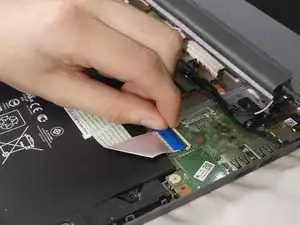
    • Unhook the ribbon connecting the I/O board and the battery.

    • To remove the ribbon, lift the latch holding the ribbons in place and then pull them free.

  7. fYJZN1JbMJrEWbSE
    fYJZN1JbMJrEWbSE
    JEDv1yyfgChJWJHm
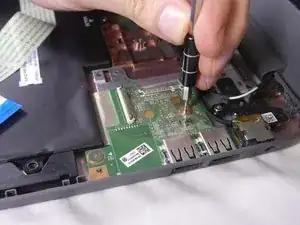
    • Remove two 2mm screws from the I/O board using the Phillips PH00 screwdriver.

  8. 2LlgdgrrCrSLW2ab
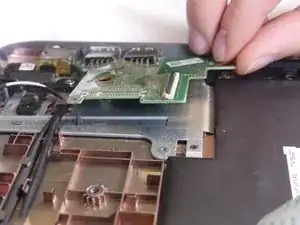
    • Lift the I/O board out of the laptop case.

Conclusion

To reassemble your device, follow these instructions in reverse order.
NHerbert

Member since: 28/09/17

602 Reputation

0 comments