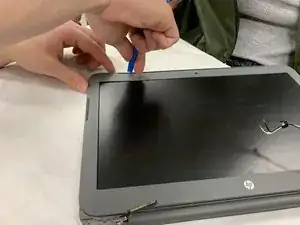
Introduction

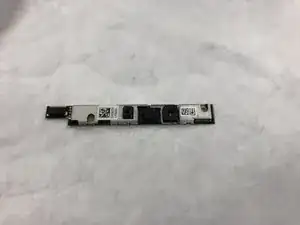
This guide walks through how to remove a malfunctioning camera in an HP Chromebook 14-x013dx. This replacement requires disabling the keyboard from the laptop and removing the lid, and the total repair time should take about 30 minutes.

  1. 2MpsVZhHVFoFkqZ5
    2MpsVZhHVFoFkqZ5
    aLZHYvlpOJTPmDjm
    • Using the plastic spudger, gently lift the 5 rubber pads away from their seating.

  2. ylwGyDFtZYBNDmiT
    • Remove the five 6mm screws located under the removed pads using Phillips #00 screwdriver.

  3. dCeynpSZrYFxGfwW
    dCeynpSZrYFxGfwW
    5jmKE4BApFdVRsEL
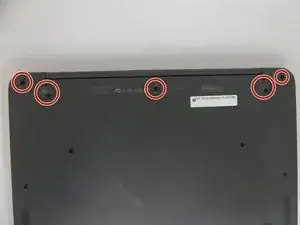
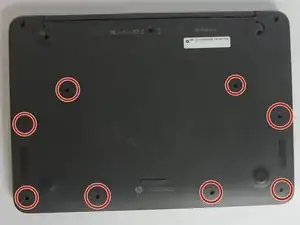
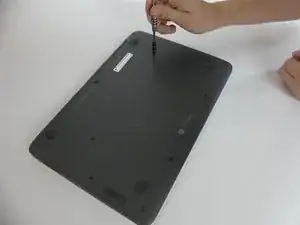
    • With the Phillips #00 screwdriver, remove the remaining eight 6mm screws. You will now have thirteen 6mm screws removed from the case.

  4. QMZRx1BJV6igb6NH
    QMZRx1BJV6igb6NH
    xC5mKDMDYq6FMkOT
    • To continue removing the back cover, turn the laptop over as displayed.

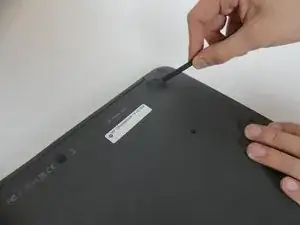
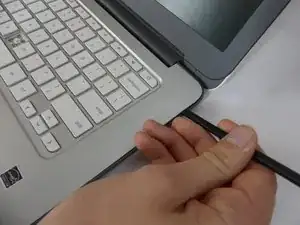
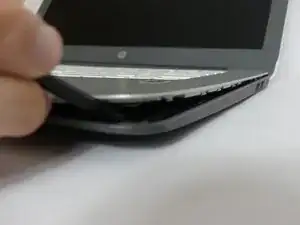
    • Use the plastic spudger to gently pry around the base of the laptop from the back cover. Continue prying around the entire base of the laptop.

  5. LeqIb1ePZMUFxhyT
    LeqIb1ePZMUFxhyT
    4wQuchBXgn5GoYxT
    sqJmyfbfWKKN5r1E
    • Gently lift the silver base of the laptop from the bottom, but do not remove it.

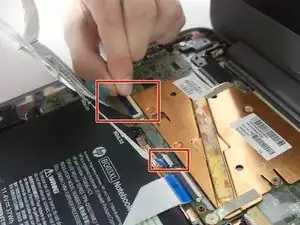
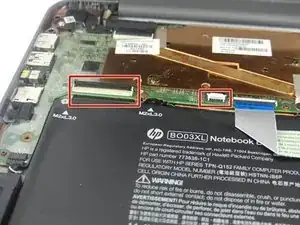
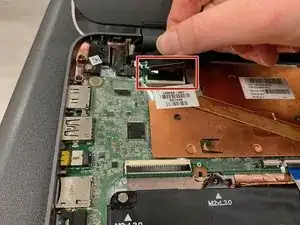
    • To remove the ribbon cables, lift the latch holding the ribbon cables in place and then pull them free.

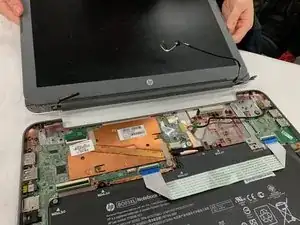
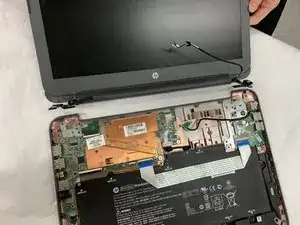
    • Remove the keyboard panel from the laptop.

  6. gYdOc1IW1wnINV2U
    gYdOc1IW1wnINV2U
    XmvpVSPh1MJhHXHD
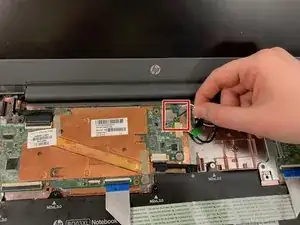
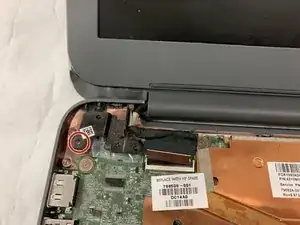
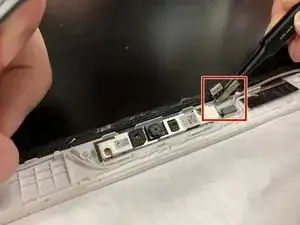
    • Disconnect the black and white wires connected to the Wi-Fi module.

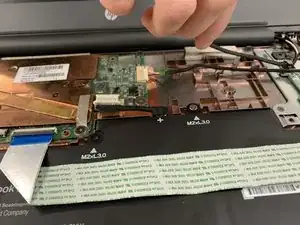
    • Remove the wire from the casing.

  7. LLVHXNjGwCBkIIk1
    • Pull the ribbon cable out of socket.

  8. OqEEyZYwAINSEqUC
    OqEEyZYwAINSEqUC
    jiYhs5COMGcvtbbK
    qSSMBXGLowb1gJlO
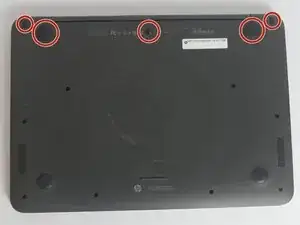
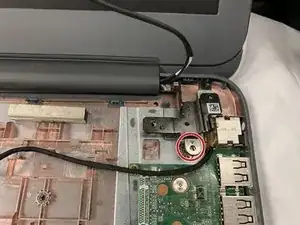
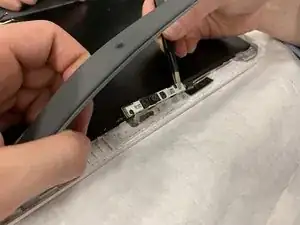
    • Use a Phillips #00 screwdriver to remove the two 6mm screws located at the upper left and right corners.

  9. nXRwoXHLn1uwPf5P
    nXRwoXHLn1uwPf5P
    CwYQRrq13JOWhQmB
    • Remove the lid out of the laptop.

    • It is helpful to rotate the lid to a 90-degree angle.

  10. 6fJLH3uCurxFOS3C
    • Using the plastic opening tool, pry the left and right side of the top of the lid.

    • It is not necessary to remove the entire frame, only pry the top to expose the camera.

  11. uYjdFxNgDWDoJ4wy
    • Using tweezers, gently remove the connection hold the camera in place.

  12. ZBDqOLZ2MNmiHXEy
    ZBDqOLZ2MNmiHXEy
    oYTRUA3TFnynKIYD
    • Gently pry the camera mount out of the lid.

    • Lift the camera mount out of the lid.

Conclusion

To reassemble your device, follow these instructions in reverse order.

Eile Woeltje

Member since: 06/11/19

304 Reputation

One comment

Thank you, very helpful. You could also just start at Step 10 without removing the display

Douglas Walker -