Introduction
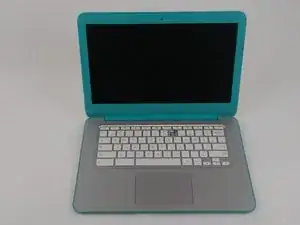
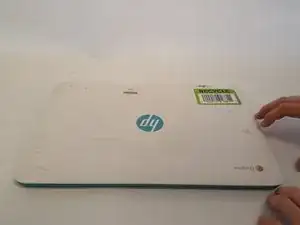
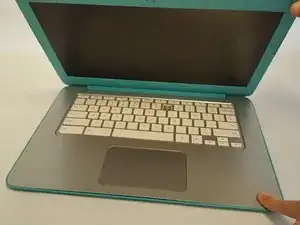
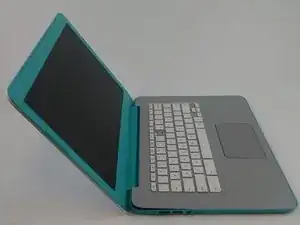
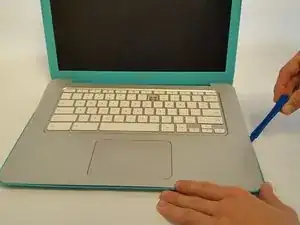
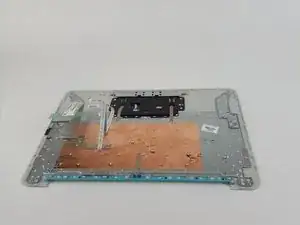
The TouchPad is a vital part for the functioning of a laptop. If it were to become damaged, the device could become very hard to operate making the user have to rely on an external mouse, which is not the idea for a portable device. Use this guide to be able to replace the TouchPad for a HP Chromebook 14-x010wm. This also works for the HP Chromebook 14 G4.
Tools
-
-
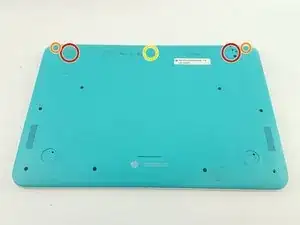
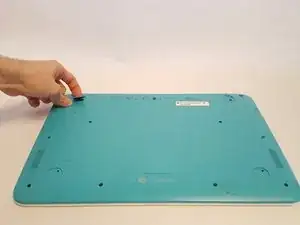
Remove the two larger rubber screw covers.
-
Remove the two smaller rubber screw covers.
-
Remove the middle rubber screw cover.
-
-
-
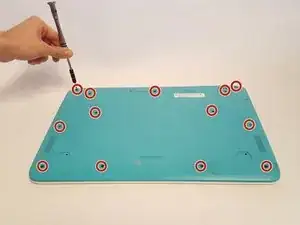
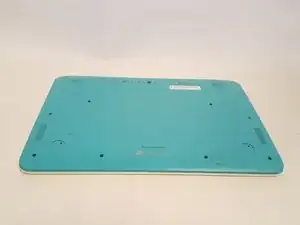
Using a Phillips #1 screwdriver, remove the thirteen 5.7 mm screws located on the back of the device as shown.
-
-
-
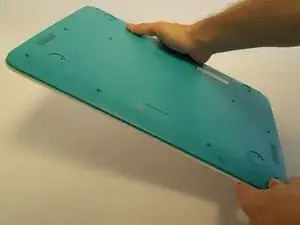
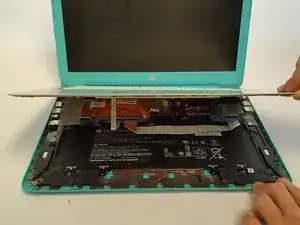
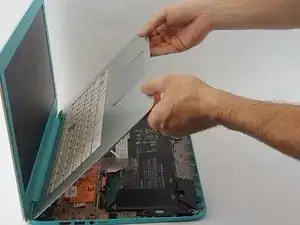
Carefully open the computer’s lid as far as it will go until the back edge of the keyboard cover separates from the base.
-
-
-
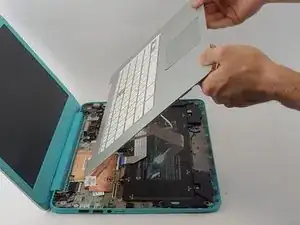
Using a plastic opening tool, pry open along the front edge and the sides of the keyboard cover to separate it from the computer’s base.
-
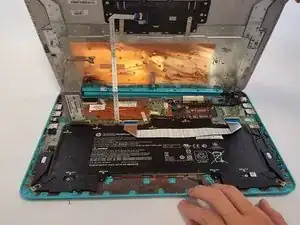
Carefully lift the keyboard cover from the computer’s base.
-
-
-
Using a spudger, remove the battery cable by slowly pulling the plastic connector towards you.
-
-
-
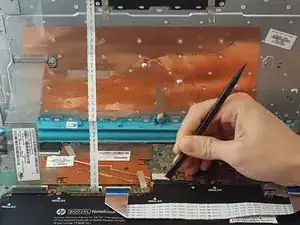
Using a spudger, lift the black plastic flap of the zero insertion force (ZIF) connector that holds the keyboard cable in place.
-
Disconnect the keyboard cable by pulling it from the system board.
-
-
-
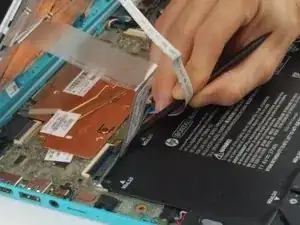
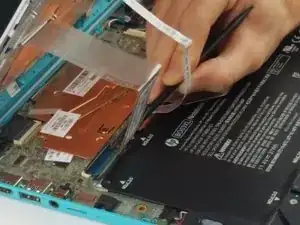
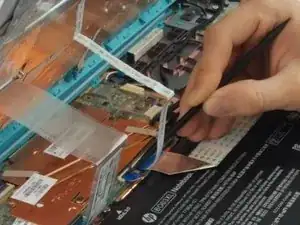
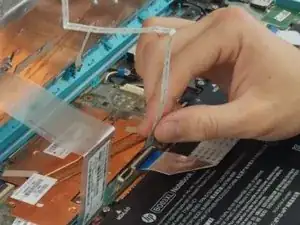
Using a spudger, lift the black plastic flap of the zero insertion force (ZIF) connector that holds the TouchPad cable in place.
-
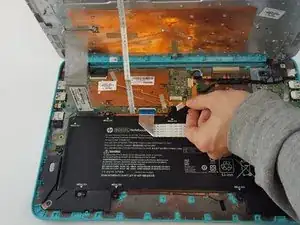
Disconnect the TouchPad cable by pulling it from the system board.
-
-
-
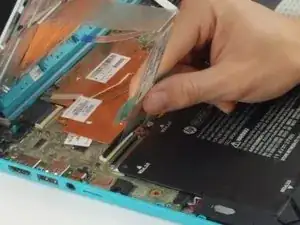
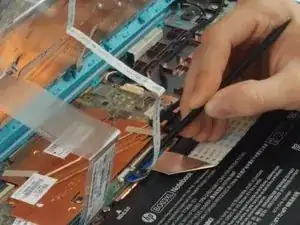
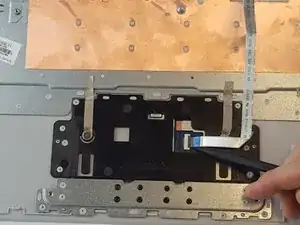
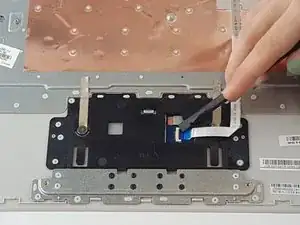
Using a spudger, lift the black plastic flap to release the TouchPad cable from the connector.
-
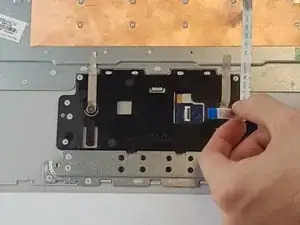
Disconnect the TouchPad cable by pulling it away from the connector.
-
-
-
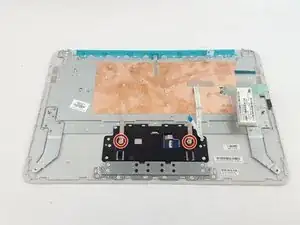
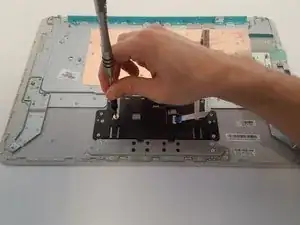
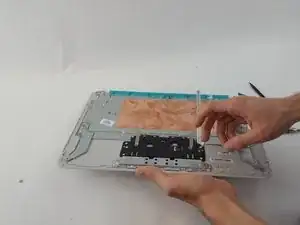
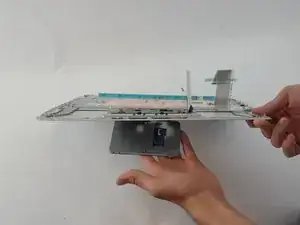
Using a Phillips #000 screwdriver, remove the two 2.4 mm screws that secure the TouchPad to the keyboard cover.
-
To reassemble your device, follow these instructions in reverse order.
