Introduction
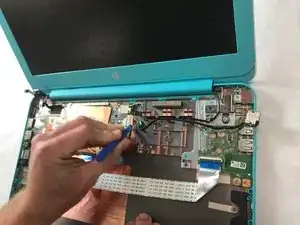
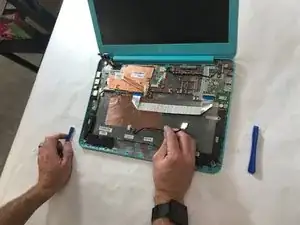
This guide will detail the process to remove and replace the charging port on an HP Chromebook 14-x010wm. You may need to replace this component if you damage the charging port, or find it is no longer supplying power to the battery. If your chromebook seems to function but does not appear to charge while plugged in, and you have already troubleshooted the possibility of a faulty charging cable, you may need to replace your charging port.
Tools
-
-
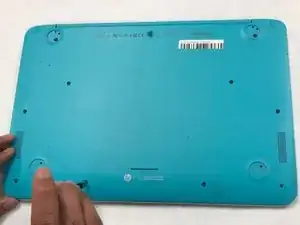
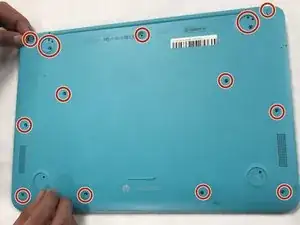
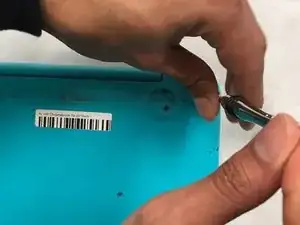
Remove the thirteen 5.7mm screws from the back of the laptop using a Phillips #00 screwdriver.
-
-
-
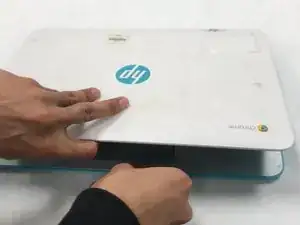
Flip the laptop over carefully and open the cover.
-
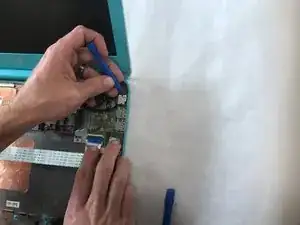
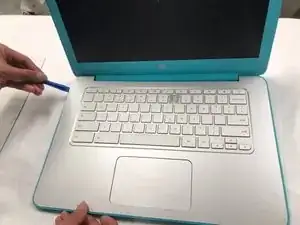
Use a plastic opening tool to pry open the front edge and along the sides of the keyboard cover to separate it from the computer’s base.
-
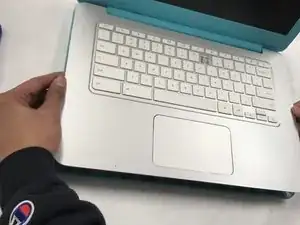
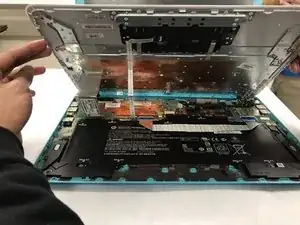
Lift the keyboard cover from the computer’s base carefully.
-
-
-
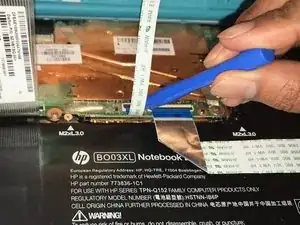
Lift the black plastic flap, using a plastic opening tool, of the zero insertion force (ZIF) connector that holds the keyboard cable in place.
-
Disconnect the keyboard cable by slowly pulling it from the system board.
-
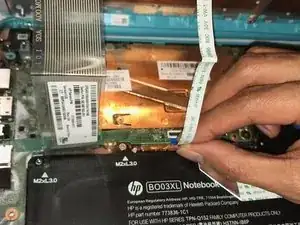
Lift the black plastic flap that holds the battery cable in place using a plastic opening tool.
-
Remove the battery cable by slowly pulling the plastic connector towards you.
-
Remove carefully and set aside keyboard panel.
-
-
-
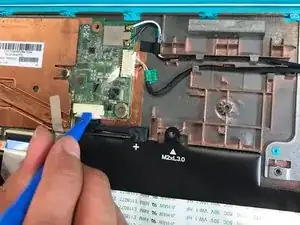
Flip the plastic flap holding the battery cable using a plastic opening tool.
-
Disconnect the battery cable by carefully pulling it from the system board.
-
-
-
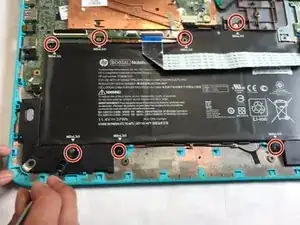
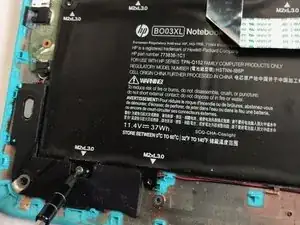
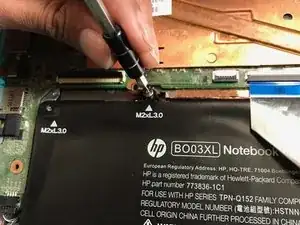
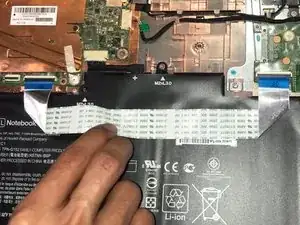
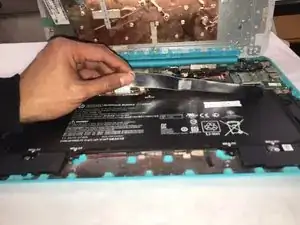
Peel the wire band off of the battery carefully.
-
Remove the battery by lifting slightly, then slowly pull it towards you.
-
-
-
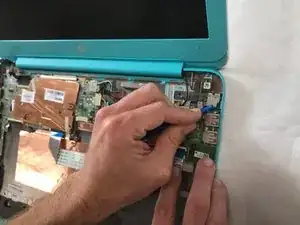
Use a plastic opening tool to undo the tabs securing the charging port.
-
Then gently lift the port up and away from the laptop edge.
-
-
-
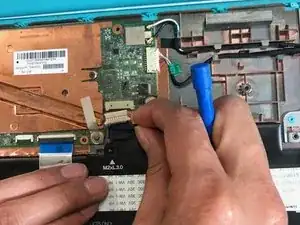
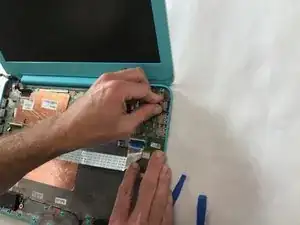
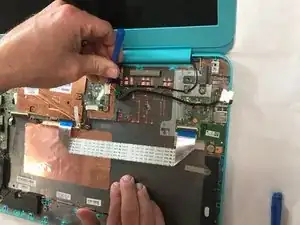
Use a plastic opening tool to pry both ends of the corresponding white plug from it's port at the motherboard.
-
Carefully pull the plug out of the port.
-
To reassemble your device, follow these instructions in reverse order.
