Introduction
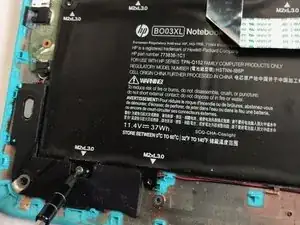
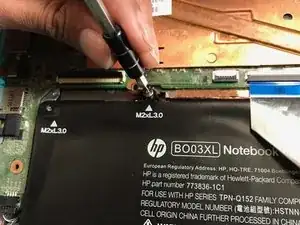
Utilize this guide if you need to replace the battery in an HP Chromebook 14-x010wm laptop, or if you need to remove the battery as a prerequisite step in other repair procedures. Removing the battery requires removing the keyboard cover and a number of connectors to other components. It is important to proceed carefully through this procedure to avoid damaging other components.
Tools
-
-
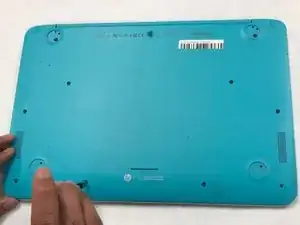
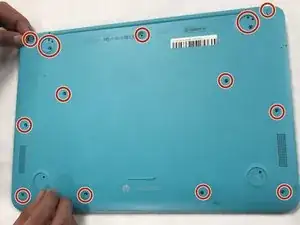
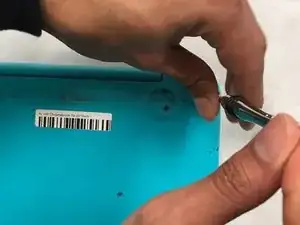
Remove the thirteen 5.7mm screws from the back of the laptop using a Phillips #00 screwdriver.
-
-
-
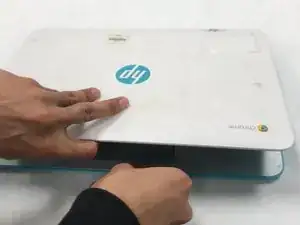
Flip the laptop over carefully and open the cover.
-
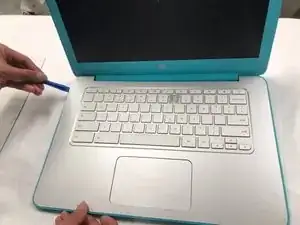
Use a plastic opening tool to pry open the front edge and along the sides of the keyboard cover to separate it from the computer’s base.
-
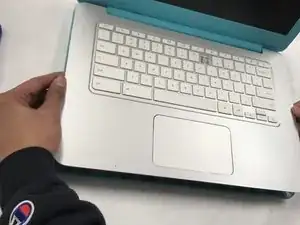
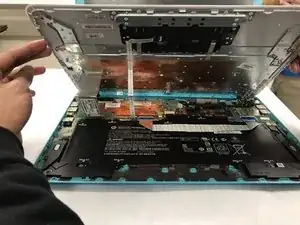
Lift the keyboard cover from the computer’s base carefully.
-
-
-
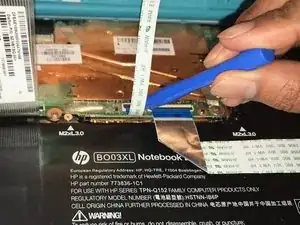
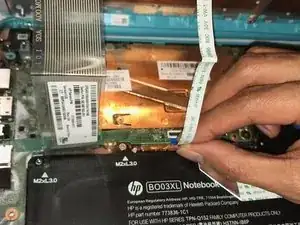
Lift the black plastic flap, using a plastic opening tool, of the zero insertion force (ZIF) connector that holds the keyboard cable in place.
-
Disconnect the keyboard cable by slowly pulling it from the system board.
-
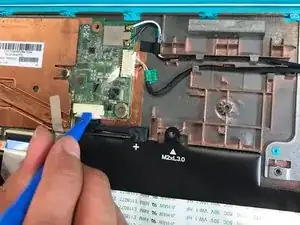
Lift the black plastic flap that holds the battery cable in place using a plastic opening tool.
-
Remove the battery cable by slowly pulling the plastic connector towards you.
-
Remove carefully and set aside keyboard panel.
-
-
-
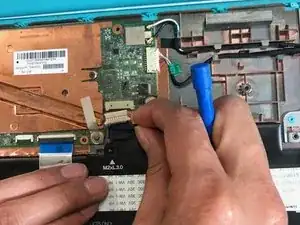
Flip the plastic flap holding the battery cable using a plastic opening tool.
-
Disconnect the battery cable by carefully pulling it from the system board.
-
-
-
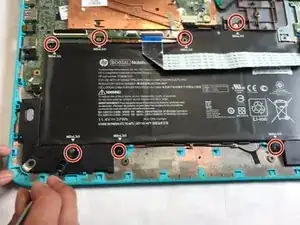
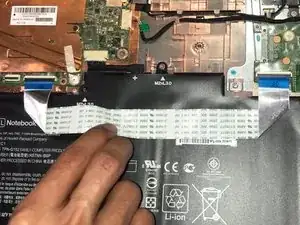
Peel the wire band off of the battery carefully.
-
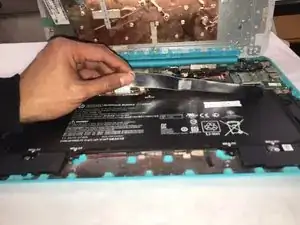
Remove the battery by lifting slightly, then slowly pull it towards you.
-
Follow these instructions in reverse order to reassemble your device.
