Introduction
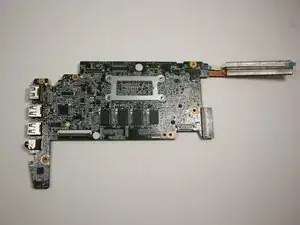
If the HP Chromebook 14-q063cl will not power up, the motherboard may need to be replaced. Use this guide to remove and replace the motherboard.
The motherboard is the "brain" of the laptop. If the motherboard does not function properly, the rest of the laptop will not function either. All of the laptop's components meet at and work together from the motherboard.
When removing and replacing the motherboard, be careful because it is a sensitive part of the device. Check that all cables and cords are disconnected before removing the motherboard so you don't damage other components.
For more information on troubleshooting issues for the motherboard, take a look at the Troubleshooting page for assistance.
Before beginning this repair, power down your device and unplug the battery charger.
Tools
-
-
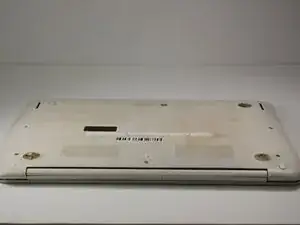
Flip the laptop upside down so that the bottom is facing upwards.
-
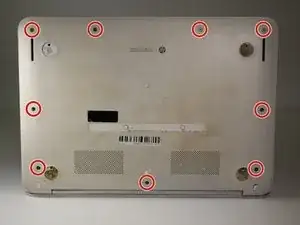
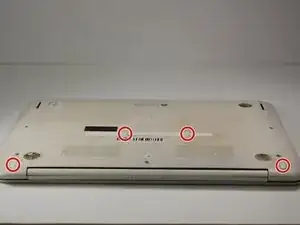
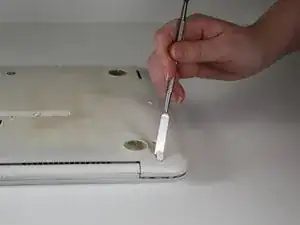
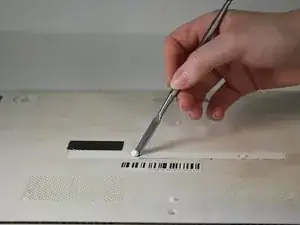
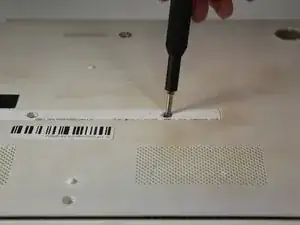
Use Phillips #0 screwdriver to remove nine 6.7 mm screws from the bottom panel.
-
-
-
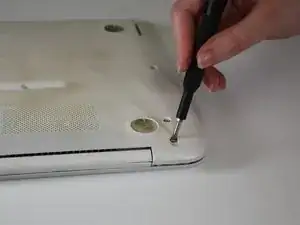
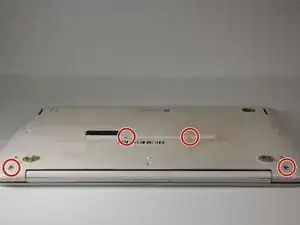
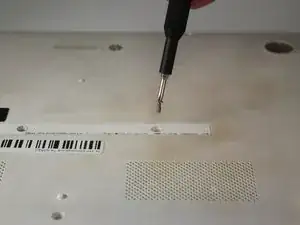
Use a Phillips #0 screwdriver to remove the four remaining 6.7 mm screws from the bottom panel.
-
-
-
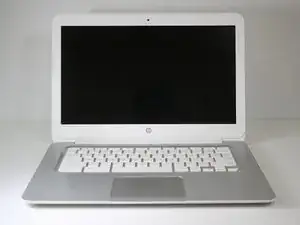
Turn the laptop upright. Open it so the screen is visible.
-
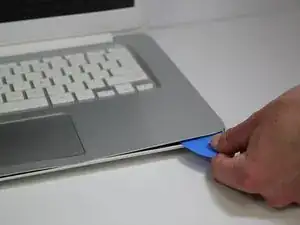
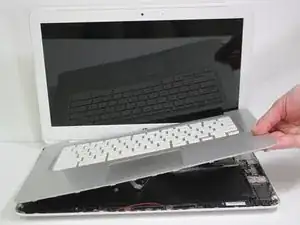
Use an opening tool or picks to undo the clips around the perimeter of the keyboard assembly and separate it from the rest of the laptop
-
Disconnect the ribbon cables attaching the keyboard to the motherboard.
-
-
-
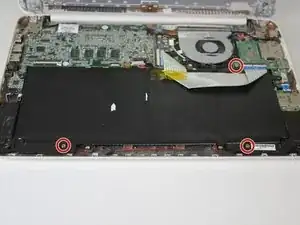
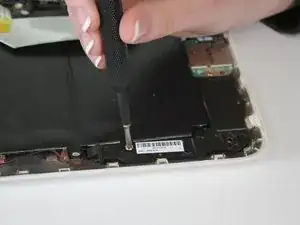
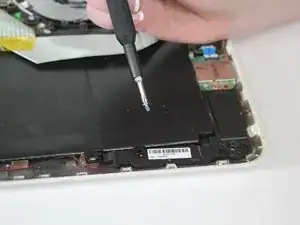
Use a Phillips #0 screwdriver to remove three 4.6 mm screws securing the battery to the case.
-
-
-
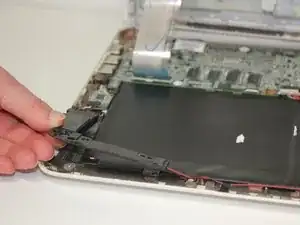
Lift the speakers and move them to the side, making sure the wires are not disturbed.
-
To disconnect the cable, use the tip of a spudger or your fingernail to flip up the small locking flap. Then, you can safely pull the cable out.
-
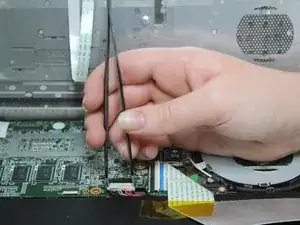
Use tweezers to unplug the bundled cable connector from the motherboard.
-
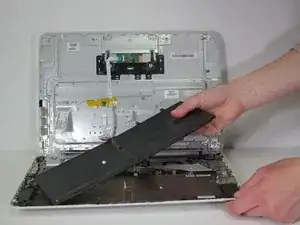
Remove the battery from the laptop.
-
-
-
Lift the black flap lock that holds the ribbon cable with an opening pick.
-
Disconnect the ribbon cable with angled tweezers.
-
-
-
Use angled tweezers to disconnect the two small bundled cable connectors from the motherboard. Evenly pull individual the cables away from the connector.
-
-
-
Use a Phillips #0 scewdriver to remove one 2.8 mm screw from the Wi-Fi card.
-
Slide the the Wi-Fi card out of the socket with angled tweezers.
-
To reassemble your device, follow these instructions in reverse order.
