
Introduction
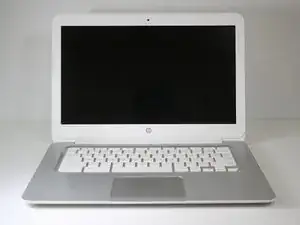
If the screen on your HP Chromebook 14-q063cl is damaged or has become inoperable, your display may need to be replaced. Use this guide to remove and replace the display screen.
The display screen is the component of the laptop which allows you to see and interact with the functions of the laptop. When the display is not working, has sustained damages, or features large blemishes, your ability to properly and effectively use your laptop is compromised.
For more information on troubleshooting issues for the display assembly, take a look at the Troubleshooting page for assistance.
Before beginning this guide, power down your Chromebook and unplug it from the power outlet.
-
-
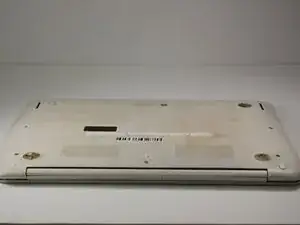
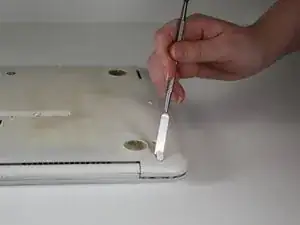
Flip the laptop upside down so that the bottom is facing upwards.
-
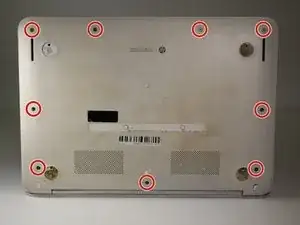
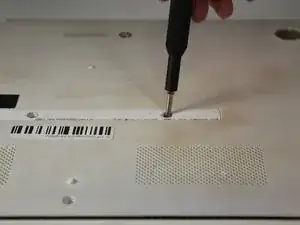
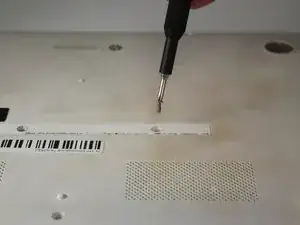
Use Phillips #0 screwdriver to remove nine 6.7 mm screws from the bottom panel.
-
-
-
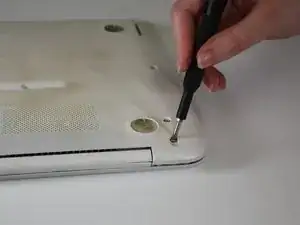
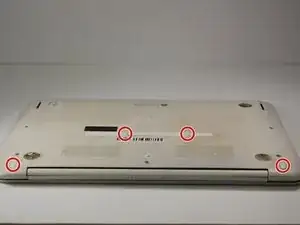
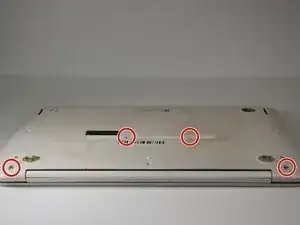
Use a Phillips #0 screwdriver to remove the four remaining 6.7 mm screws from the bottom panel.
-
-
-
Turn the laptop upright.
-
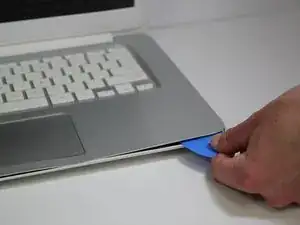
Use an opening tool or picks to undo the clips around the perimeter of the keyboard assembly and separate it from the rest of the laptop.
-
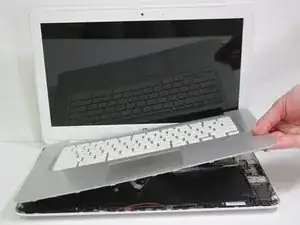
Remove the keyboard assembly.
-
Disconnect the cable attaching the keyboard cable to the motherboard.
-
-
-
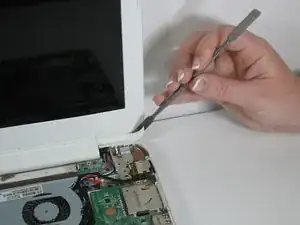
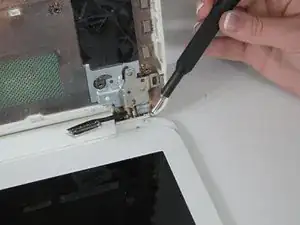
Use a spudger to remove the white adhesive covers from the left and right corners of the screen. Set them to the side.
-
-
-
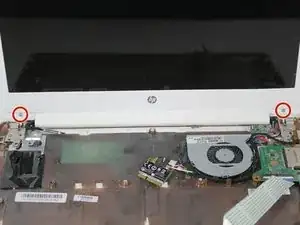
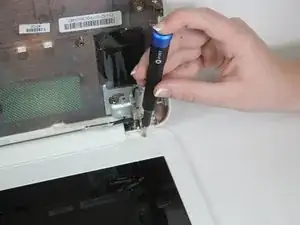
Use a Phillips #0 screwdriver to remove the two 2.9 mm screws that hold the screen frame in place.
-
-
-
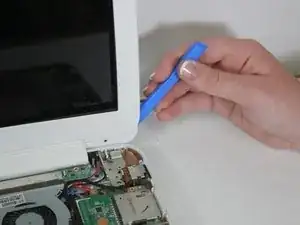
Use a blue iFixit Opening Tool to pry off the screen bezel.
-
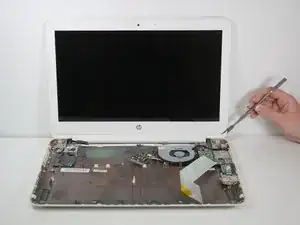
Flip the computer over so that the screen is facing upwards.
-
-
-
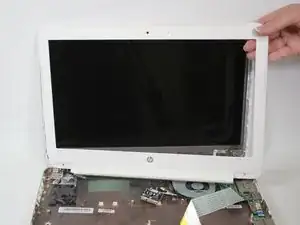
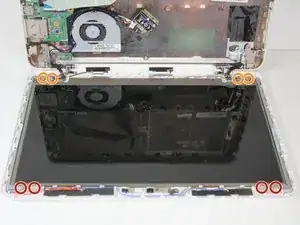
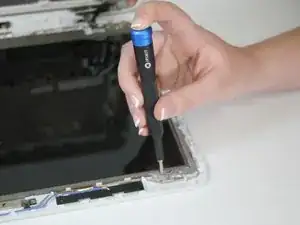
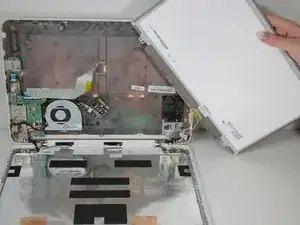
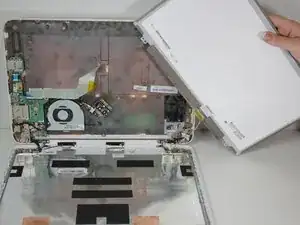
Use a Phillips #0 screwdriver to remove four 2.9 mm screws that attach the screen to the top case of the laptop.
-
-
-
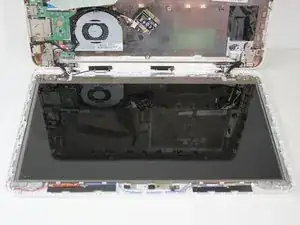
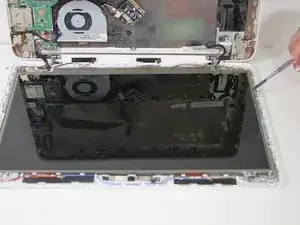
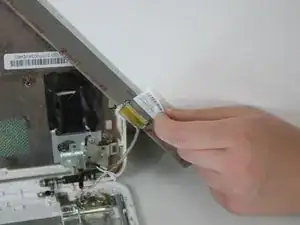
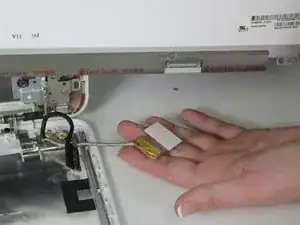
Use your hands to remove the tape that holds the connecting wire.
-
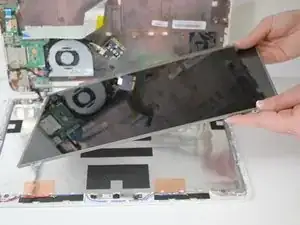
Remove the screen from the Chromebook.
-
To reassemble your device, follow these instructions in reverse order.
