Introduction

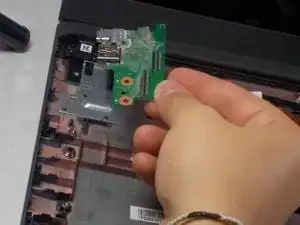
Follow this guide if the USB-A or USB-C port on the left side of the HP Chromebook 14-ca061dx isn’t functioning and you have decided to replace the ports. The part that needs to be replaced is the daughterboard. To do this follow this guide and be careful while removing the parts.

  1. WLPjpWpP5GBst25y
    WLPjpWpP5GBst25y
    r2pxYxHENlQqwHBs
    WBHVpbHJXAcKYiGS
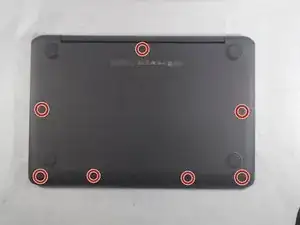
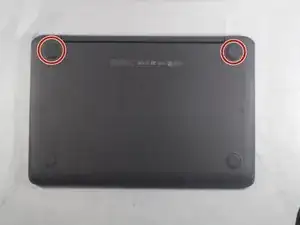
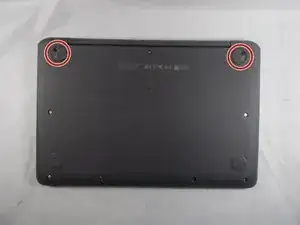
    • Flip the Chromebook to the underside with the hinge at the top.

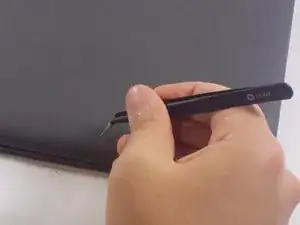
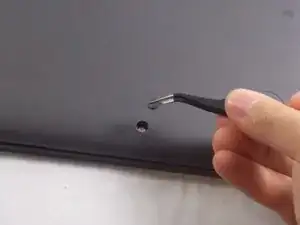
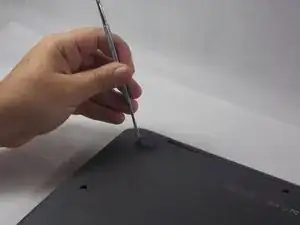
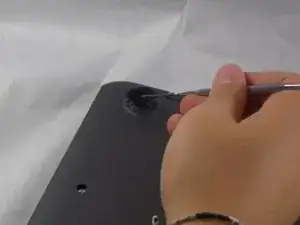
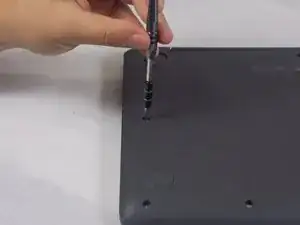
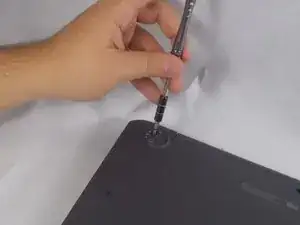
    • Remove the seven, small rubber stoppers using angled tweezers.

  2. ylaQamJbaiHUFTEs
    ylaQamJbaiHUFTEs
    cj1TpjmGXMRdRkpg
    HjRI5soDGqJicXe6
    • Remove the two bigger rubber stoppers using a metal spudger.

  3. 5yFmRulPGBKkPKW6
    5yFmRulPGBKkPKW6
    Kl54WSpmtWDRSEpb
    • Remove the seven 6mm Phillips #00 screws found underneath the stoppers.

  4. GeLBcZCPPvZxykNc
    GeLBcZCPPvZxykNc
    WR22wvnI5nXUyLqB
    • Remove the two 9mm Phillips #1 screws.

  5. bAARQrNG3rFxKAG1
    bAARQrNG3rFxKAG1
    lf1FHgRvAERE6nDN
    EyiXoLLdarmxmyyS
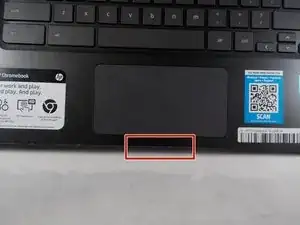
    • Flip the Chromebook over and open the cover.

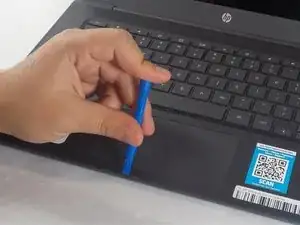
    • Insert the iFixit opening tool into the edge of the keyboard, near the mouse pad.

    • By lifting the tool at an angle, work the tool around the entire perimeter of the keyboard.

    • You will hear a popping noise when you disconnect the keyboard.

  6. ZbL4ahMOfY4QQKFH
    ZbL4ahMOfY4QQKFH
    lCNJpmkjE4m6tFxd
    TuAQlbxNFuaeALs6
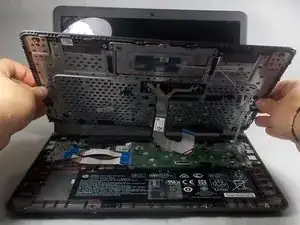
    • Lift the keyboard from the mouse pad.

    • Lift the keyboard carefully, because there are cables connecting the keyboard to the base and they may break.

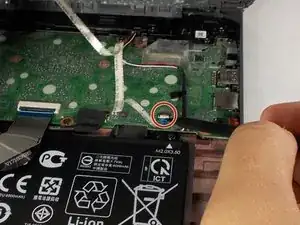
    • Use your finger or the spudger tool to flip up the black locking flap.

    • Grab the black cable and pull away from the motherboard.

    • Carefully lift the black piece up, because it is fragile and can break easily.

  7. NGSvOxGRPMTWnsRh
    NGSvOxGRPMTWnsRh
    RMAcJxrpBlR6Ondg
    1rfkFp6rPbax1BNH
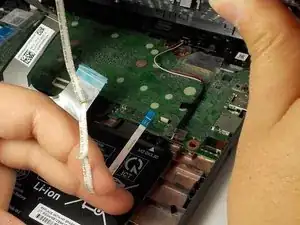
    • Flip up the white locking flap with your finger or spudger tool.

    • Remove the white cable from the motherboard.

    • Carefully lift the white piece up, because it is fragile and can break easily.

  8. 6KKBfdOsDXWUovnR
    • Lift the rest of the keyboard up from the base of the Chromebook.

  9. DmeJbouYaa6HHOKO
    DmeJbouYaa6HHOKO
    3SHLB34SfnPMkX1E
    fBZUTByQlkLFVu1H
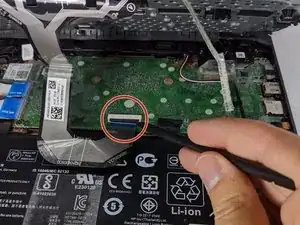
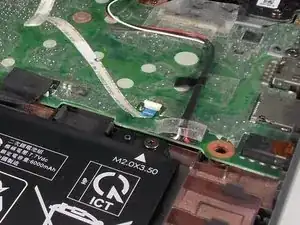
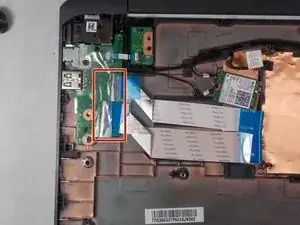
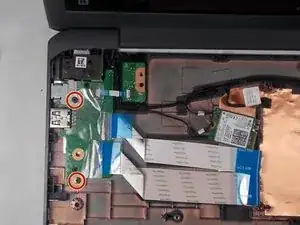
    • Peel back the plastic covering the cables connecting the motherboard to the daughterboard.

    • Use the spudger tool to flip up the black plastic pieces from both cables.

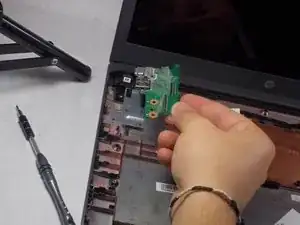
    • Pull both cables toward the right to remove from the daughterboard.

    • Be sure to remove the cables carefully because they are fragile.

  10. AWbG4f6nqBoJxefI
    AWbG4f6nqBoJxefI
    QZCMffbcygw6GW31
    pkRLQ2mfTL3IYxpF
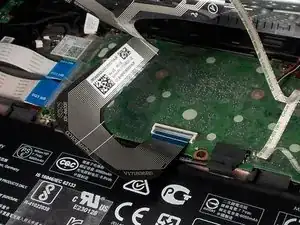
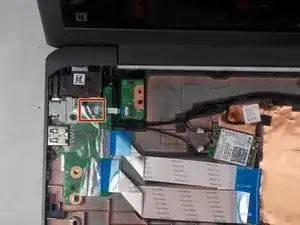
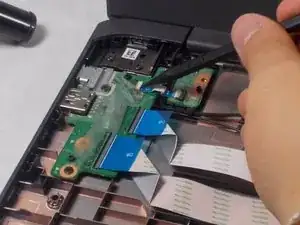
    • Peel back the plastic covering from the smallest blue and white cable.

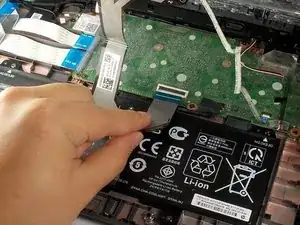
    • Flip up the white plastic piece using the spudger.

    • Pull the blue cable toward the right to remove it.

    • Be sure to remove the cable carefully because it is fragile.

  11. 1jPniVrIdCITraZQ
    1jPniVrIdCITraZQ
    L6r2HIfDIcN25sOY
    • Remove two 4mm Phillips #0 screws.

    • Remove the daughterboard from the Chromebook.

Conclusion

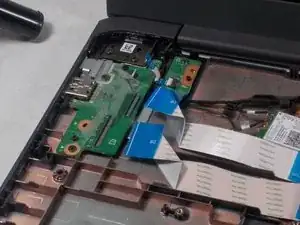
To reassemble your device, follow these instructions in reverse order.

Jean Arevalo

Member since: 31/10/19

769 Reputation

0 comments