Introduction
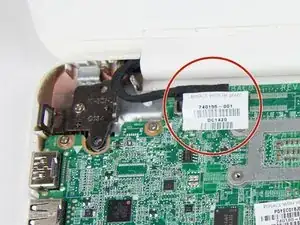
When considering a screen replacement it is important to ensure that it is not a connection issue first. Once you determine that you have a tight fitting connection, if the display issues persist then you will need to replace the screen. Fortunately, this is a straight forward process with no special requirements or hazards.
Tools
-
-
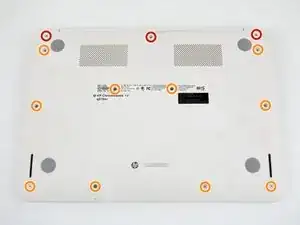
Using the Phillips #1 screwdriver, remove the (10) ten screws from the bottom of the device.
-
After removing the white caps covering the screws, use the Phillips #1 screwdriver to remove the (3) three screws indicated with red circles.
-
-
-
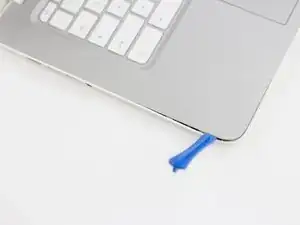
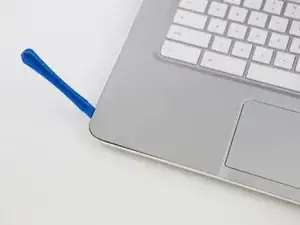
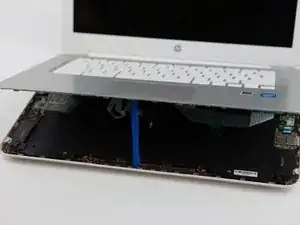
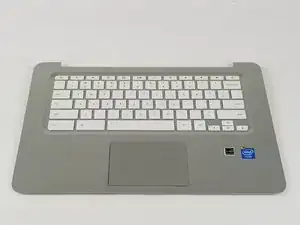
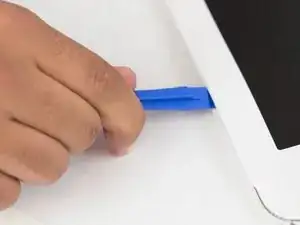
Open the laptop and place it upright. Remove the keyboard from the device using a plastic spudger or opening tool.
-
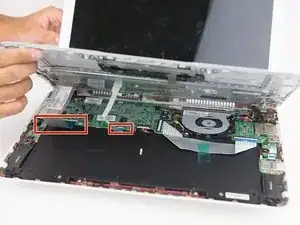
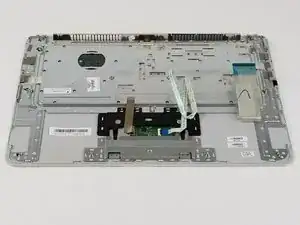
Gently lift the keyboard just enough to expose the ribbons.
-
-
-
Hold the keyboard up to remove the ribbons from the circuit board.
-
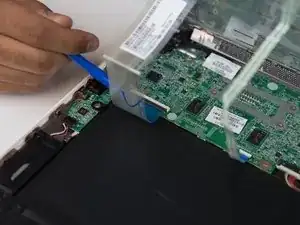
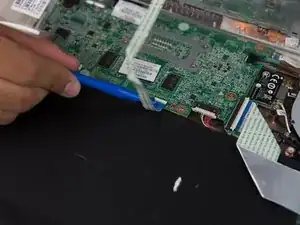
To remove each individual ribbon, grab the blue portion of each ribbon and pull it towards your direction until it is fully detached.
-
-
-
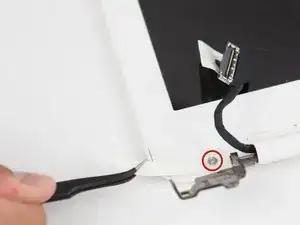
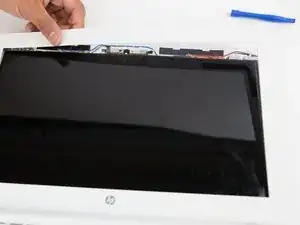
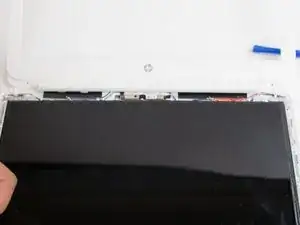
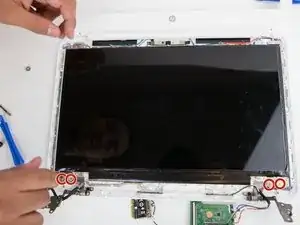
Remove these tabs located at each of the bottom corners of the display.
-
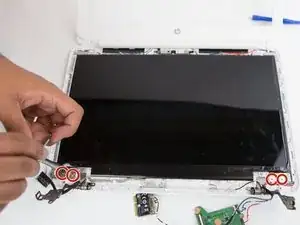
Using the Phillips #1 screwdriver, remove the single screw located under each of the two tabs.
-
-
-
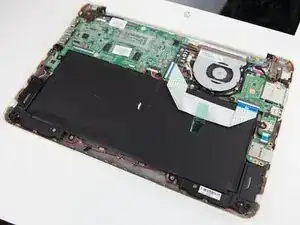
Using the Phillips #1 screwdriver, remove the (4) four screws located at the bottom of the display.
-
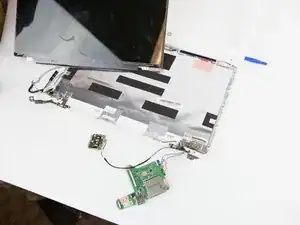
Once the screws are removed, lift the display out of the device.
-
To reassemble your device, follow these instructions in reverse order.
One comment
This was very helpful, I broke the screen to my chromebook whilst shutting the lid and the screen cracked. I didn’t want to spend the money on a new screen so I decided to take the whole top half off the chomebook and basically make a chromebox.
quardpd -

There are threaded nuts underneath the two screw holes located in the center of the computer (white caps cover them). When I removed the screws, the two nuts became loose and I found them in the pan after I took the battery out. I could not reattach these screws upon reassembly because there were no threads they could screw into, so I ended up with two screws and two nuts left over after completion. Are you sure it is really necessary to remove these two center screws?
Thomas Badura -