Introduction
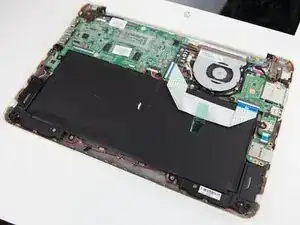
After following previous guides as preliminary steps to removing the battery, you should be able to locate the battery and begin disassembly. Make sure to keep the battery screws seperate from others as they unique.
-
-
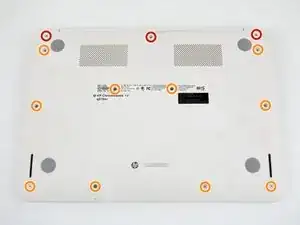
Using the Phillips #1 screwdriver, remove the (10) ten screws from the bottom of the device.
-
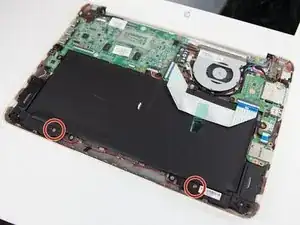
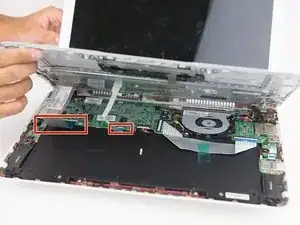
After removing the white caps covering the screws, use the Phillips #1 screwdriver to remove the (3) three screws indicated with red circles.
-
-
-
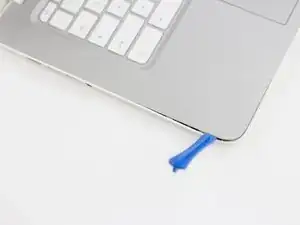
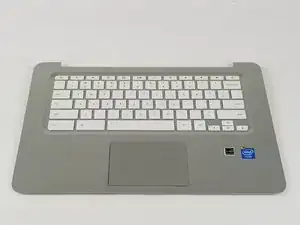
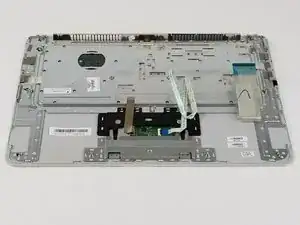
Open the laptop and place it upright. Remove the keyboard from the device using a plastic spudger or opening tool.
-
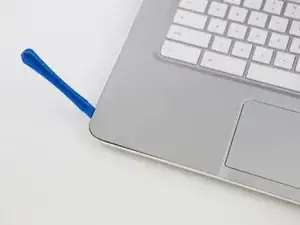
Gently lift the keyboard just enough to expose the ribbons.
-
-
-
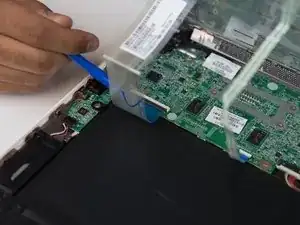
Hold the keyboard up to remove the ribbons from the circuit board.
-
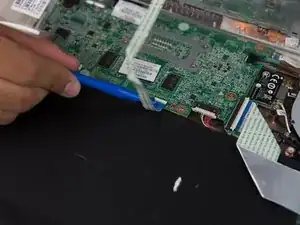
To remove each individual ribbon, grab the blue portion of each ribbon and pull it towards your direction until it is fully detached.
-
-
-
Remove the taped flat wire from the top of the battery.
-
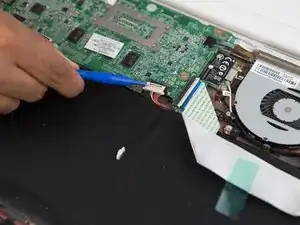
Carefully pull away the connector from the top of the battery to the motherboard.
-


To reassemble your device, follow these instructions in reverse order.

There are threaded nuts underneath the two screw holes located in the center of the computer (white caps cover them). When I removed the screws, the two nuts became loose and I found them in the pan after I took the battery out. I could not reattach these screws upon reassembly because there were no threads they could screw into, so I ended up with two screws and two nuts left over after completion. Are you sure it is really necessary to remove these two center screws?
Thomas Badura -