Introduction
Easy and quick replacement of the Chromebook screen.
-
-
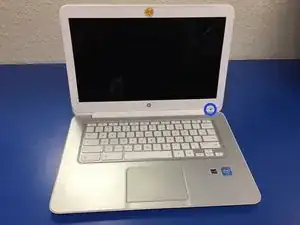
We will be replacing the screen on this HP Chromebook. ***Unfortunately I did get a shot of the sweet crack on this screen.
-
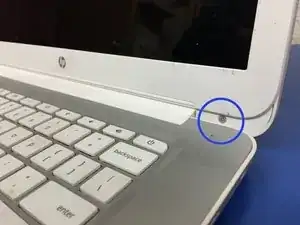
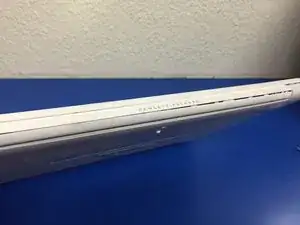
We will start by removing this screws on the bottom left and right of the screen, just above the escape key and power button.
-
-
-
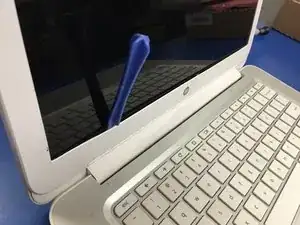
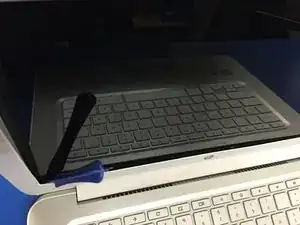
Next will start to remove the front "bezel" with a simple spudger. It is best to start from the bottom (now we here) of the screen. *couldn't resist
-
-
-
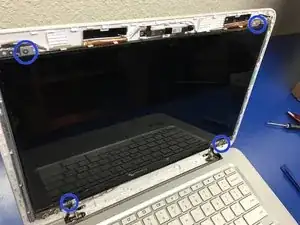
Once removed, we can proceed to remove (4) screws that hold the screen to the laptop case.
-
Marked in blue are the locations for the screws. Screws are closest to screen and on a light silver bracket. Pull screen forward and lay down on keyboard.
-
-
-
The ribbon cable is connected at the bottom of the screen. Tape is placed over the connection and it is easily peeled and easy to reuse. I would not advise cutting the tape.
-
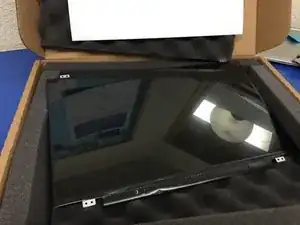
Connect your new screen and go backwards through the steps to install.
-


To reassemble your device, follow these instructions in reverse order.
2 comments
Great walkthrough but missed one of the screws in the first step. There's one on the right and left. Nothing a little superglue couldn't fix.
ronguyor -
That ribbon connector sure is finicky, It's really hard to actually pop it back in without putting too much force to it and bending it up. (for me atleast)