Introduction
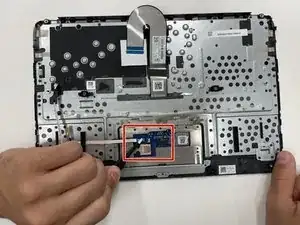
This guide will show you how to replace the HP Chromebook 11A G8 EE’s touchpad. The touchpad allows you to control the cursor of your Chromebook. If your touchpad is not responding it may need to be replaced.
Prior to beginning the repair, be sure to power off your Chromebook and disconnect from the charging cord.
Tools
-
-
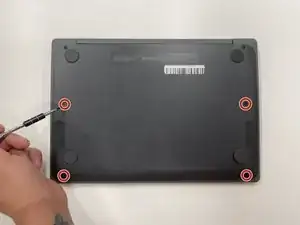
On the bottom of the laptop, remove four 7 mm screw using a Phillips #1 screwdriver.
-
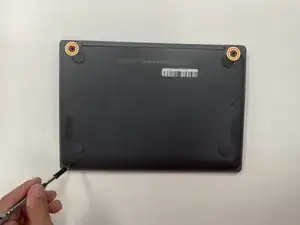
Using the Phillips #1 screwdriver, remove the two remaining 8 mm screws by the hinges.
-
-
-
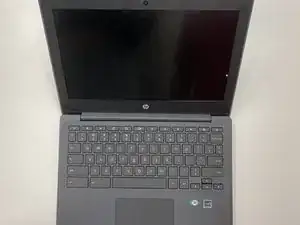
Flip the laptop over and open up the display.
-
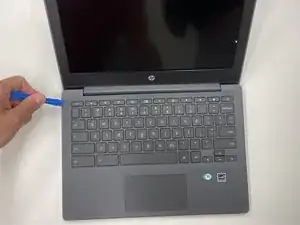
Using the iFixit opening tool, carefully separate the palm rest from the bottom cover by working your way around the perimeter and prying it up.
-
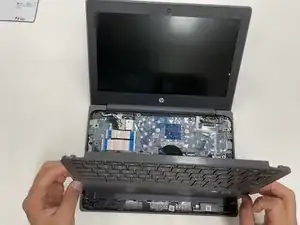
Lift the palm rest of the laptops towards you, away from the screen.
-
-
-
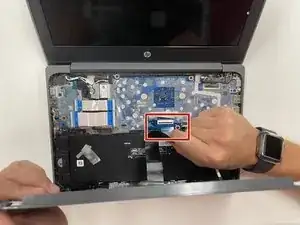
Carefully, lift the keyboard ribbon lock and disconnect the keyboard ribbon from the motherboard.
-
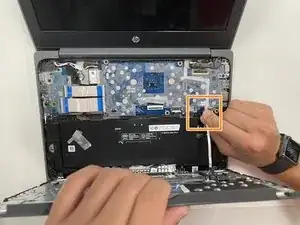
Disconnect the touchpad ribbon from the motherboard, and remove top cover.
-
Remove the keyboard.
-
-
-
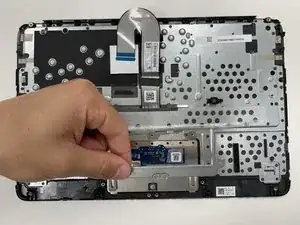
Using tweezers, carefully disconnect the touchpad board ribbon cable from the touchpad board.
-
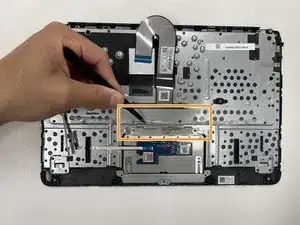
Using tweezers, carefully peel back the clear sheet that covers the the touchpad board screws.
-
-
-
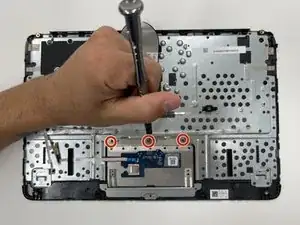
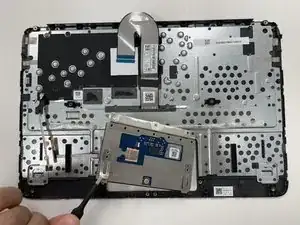
Use the Phillips #0 screwdriver and remove the top three 1.6 mm screws from the touchpad.
-
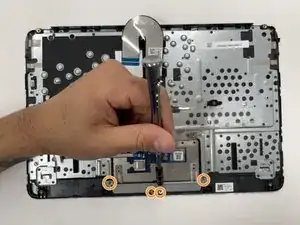
Remove the four bottom 2 mm screws using the same Phillips #0 screwdriver.
-
To reassemble your device, follow these instructions in reverse order.
