Introduction
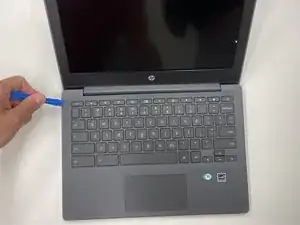
While the HP Chromebook 11A G8 EE is one of the more durable Chromebooks on the market, with its marketing claiming survivability from 122cm drops, there's no guarantee the speakers can survive blasting your favorite tunes at max volume. If you notice a sudden decrease in audio quality from the built-in speakers, or that they quit working altogether, check out our troubleshooting page first. If you exhaust troubleshooting, and are confident that the your speaker's malfunction is a hardware issue, then it's likely time to replace the speakers.
Luckily, we have just the guide for you! The process shouldn't take more than 40 minutes, and only requires a few basic tools.
Before beginning, make sure you power off and unplug your Chromebook.
-
-
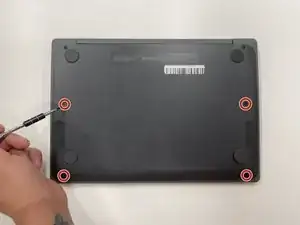
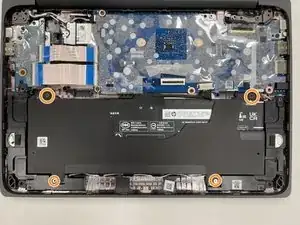
On the bottom of the laptop, remove four 7 mm screw using a Phillips #1 screwdriver.
-
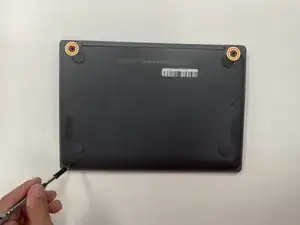
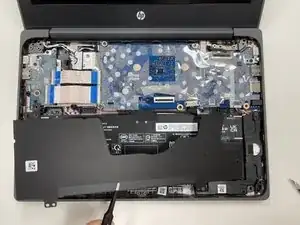
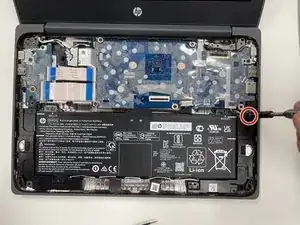
Using the Phillips #1 screwdriver, remove the two remaining 8 mm screws by the hinges.
-
-
-
Flip the laptop over and open up the display.
-
Using the iFixit opening tool, carefully separate the palm rest from the bottom cover by working your way around the perimeter and prying it up.
-
Lift the palm rest of the laptops towards you, away from the screen.
-
-
-
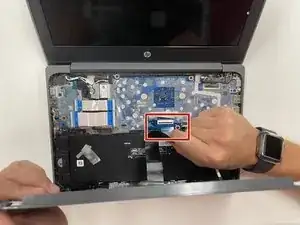
Carefully, lift the keyboard ribbon lock and disconnect the keyboard ribbon from the motherboard.
-
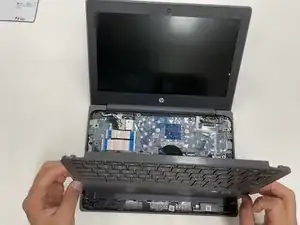
Disconnect the touchpad ribbon from the motherboard, and remove top cover.
-
Remove the keyboard.
-
-
-
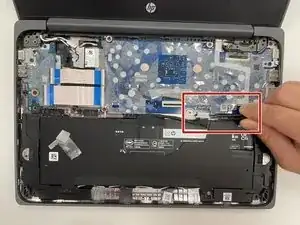
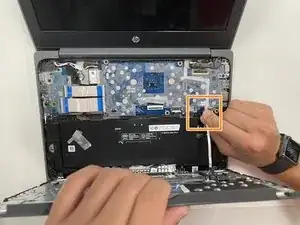
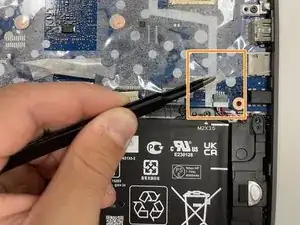
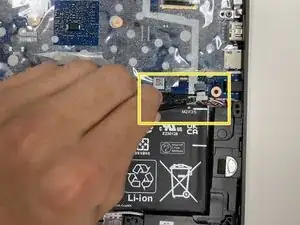
Using the tweezers, carefully disconnect the battery cable from the motherboard.
-
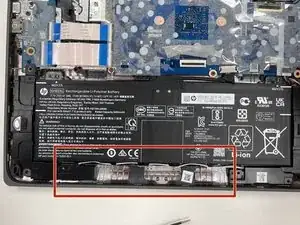
Use the Phillips #0 screwdriver, remove the four 3.5 mm screws that secure the battery cover to the battery.
-
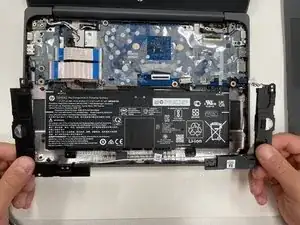
Using the tweezers, carefully remove the battery cover.
-
-
-
Using the Phillips #1 screwdriver, remove the 3.5 mm screw that secures the speaker to the frame.
-
Peel back the clear sheet.
-
Using the tweezers, carefully disconnect the speaker cable from the motherboard.
-
-
-
Remove the speaker cable from the routing channel on the keyboard.
-
Using your hands, carefully lift the speakers out of the alignment pins, and remove.
-
To reassemble your device, follow these instructions in reverse order.