Introduction
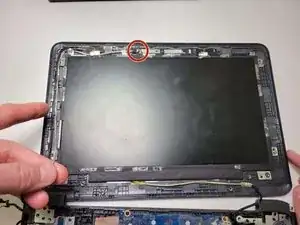
The microphone/webcam cable connects the webcam module above the LCD display to the motherboard.
If the cable connection is loose or the cable no longer is working then you will not be able to use your webcam or microphone.
Check the resources listed in the troubleshooting page to see if you can correct the issue without replacement. If you are still having issues, see below for a replacement guide to assist.
-
-
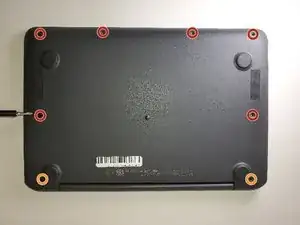
Remove six 6.6 mm screws from the back case using a Phillips #1 screwdriver.
-
Remove two 8.7 mm screws from the back case using a Phillips #1 screwdriver.
-
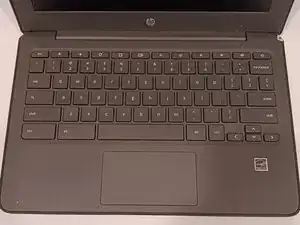
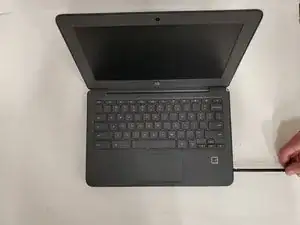
Turn the computer over and open it as if you are going to use it.
-
-
-
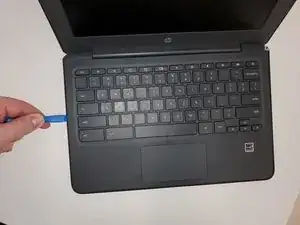
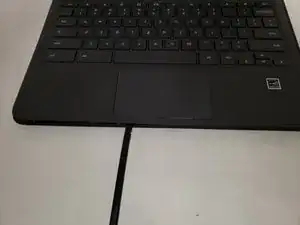
Use the iFixit opening tool to get between the keyboard bezel and the outer edge of the laptop.
-
Move the opening tool or spudger around the perimeter until you unclipped the keyboard on all sides.
-
-
-
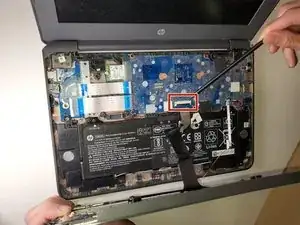
Carefully lift the top of the keyboard up to access the ribbon cables connecting it to the device.
-
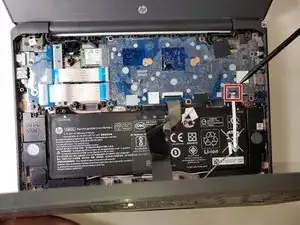
Use the tip of a spudger or your fingernail to flip up the small locking flap on each connector. Then, pull the cables out.
-
Lift the keyboard off the to remove.
-
-
-
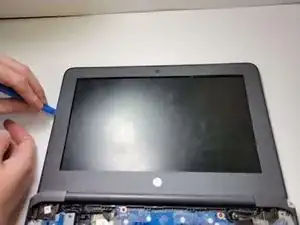
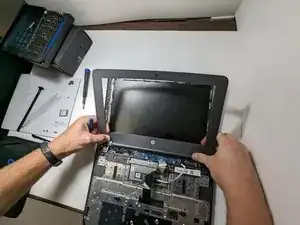
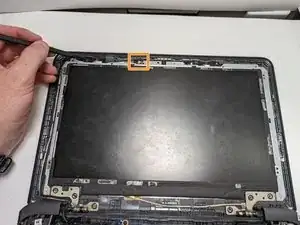
Use the opening pick around the edges of the screen bezel carefully to remove.
-
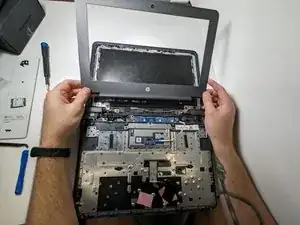
Remove screen bezel.
-
-
-
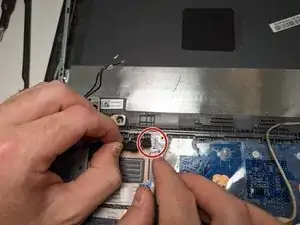
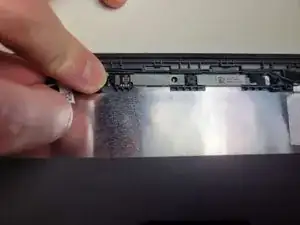
Peel back the tape that secures the webcam to the left display panel hinge.
-
Gently slide out the webcam connector.
-
-
-
Peel back the retention tape.
-
Disconnect the webcam cable from webcam board.
-
Remove the webcam cable from the routing channel and retention tape from the display enclosure.
-


To reassemble your device, follow these instructions in reverse order.