Introduction
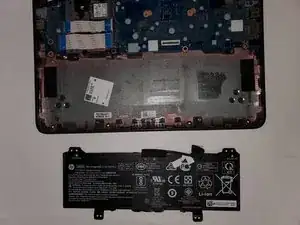
The battery allows you to use your Chromebook without being plugged in. However, it can malfunction or degrade over time. These symptoms could require you to charge the device more often making it harder to use the Chromebook without a wall outlet. You may need to troubleshoot or replace your battery if it's only powering on when connected to the charging cable or only lasts for a short time.
This guide provides steps to replace the battery in the HP Chromebook 11A G6 EE to get your device running properly again.
1. Before starting, turn off the computer. If you are unsure whether the computer is off or in hibernation, turn the computer on, and then shut it down through the operating system.
2. Disconnect the power from the computer by unplugging the power cord from the computer.
3. Disconnect all external devices from the computer.
You can also check out what to do in case of a swollen battery if you encounter this issue.
Tools
-
-
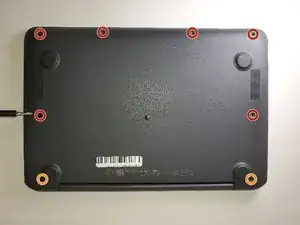
Remove six 6.6 mm screws from the back case using a Phillips #1 screwdriver.
-
Remove two 8.7 mm screws from the back case using a Phillips #1 screwdriver.
-
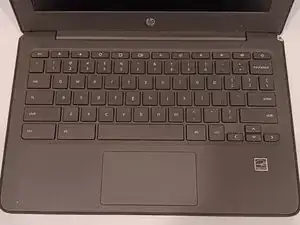
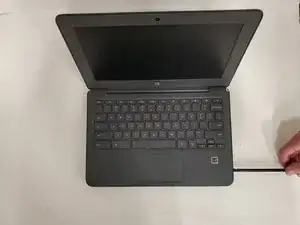
Turn the computer over and open it as if you are going to use it.
-
-
-
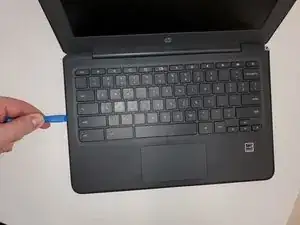
Use the iFixit opening tool to get between the keyboard bezel and the outer edge of the laptop.
-
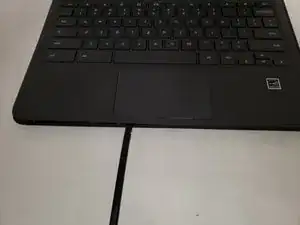
Move the opening tool or spudger around the perimeter until you unclipped the keyboard on all sides.
-
-
-
Carefully lift the top of the keyboard up to access the ribbon cables connecting it to the device.
-
Use the tip of a spudger or your fingernail to flip up the small locking flap on each connector. Then, pull the connector out.
-
Remove the keyboard and set aside.
-
-
-
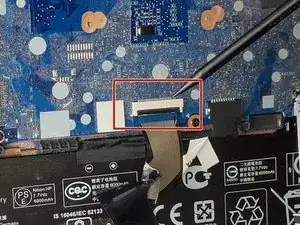
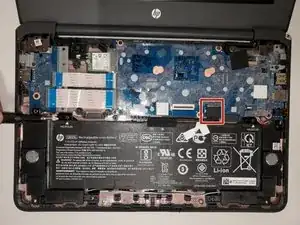
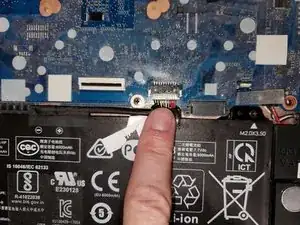
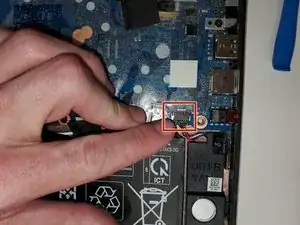
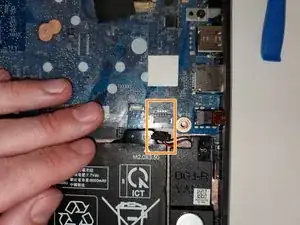
Release the tape that secures the battery cable connector to the system board.
-
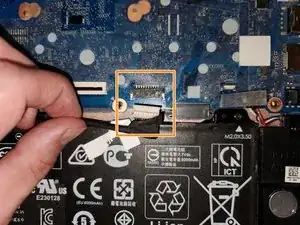
Disconnect the battery cable from the system board. Pull the cable straight out of the connector by the white plastic portion near the connection point.
-
-
-
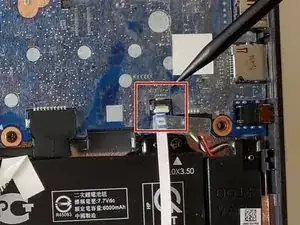
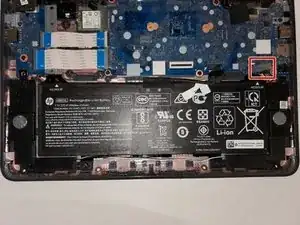
Peel the tape off of the speaker cable connector.
-
Disconnect the speaker cable from the system board. Pull the cable straight out of the connector by the black plastic portion near the connection point. Disconnect the speaker cable from the system board.
-
-
-
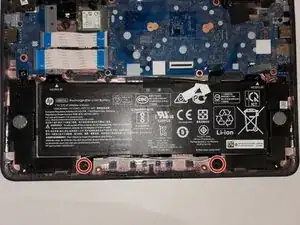
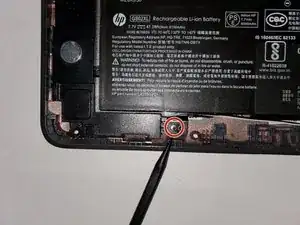
Remove two 3.5 mm screws that secure the speakers to the bottom cover using a Phillips #1 screwdriver.
-
Gently pull the speakers out but be mindful of the wires connecting them.
-
To reassemble your device, follow these instructions in reverse order.
