Introduction
The keyboard can become damaged or stop working over time. This guide will show you how to remove the keyboard.
Tools
-
-
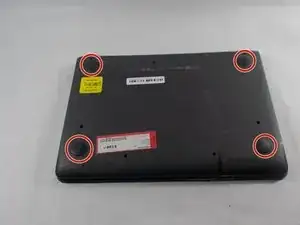
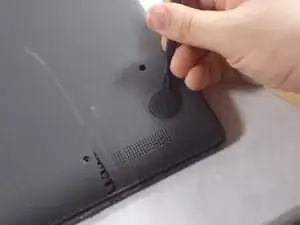
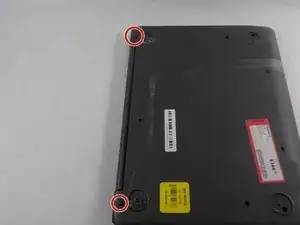
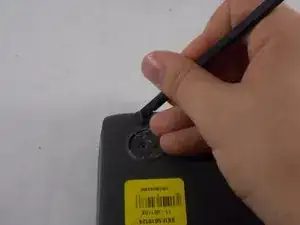
Wedge the spudger between one of the black rubber caps on each of the four corners on the bottom of the HP Chromebook 11-v011dx.
-
Lift up the black rubber cap until it is completely removed.
-
Repeat this until all four of the black rubber caps are removed.
-
-
-
Locate the two smaller black rubber caps on the top corners of the HP ChromeBook 11-v011dx. Wedge the spudger between one of them.
-
Lift up the small black rubber cap until it is completely off.
-
Repeat this step one more time to remove the other small black rubber cap on the other side.
-
-
-
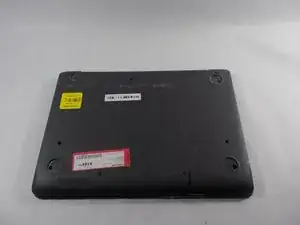
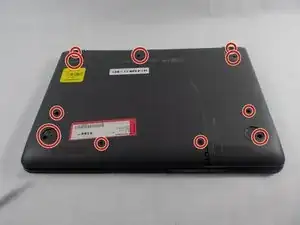
Locate the eleven screws on the bottom the HP ChromeBook. Six are located under the larger black rubber caps and the others are in different locations.
-
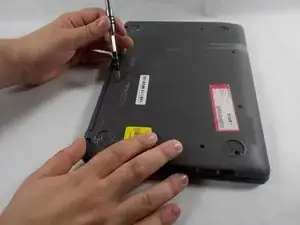
Use a Phillips #0 screwdriver to remove eleven 1.3mm screws.
-
-
-
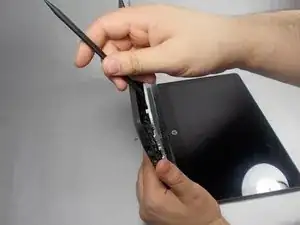
Wedge the spudger between the key board and the bottom panel, carefully go around the keyboards edges gently.
-
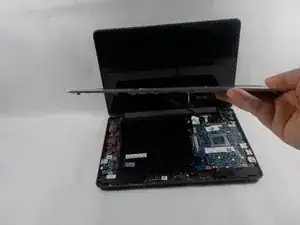
Lift the spudger a little in the front of the keyboard until the key board lifts up.
-
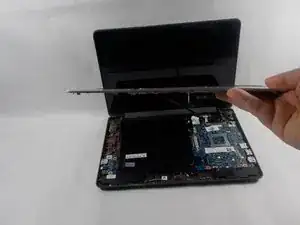
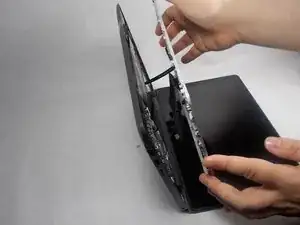
With your hands, slowly and carefully lift the key board up.
-
-
-
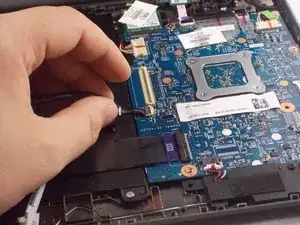
Locate the black tab that holds a wire in place that keeps the keyboard connected to the mother board.
-
Slowly unplug this wire that connects to the key board.
-
To reassemble your device, follow these instructions in reverse order.
