Introduction
If you are experiencing poor audio quality, first check the device's troubleshooting page. Then if you determine that the speaker's malfunction is a problem with the hardware, this guide is for you. A guide on how to replace your HP Chromebook 11 G8 EE's speakers. Before beginning this process make sure to power off your device and remove disconnect it from its charger.
-
-
Flip the device over and open the lid.
-
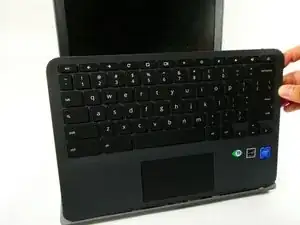
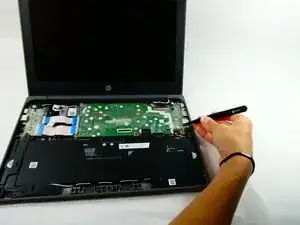
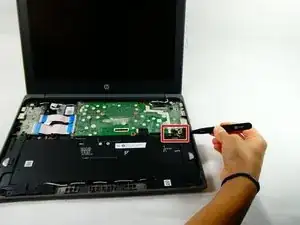
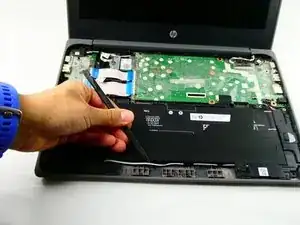
Use a plastic opening tool to pry the keyboard assembly away from the bottom case, prying around the perimeter until it fully separates.
-
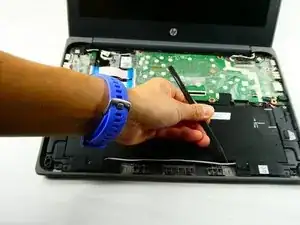
Lift the keyboard assembly from the laptop towards you, away from the screen.
-
-
-
Lift the keyboard ribbon lock bar and use tweezers to disconnect the keyboard ribbon from the motherboard.
-
Lift the lock bar and use tweezers to remove the touchpad ribbon.
-
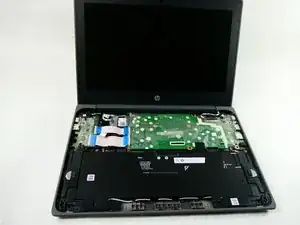
Remove the keyboard.
-
-
-
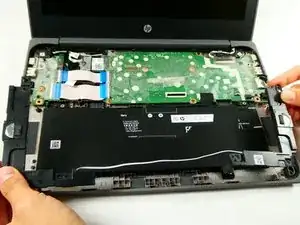
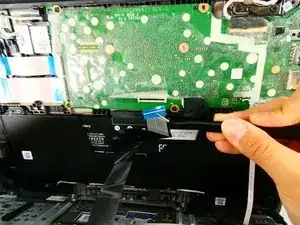
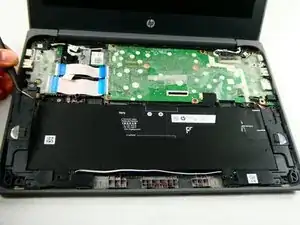
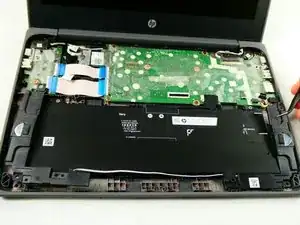
Peel back the film over the speaker's motherboard connector.
-
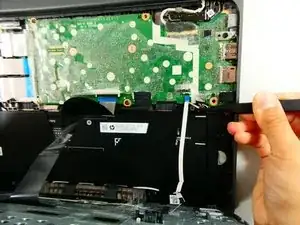
Disconnect the speaker cable from the connector on the motherboard.
-
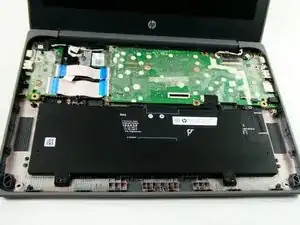
To reassemble your device, follow these instructions in reverse order.

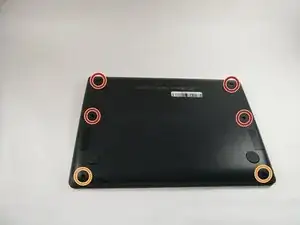
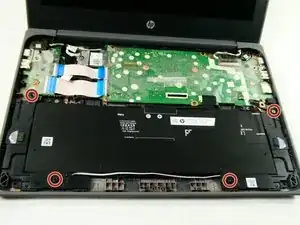
Is it possible that the screw location diagram is incorrect? On my g8 ee it seems that the longest screw (the orange 8 mm?) Goes closest to the screen hinge and the other 4 screws are identical size (the 7mm?).
In the diagram, the longest screw (orange) is shown as being located farthest from the screen hinge. But I've also seen a YouTube video possibly corroborate this guide's screw information, differing from the 2 G8 EE models I checked in person.
A X -