Introduction
The webcam component in the HP Chromebook is crucial for video calls and recording. This component can easily become damaged if the device is dropped or physically impacted, which can affect its ability to receive input. Before assuming your webcam module has physical damage, use this troubleshooting guide to attempt to fix the issue.
If your issue is not resolved through troubleshooting, you most likely have an issue with
the internal component. Before starting with the replacement guide, do the following:
1. Disconnect all external devices and connections to the device.
2. Make sure the device is disconnected from power and Shut down the device from the Chromebook's OS.
-
-
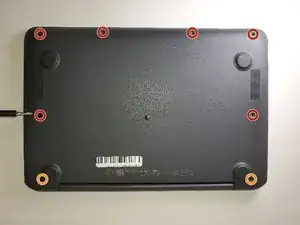
Remove six 6.6 mm screws from the back case using a Phillips #1 screwdriver.
-
Remove two 8.7 mm screws from the back case using a Phillips #1 screwdriver.
-
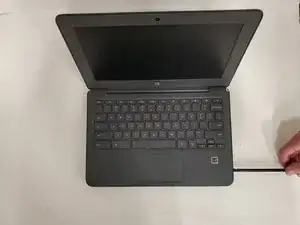
Turn the computer over and open it as if you are going to use it.
-
-
-
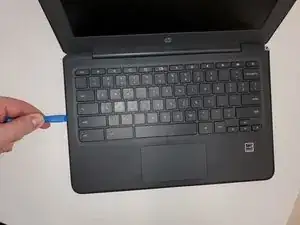
Use the iFixit opening tool to get between the keyboard bezel and the outer edge of the laptop.
-
Move the opening tool or spudger around the perimeter until you unclipped the keyboard on all sides.
-
-
-
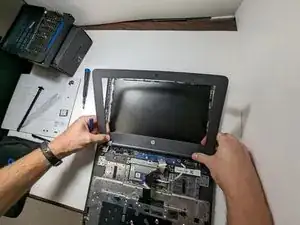
Carefully lift the top of the keyboard up to access the ribbon cables connecting it to the device.
-
Use the tip of a spudger or your fingernail to flip up the small locking flap on each connector. Then, pull the connector out.
-
Remove the keyboard and set aside.
-
-
-
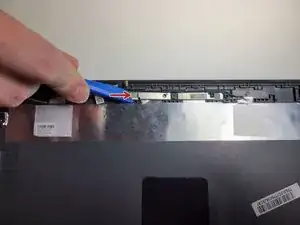
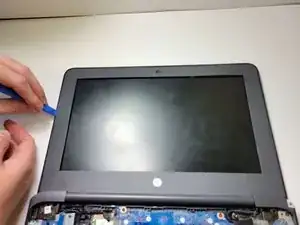
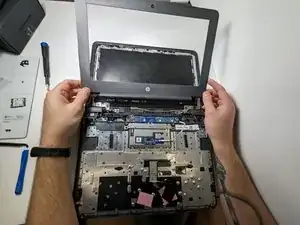
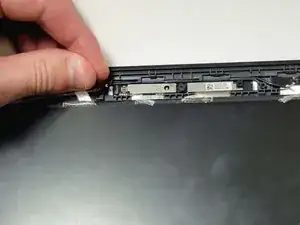
Use the opening pick around the edges of the screen bezel carefully to remove.
-
Remove screen bezel.
-
-
-
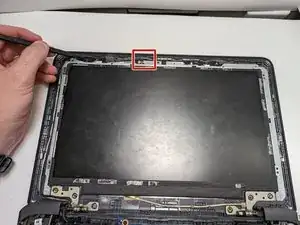
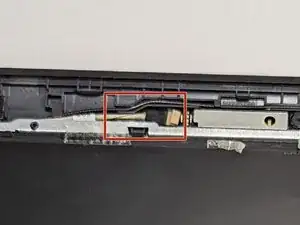
Peel back the tape that secures the webcam to the left display panel hinge.
-
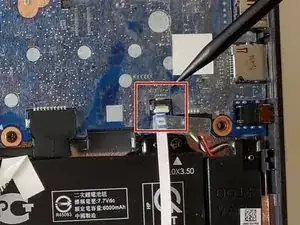
Gently slide out the webcam connector.
-
-
-
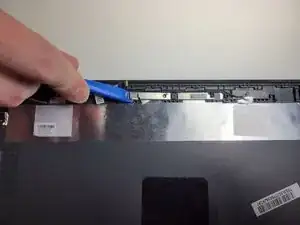
Place the iFixit opening tool under the webcam module.
-
Using the iFixit tool work the tool around the top edge of the webcam module to loosen the module.
-
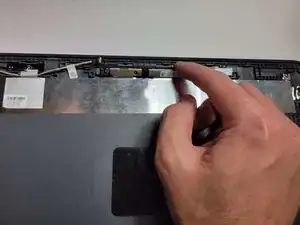
Use your fingers to lift the webcam module out of its setting.
-

To reassemble your device, follow these instructions in reverse order.
