Introduction
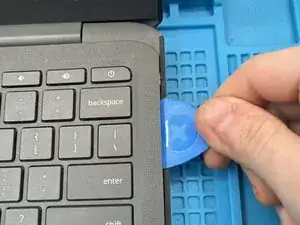
The purpose of this guide is to assist in replacement of the battery of an HP Chromebook 11 G6 EE. There are a few tools required to accomplish this task: a plastic opening clip, precision screwdriver kit, and tweezers. Ensure that extra care is taken in removing and replacing the necessary components of the Chromebook. The time estimate to finalize this replacement is five minutes.
Tools
-
-
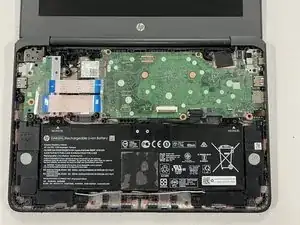
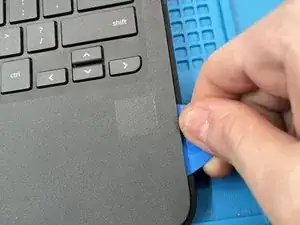
Lift up the keyboard part way, being careful to not put stress on the keyboard and touchpad ribbon cables.
-
-
-
Lift up the keyboard part way, being careful to not put stress on the keyboard and touchpad ribbon cables.
-
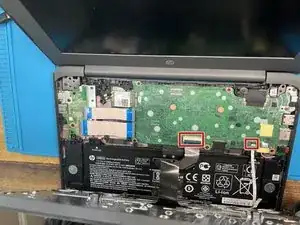
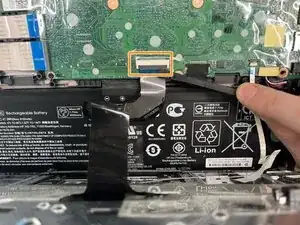
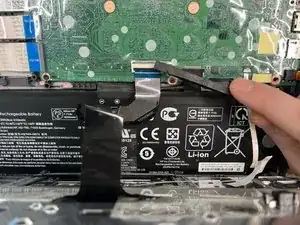
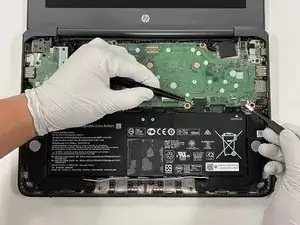
Disconnect the keyboard ZIF connector
-
-
-
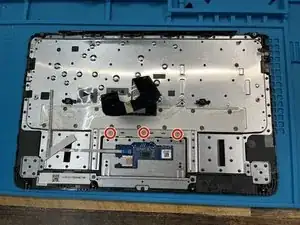
Lift up the plastic guard covering the three PH0 M2x2 screws and remove them.
-
Lift the touchpad out and place into new keyboard.
-


To reassemble your device, follow these instructions in reverse order.
One comment
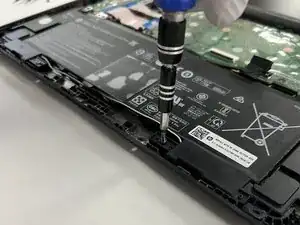
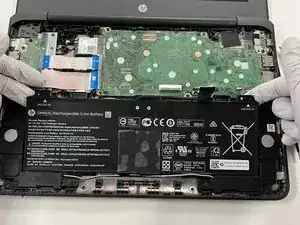
missing instructions. To remove the battery you need to remove the speakers and unscrew 2# m2 ph 2.2mm screws. Also unlisted screw sizes and amounts on number 9