Introduction

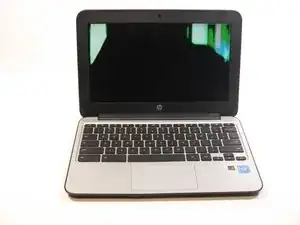
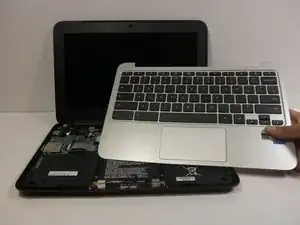
This guide will walk you through the replacement process of a defective or broken keyboard on your HP Chromebook 11 G4. Removing the keyboard is also the basic step to accessing all of the other internal components.

  1. y4STgEJReXX1YBDQ
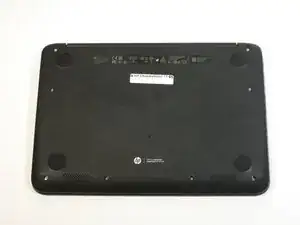
    • Position the closed Chromebook with the rubber pads are facing up.

  2. lPGtPto3Rtwlxx6o
    lPGtPto3Rtwlxx6o
    bUM3XgjHrVEkeNAW
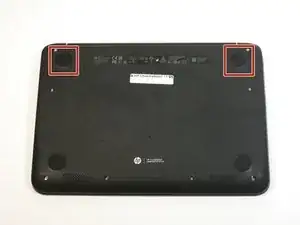
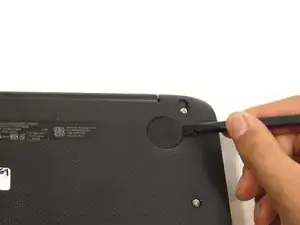
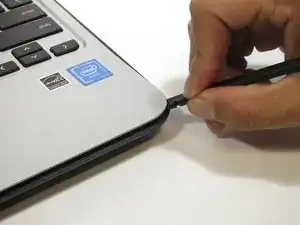
    • Slide the flat end of the spudger under the rubber pads at the upper right-hand and the upper left-hand corners.

    • Pry off the rubber pads to reveal a screw under each pad.

    • The rubber pads are attached with a strong adhesive. The force applied may damage the pads.

  3. LdypdNt43J5XtHOW
    LdypdNt43J5XtHOW
    wMBDuQiWxKBDXkZM
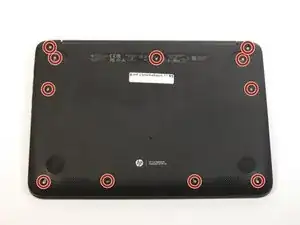
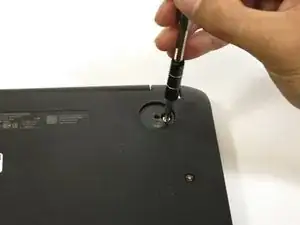
    • Remove the eleven 6mm Phillips #1 screws.

    really good instructions by the way you should probably sponsor mr smedbergs kalsonger

    Halleluja Yacob -

  4. jyqn1KficwnQY4NY
    • Flip over the Chromebook and open it.

  5. VwHGpggUUR1rpePE
    VwHGpggUUR1rpePE
    2tABDtXlIcRTRNOa
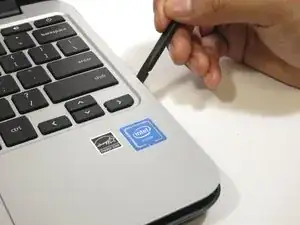
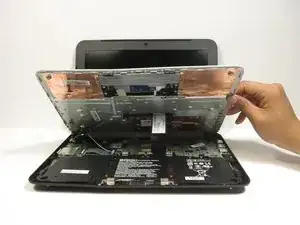
    • Insert the flat end of the spudger between the bottom body of the Chromebook and keyboard body.

    • Slide the spudger along the gap, applying downward pressure to separate the two components.

    • You should hear popping sounds as you slide the spudger along the edge.

    • If the spudger gets stuck while sliding, simply slide the spudger back for a bit, and continue sliding forward.

  6. LYc2kmowxhg4uB1w
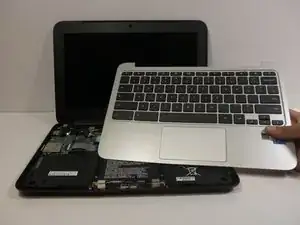
    • Lift the bottom of the keyboard assembly to reveal the internal components of the device.

    thanks — instyrtuctions clear enough for me to adapt to my Chromebook HP 11” wityh different batytery shape -0- battery was dead but uit worked when plugged in - so I have a battery on order - thanks to all!

    alan -

  7. K1w2BeNq2vJ4eN5h
    K1w2BeNq2vJ4eN5h
    c2mNw43YPkZEqoN1
    qWr21TeobXWdMlgC
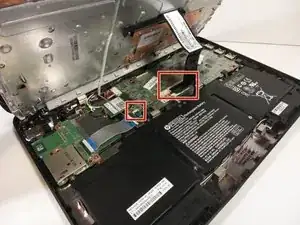
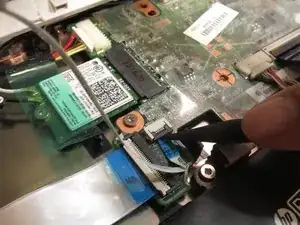
    • Use the pointed end of the spudger to flip up the black tabs on the two ZIF connectors located on the motherboard.

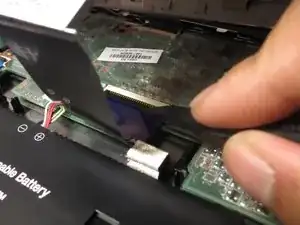
    • Disconnect the ribbon cables from the motherboard by gently sliding them out of their sockets.

  8. 2lOR1CqfEGJFiE3m
    • Remove the keyboard assembly by lifting it off the laptop base.

Conclusion

To reassemble your device, follow these instructions in reverse order.

Jair Herrera

Member since: 26/04/17

694 Reputation

3 comments

How do you remove the keyboard from the assembly though? And I wish there was a mention of the fact that the heat sink is attached to the keyboard assembly.

Kyle B -

Same question as the person above. I need to remove the keyboard from the assembly.

Stephen Mason -

If you look up the parts you'll see that the entire top panel and keyboard are one assembly.
Nacho Biniz -