Introduction
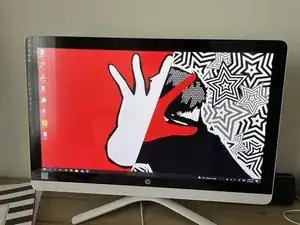
This Guide will show you how to get inside of the HP 24-G014 All in one Desktop
-
-
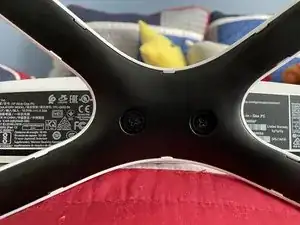
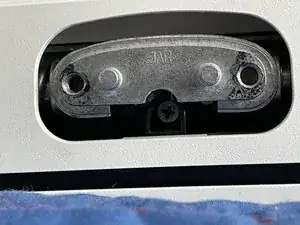
Flipping the device over here we see two Philips screws holding the stand to the computer.
-
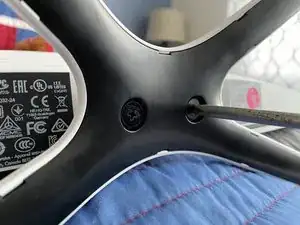
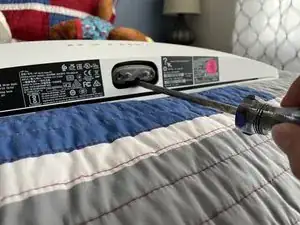
Using a basic screw driver you will most likely find in your garage or a junk drawer we can remove these two screws.
-
-
-
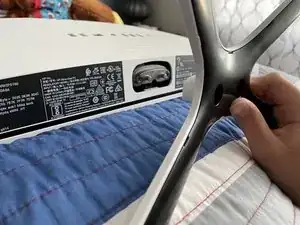
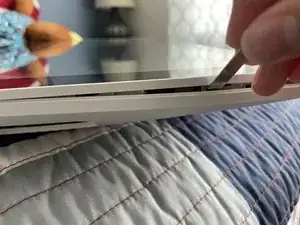
After the screw in the stand slot is removed there are clips holding the display to the body of the system.
-
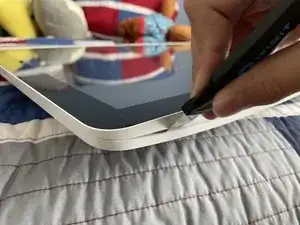
Using a prying tool such as an iFixit metal spudger or Jimmy tool you can lift the display from the body.
-
Don’t worry about accidentally striking the components as they are pretty far away except for the bottom since the speakers are there.
-
One last thing before going to the other step. I highly don’t recommend using something such as a big flat head screw driver, butter knife, or sharp knifes. But if you must you can use them.
-
-
-
After unclipping the display from the body be very gentle! As there are wires and a display connector attached to the screen.
-
To prevent damage you should open the system from bottom to top (where the HP logo is).
-
That’s it you’re done!
To reassemble your device, follow these instructions in reverse order.
I am not responsible for any damages done to your device if you break it during repair.
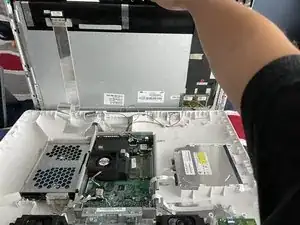
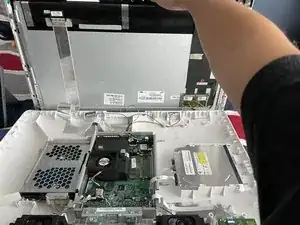

By the way at the time I was working on the machine on my bed to prevent any damage to the display.
Hayden -