Introduction
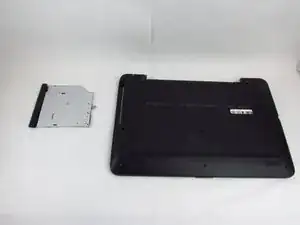
This guide is for removing and replacing the Optical Disk Drive. The main symptom for a bad disk drive is if your computer is having issues reading disks. Check this troubleshooting topic first before replacing your disk drive.
Tools
-
-
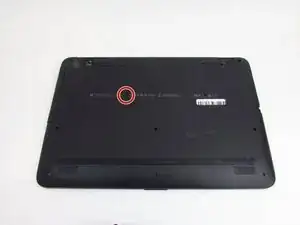
Start by placing the laptop with its bottom facing up.
-
Using the Phillips #0 screwdriver, remove the single 7 mm screw that holds the disk drive in place.
-
-
-
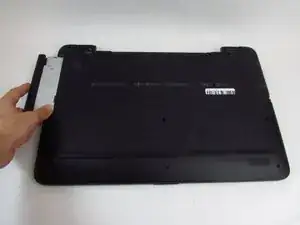
Use a spudger or thin item to apply outward pressure between the disk drive opening and the device to remove the optical disk drive. You may be able to remove it using your fingernail.
-
Conclusion
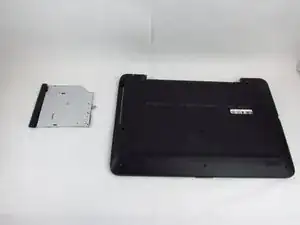
Insert new optical drive. To reassemble your device, follow these instructions in reverse order.


