Introduction
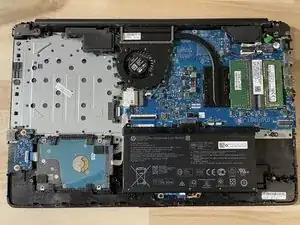
Disassembly down to motherboard and hard drive enclosure for the HP 17 ca1022cy
Tools
-
-
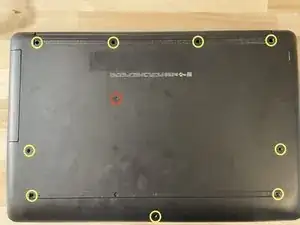
To remove the bottom panel there are 9 screws (in yellow) on the back and two screws under the disk drive. The disk drive screw is in the red circle.
-
You'll have to remove the rubber feet to access 6 of them
-
-
-
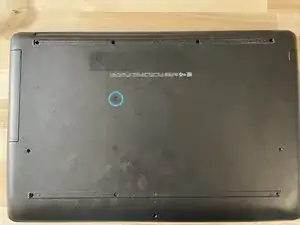
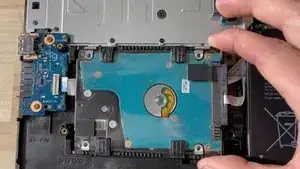
Once you remove the disk drive screw (blue circle), the drive should slide out of the chassis.
-
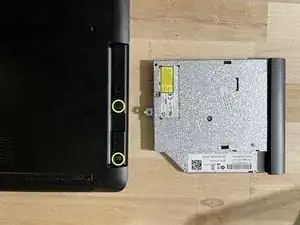
Under the drive bay there are two screws to remove.
-
-
-
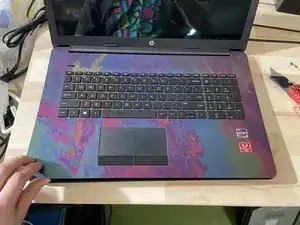
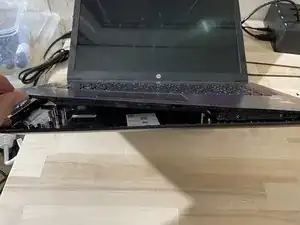
Slip a thin prying tool in the seam between the top and bottom shells and work your way around the frame.
-
-
-
Pull up on the connector side of the drive, then pull toward the battery, taking care not to tear it.
-
Conclusion
To reassemble your device, follow these instructions in reverse order.
