Introduction
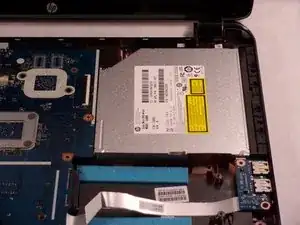
This guide will help you remove and/or replace the CD drive inside of your device. The CD drive simply converts information on the inserted DVD into video and audio. The repair for the CD drive is quite simple once other components are removed.
Tools
-
-
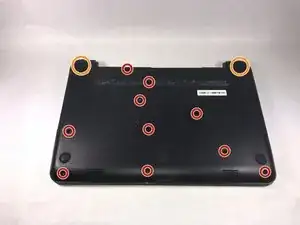
Remove all ten (10) 5.5 mm Phillips #0 screws.
-
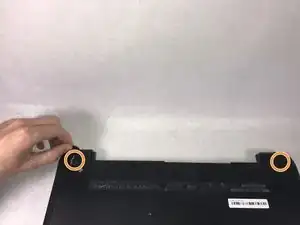
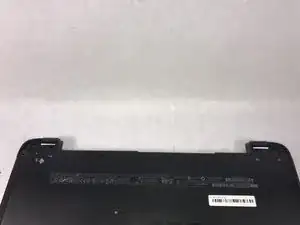
Remove the two (2) plastic tabs located at the rear of the panel. Locate the two (2) 7.5mm Phillips #0 screws underneath the pads and remove.
-
-
-
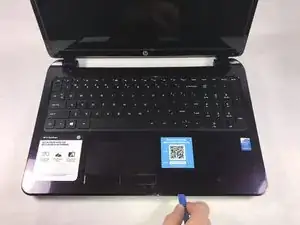
Use a wide plastic opening tool to pry off the top casing.
-
Lift the cover off carefully as there are wires still attached to internal components.
-
-
-
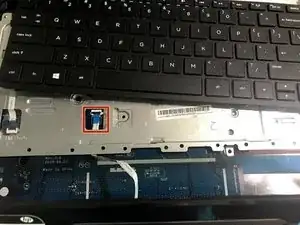
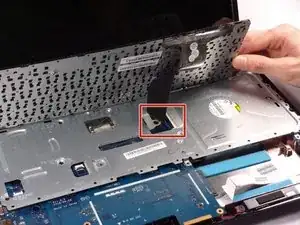
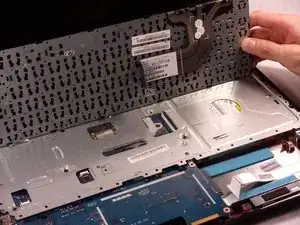
Move the keyboard slightly out of the way to locate the connection.
-
Disconnect the small wire protruding from the motherboard underneath the metal plate.
-
-
-
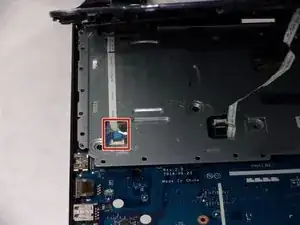
Locate the connection between the power button and the connecting cable.
-
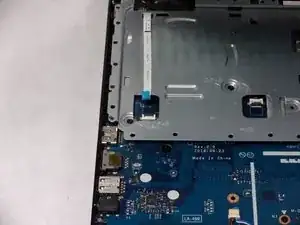
Remove the cable from the motherboard carefully.
-
-
-
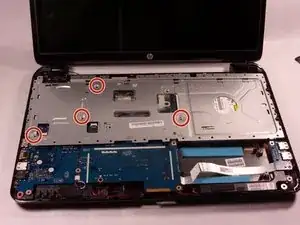
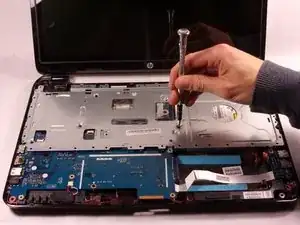
Remove the four (4) 2.5mm by 3.5mm Phillips #0 screws from the metal retaining plate.
-
Lift the metal retaining plate off and away from the device.
-
-
-
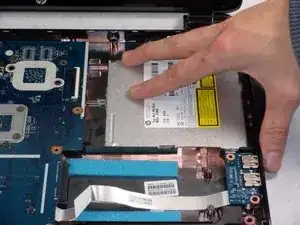
Slide the CD drive out slowly by pulling it to the right. There are no screws attached, but there is a connection to the motherboard.
-
To reassemble your device, follow these instructions in reverse order.
