Introduction
Your device wont turn on or when running a BIOS/UEFI memory test shows that your SSD is no longer functioning. The Solid State Drive (SSD) is the long storage memory device. When you install a program or save a document this is where that data is stored. Operating system boot files are also located here, and are what allow you to use your device. When the SSD is no longer working properly it should always be replaced.
Tools
-
-
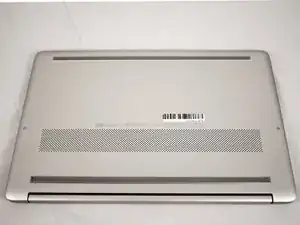
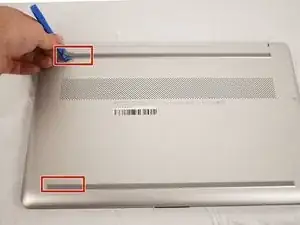
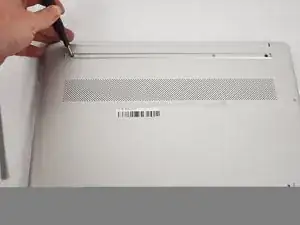
Use an opening tool to remove the rubber strips by prying up a corner and gently pulling off the strip.
-
-
-
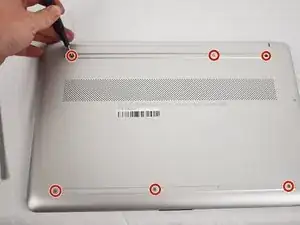
Use a Phillips screwdriver to remove the eight 3 mm screws (including the 2 screws that were not under the rubber strips) securing the lower case.
-
-
-
Flip the laptop over and open the lid.
-
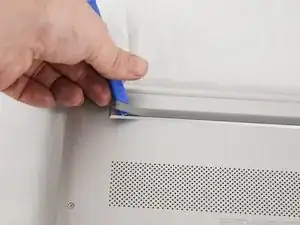
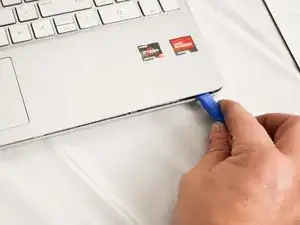
Insert an opening tool into the seam between the edge of the lower case and the chassis.
-
Gently pry around the entire perimeter until the lower case separates from the chassis.
-
Close the lid and flip the laptop back over.
-
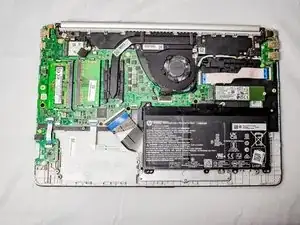
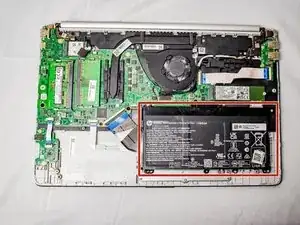
Remove the lower case.
-
-
-
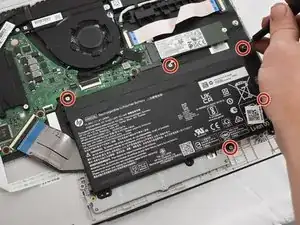
Remove the five 2 mm Phillips screws holding the battery down.
-
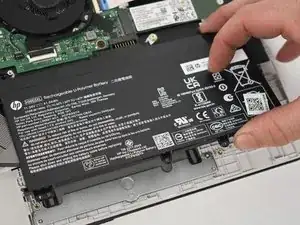
Gently lift the front edge of the battery up to disconnect the socket.
-
Lift the battery up and out.
-
-
-
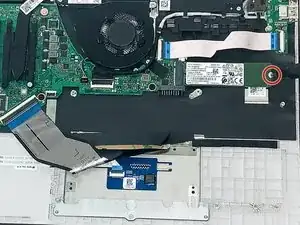
Remove the single 1 mm screw securing the SSD.
-
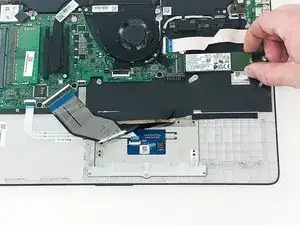
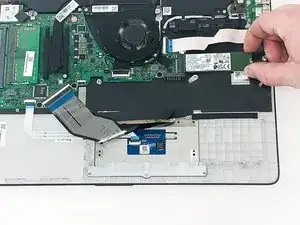
Gently remove the SSD by pulling it directly out of its port.
-
To reassemble your device, follow these instructions in reverse order.
You don't need to add the set out materials step--that's what the part above is for! Also, I'd suggest using flipbook style shots as often as possible to show action. It's pretty rare that a step should only have one image.
Alex Watkins -
Please be sure to take into account the comments I've already made on the battery guide. It doesn't look like those edits were made yet.
Alex Watkins -