Introduction
If your HP 15-dy2024nr is receiving a memory test failed error or if your laptop is taking much longer to start up, your RAM module may be the cause. Following this guide will help you replace or re-seat the RAM module in your laptop.
When removing any chip or board from your laptop, be careful to touch the sides only. Touching any of the components can damage them. Before removing or replacing any part, be sure the laptop is powered off. If you are unsure, turn the laptop on, then shut it off from the start menu.
Tools
-
-
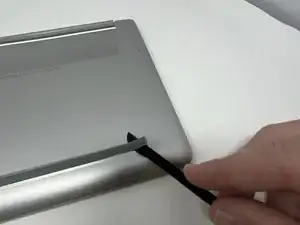
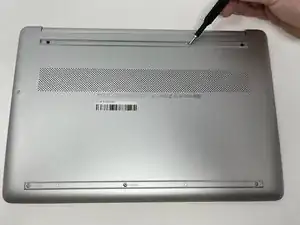
Use a spudger to peel one corner of each of the rubber feet from the bottom of the laptop.
-
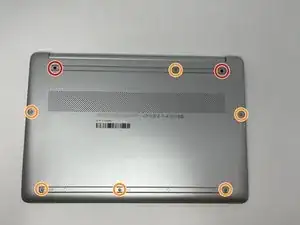
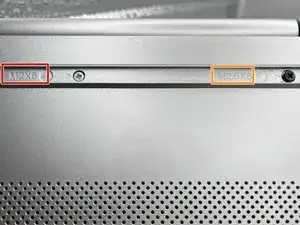
Gently peel the feet from the laptop using the spudger revealing the screws underneath.
-
-
-
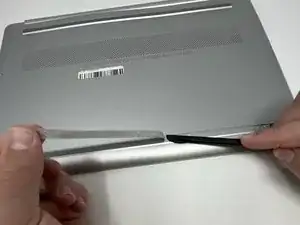
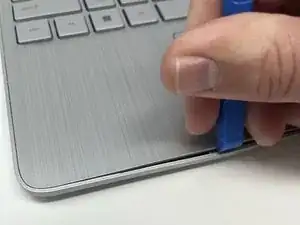
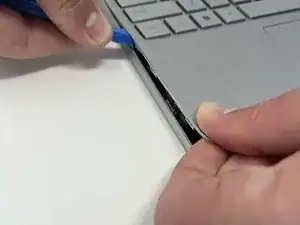
Insert an iFixit opening tool into the seam between the keyboard area and bottom cover.
-
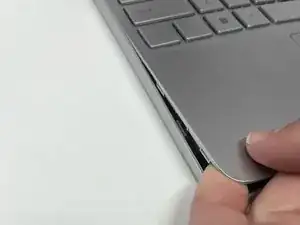
Using another iFixit opening tool, slide along the seam to unhook the clips.
-
When the front of the laptop is open, you can use your finger to hold a corner open then slide an iFixit opening tool along the seam toward the back corner.
-
After the clips have been released, flip the laptop over and lift the cover.
-
-
-
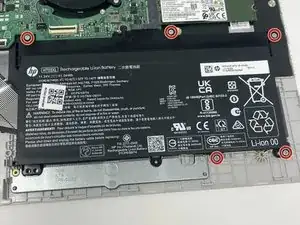
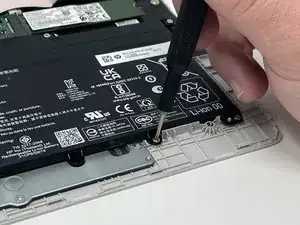
Remove five 2.0mm x 3.0mm screws using a Phillips #00 screwdriver.
-
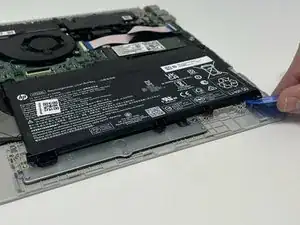
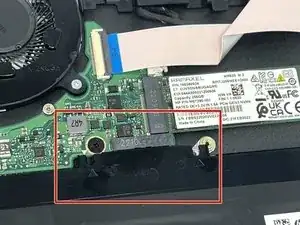
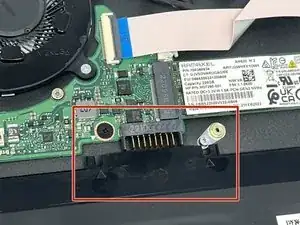
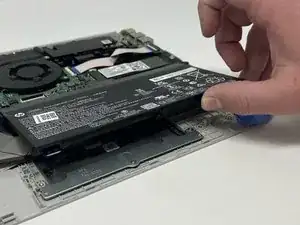
Use the iFixit opening picks to lift the battery away from the laptop.
-
-
-
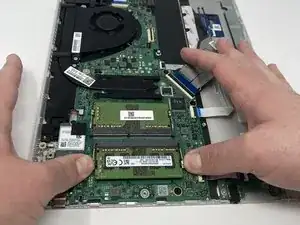
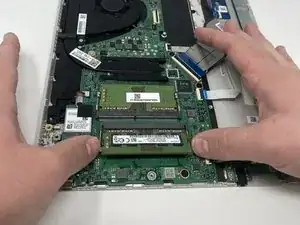
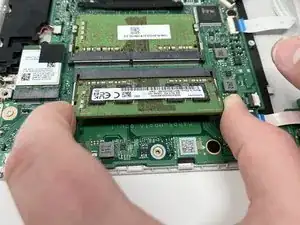
Pull the clips on either side of the RAM in opposite directions until the RAM pops up at a 45 degree angle.
-
Pull the RAM out and replace it.
-
To reassemble your device, follow these instructions in reverse order.
