Introduction
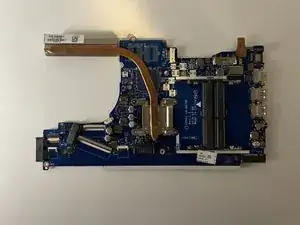
If you ever need to replace your motherboard due to water damage, electricity damage broken parts, etc, or simply you just want to upgrade your motherboard, follow this guide to remove it.
Tools
-
-
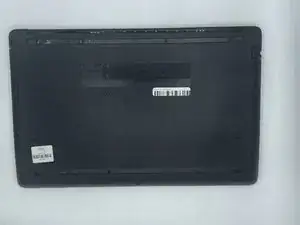
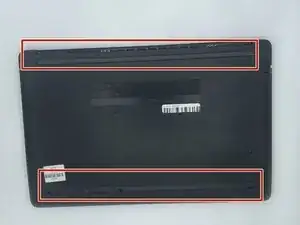
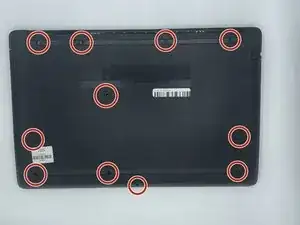
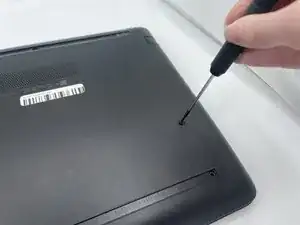
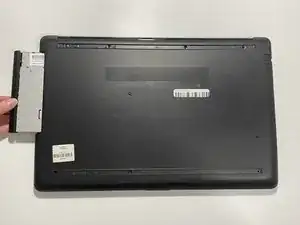
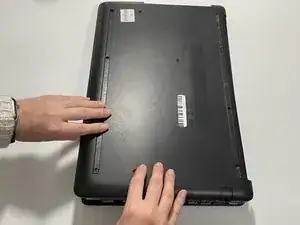
Using a Phillips #000 screwdriver, remove the eleven 10 mm screws located on the underside of the laptop, that are holding the back panel in place.
-
-
-
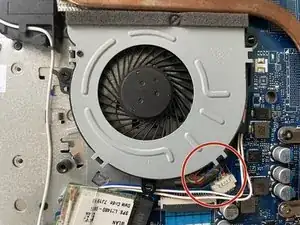
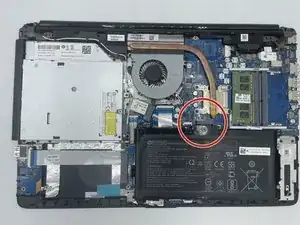
After the screw is removed, carefully unplug the set of wires with one of each colored, red, black, yellow, and blue, from the white connector it is secured at.
-
-
-
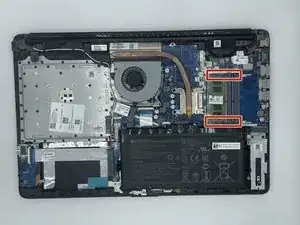
Gently pull apart the two silver arms securing the RAM until it slightly flips up.
-
Pull the RAM directly out of its port.
-
-
-
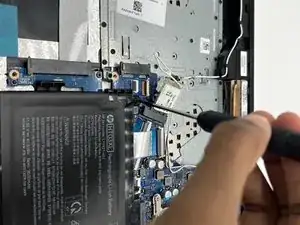
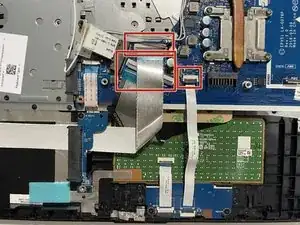
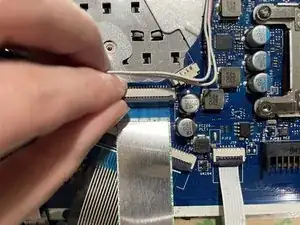
Remove the three ribbons that are attached to the motherboard by flipping up the black lock bar, then sliding the ribbon cables out.
-
-
-
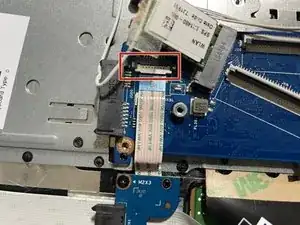
Remove the following ribbons that are attached to the motherboard.
-
Flip up the white lock bar, then gently disconnect the ribbon cable.
-
-
-
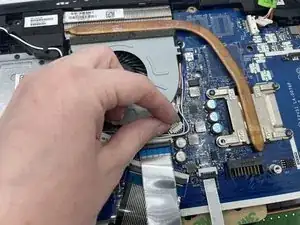
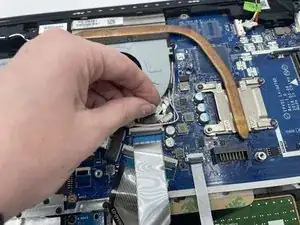
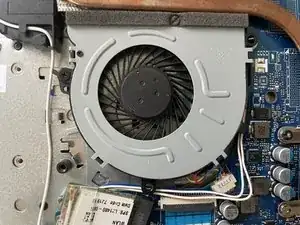
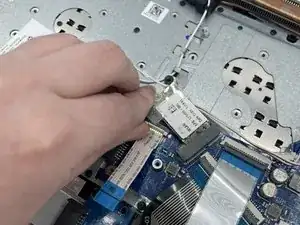
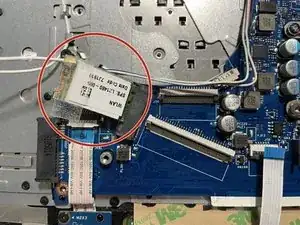
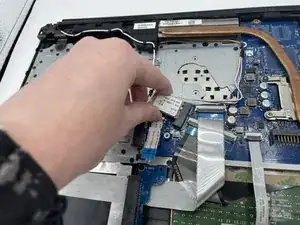
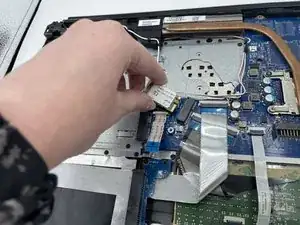
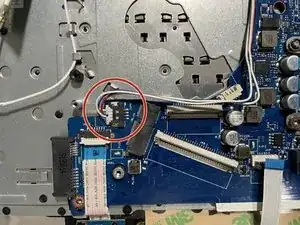
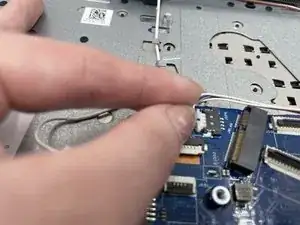
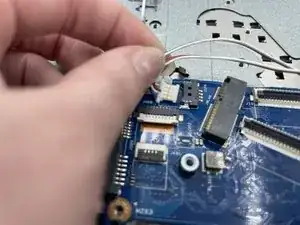
Next is to remove a small white connector, with two white, one red, and one blue wire, shown in the image. It was located underneath the WLAN.
-
-
-
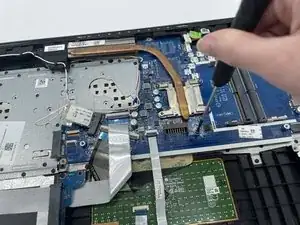
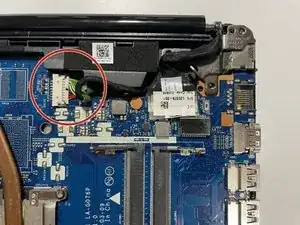
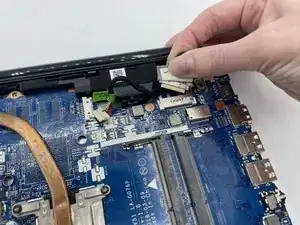
The next piece is to detach a piece with one white, yellow, and copper wire, as well as two red, and two black wires. all wrapped in a nylon casing, attached to a white plastic connector. It is connected to a white attachment. This is located at the top right hand corner.
-
-
-
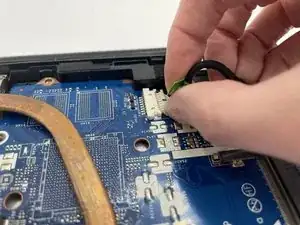
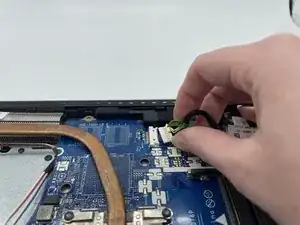
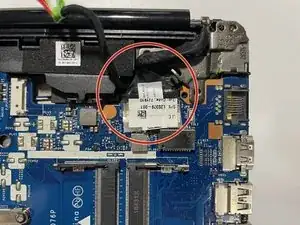
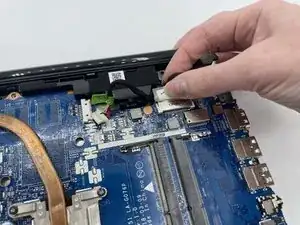
Next is to remove the other piece wrapped in nylon, shown in the image. It is located to the right of the previous piece.
-
-
-
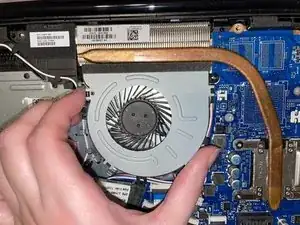
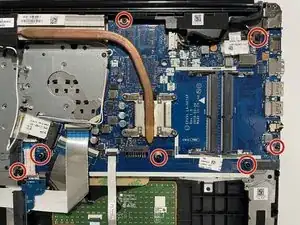
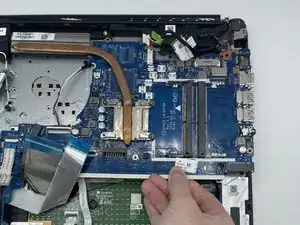
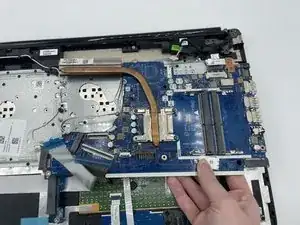
The last step is to remove the motherboard from the laptop. To do so, working from the bottom, gently ease the motherboard from its connector point at the top right corner.
-
To reassemble your device, follow these instructions in reverse order.
