Introduction

If the back panel of your laptop is damaged or needs to be replaced, follow this guide for a correct removal.

  1. 5ekgiaIUE5Fx21cF
    5ekgiaIUE5Fx21cF
    mfISxJR4GtU2u2AA
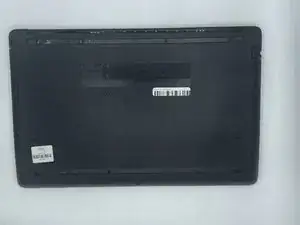
    • Turn the laptop off and unplug it before starting.

    • Flip your laptop over, face down.

  2. QGQlM3aKotfqUK2Z
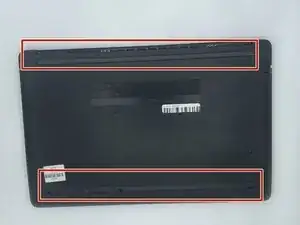
    • Peel off the two long rubber grips running lengthwise on the laptop.

  3. 6pWBmIuvVIVFQTAB
    6pWBmIuvVIVFQTAB
    k1nQ4KOLEKNltf1q
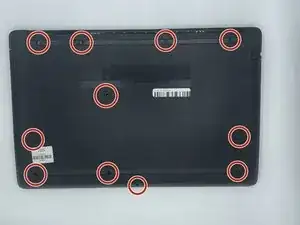
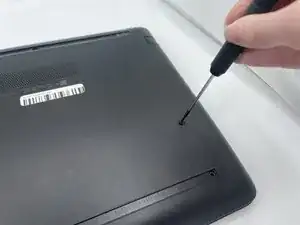
    • Using a Phillips #000 screwdriver, remove the eleven 10 mm screws located on the underside of the laptop, that are holding the back panel in place.

  4. IZCVJMQK1QifktNc
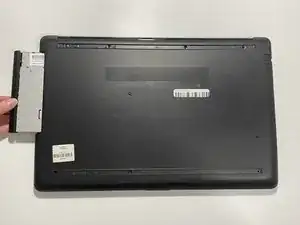
    • Carefully slide the optical drive out of the laptop.

  5. xXTkUukUahFJOf2K
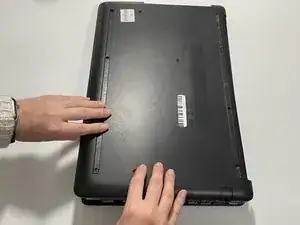
    • Use a plastic opening tool to separate the back panel from the laptop.

    • For an easier removal, start at the corner and run the tool along the edge of the cover.

    • If you do not have a plastic opening tool, open it carefully using your hands, as shown.

    • Be careful to not bend the back panel, or to not apply too much pressure and force, doing so could cause the panel to break.

Conclusion

To reassemble your device, follow these instructions in reverse order.
Britanni Arizola

Member since: 22/09/22

562 Reputation

0 comments