Introduction
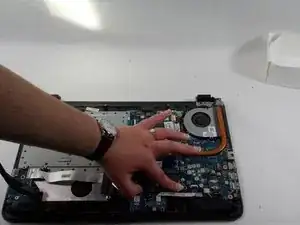
Do you need to replace your RAM on your HP 15-af123cl? If your processing speed is slowing down, this could be the issue. This guide explains how to replace the RAM.
Before we start replacing the RAM, let's cover some precautionary steps. First, we want to make sure the reason for the slow processing is not a program taking up all the memory space. To check, go to the task manager to verify that no open programs are slowing the computer down because it's using significant memory. If a program uses large amounts of memory, right-click and select "End Program." Test the computer to verify if the problem has been resolved. If the issue persists, we may need to replace the RAM.
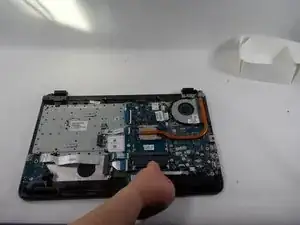
You should also check that the RAM is set in place correctly (once your laptop is open.) Compare the RAM to the pictures provided below. If RAM is not flush, follow the instructions below and close the laptop to see if it is the issue. If the problem persists, redo the previous precautions and begin the RAM replacement instructions.
To start the RAM replacement process, verify if you are using ESD-safe tools and ESD-Band to prevent damage to the computer. To ensure your data is safe, back up your computer so that no data is lost.
Before beginning the repair, completely shut down the computer and disconnect the charging cable.
Tools
-
-
Push the slider with a battery symbol to the left to push the battery out slightly.
-
Pull the battery out fully now that it is released.
-
-
-
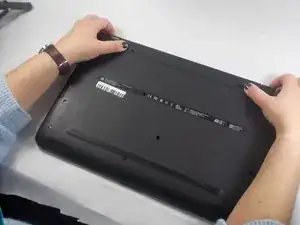
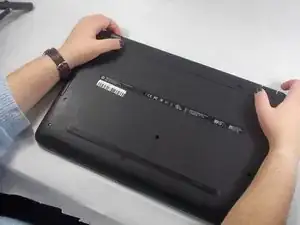
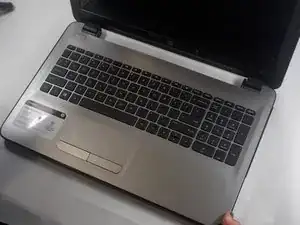
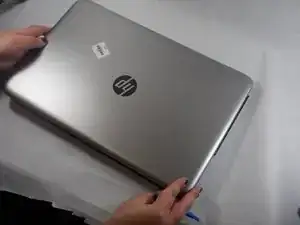
Turn the laptop over and open the lid.
-
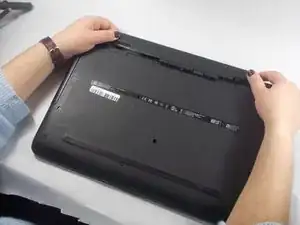
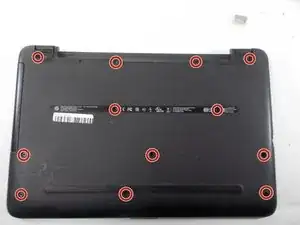
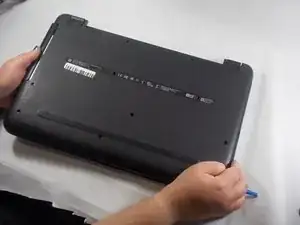
Use an opening tool to pry the bottom cover from the body of the laptop.
-
To reassemble your device, follow these instructions in reverse order.
